
How to Do a Proper Squat Without Hurting Your Knees
Key takeaways
- Set your feet shoulder-width apart, toes slightly out, and start by hinging your hips back.
- Keep your knees tracking in line with your toes through the whole rep.
- Stop at sharp pain, and fix depth or load before you add weight.
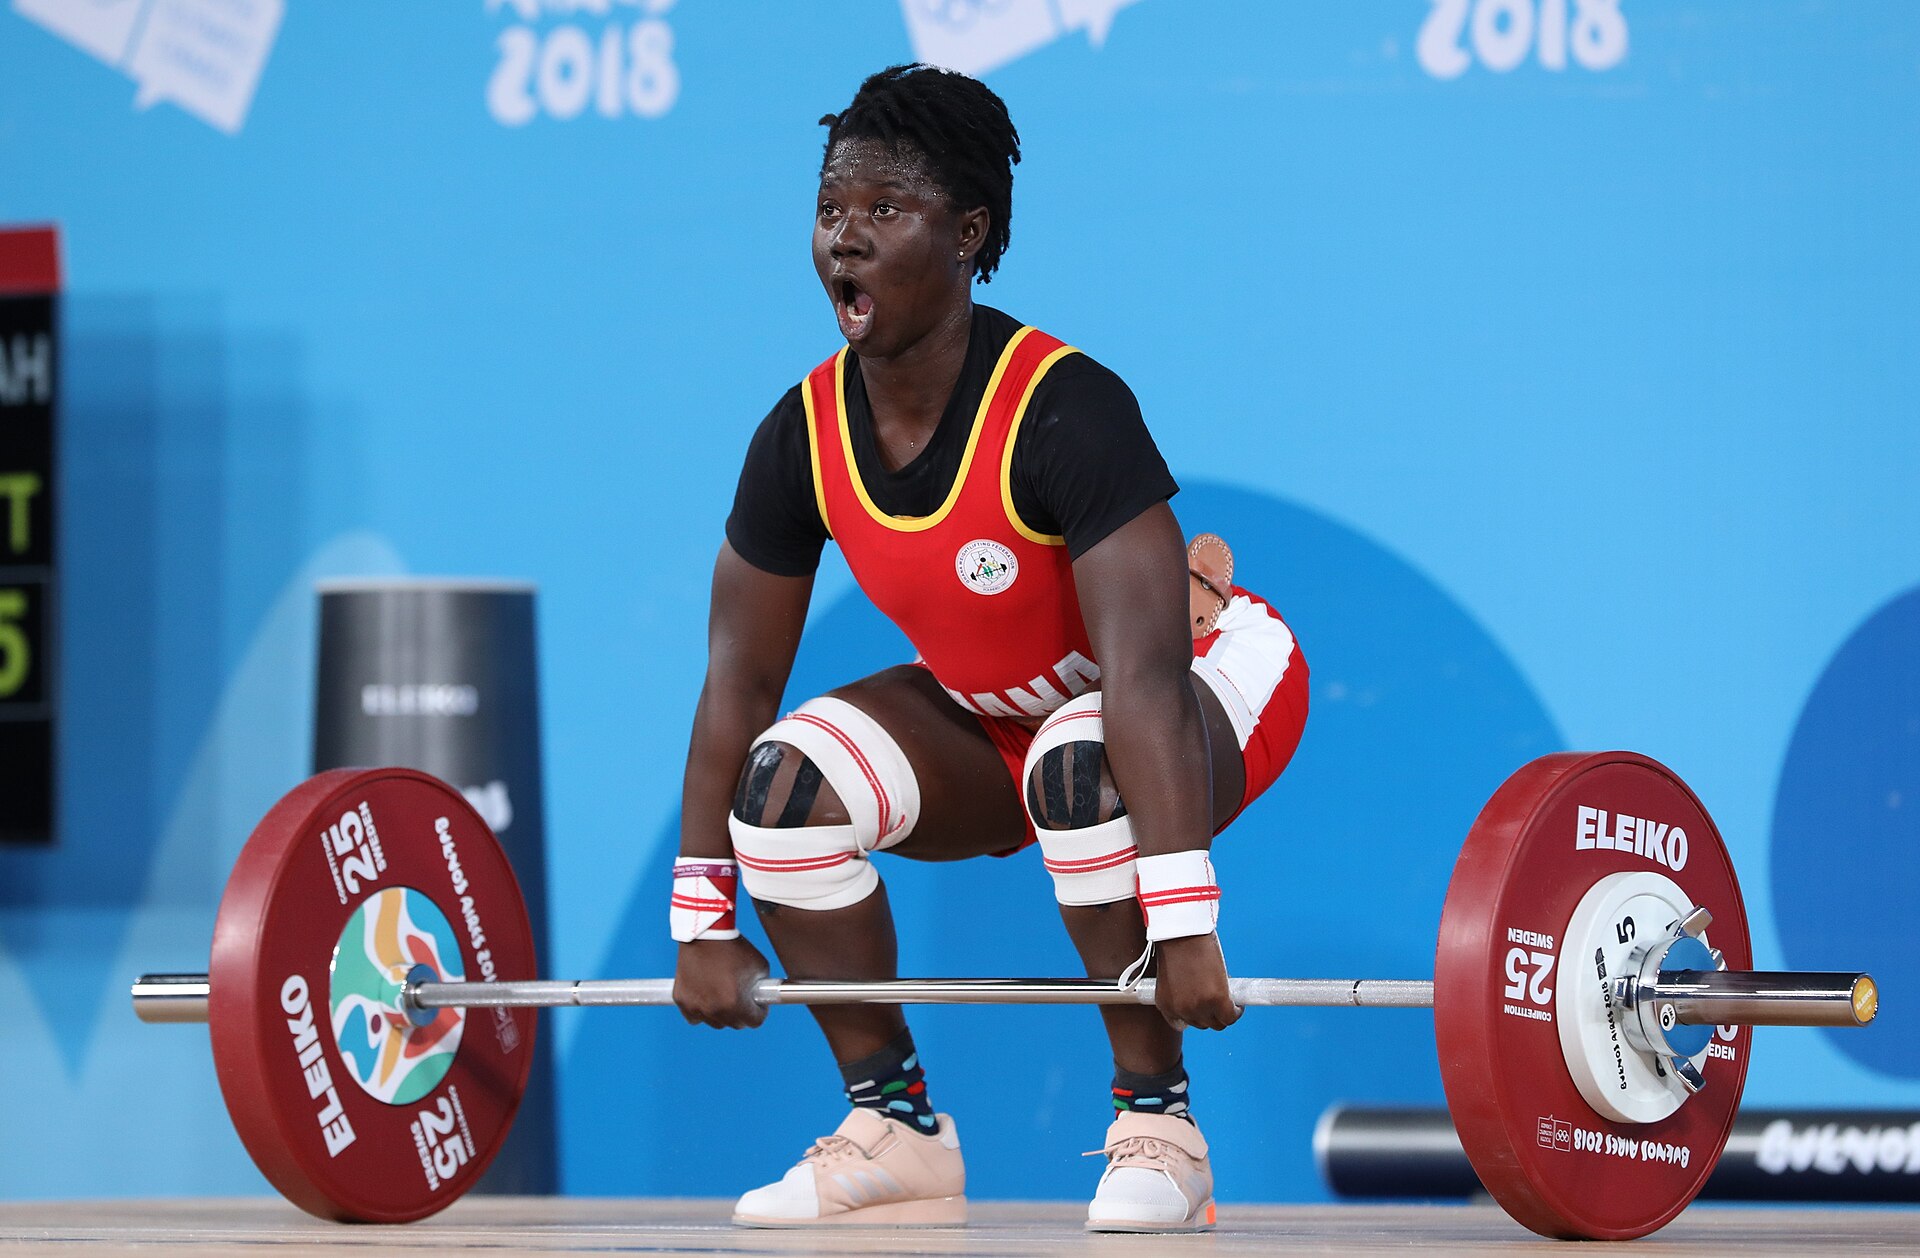
A proper squat is a sit-down-and-stand-up pattern done with control. You lower your hips toward the floor, keep your chest up, and drive back to standing through your whole foot. When the pattern is right, the load spreads across the hips, knees, and ankles instead of landing on one joint.
Knee pain during squats usually comes from a form fault, not from the exercise itself. Knees that cave inward, heels that lift, or a torso that collapses forward all shift stress to the knee. This article explains how to do a proper squat without hurting your knees, including the setup, the descent, the ascent, and the fixes for the most common faults.
The setup
Start standing with your feet about shoulder-width apart. Turn your toes slightly outward, roughly 15 to 30 degrees. This stance lets the hips open and the knees track in a natural line.
Pull your shoulders down and back. Brace your core as if someone were about to tap your stomach. Keep your chest lifted and your chin level.
Look straight ahead or slightly upward, not down at your feet.
Think of your weight spread across the whole foot. WithPower lists keeping the heels grounded as one of the core principles of a good squat. If your weight drifts to your toes, your knees shoot forward and your heels lift.
If it drifts to your heels alone, you tip backward. The middle of the foot is home base.
Before a working set, warm up. A few minutes of light movement plus dynamic stretches, such as leg swings and hip circles, prepare the muscles and joints for the work. Ashley Rhodes Live recommends starting with bodyweight squats or light weights to lock in form before adding load.
The descent, step by step
Begin by hinging at the hips. Push your hips back and down, as if sitting into a chair behind you. The Public Safety Medical coaching guide describes the same start: hinge at the hips, shift them back and down, and let the hips and knees bend at the same time.
As you lower, let your knees bend in line with your toes. The key cue is tracking, not a fixed position. Your knees should point the same way your toes point through the whole rep.
They should not cave inward toward each other, and they should not flare wide of your feet.
Keep your torso upright and your back flat. WithPower warns that rounding the back places stress on the spinal discs. A chest-up posture with a neutral spine keeps the load where it belongs.
Your hips and torso should move together, not as two separate pieces.
Breathe with the rep. Inhale as you descend. The Public Safety Medical guide pairs inhalation with the way down and exhalation with the drive back up.
A steady breath helps you brace instead of holding your breath until your face turns red.
Lower until your thighs reach parallel to the floor, or slightly below, if your mobility allows it. WithPower notes that deeper squats engage more muscle, including the glutes and hamstrings, which support the knee. Form beats depth every time.
A slightly shallow squat done well beats a deep squat done badly.
The ascent
Drive up by pushing your feet into the floor through your heels. Ashley Rhodes Live gives the same cue: push through the heels to activate the glutes and hamstrings. Think of the floor pressing back as you stand.
Keep your knees tracking with your toes on the way up too. The ascent is where knees most often cave inward, especially on the last hard reps. If you feel them drifting in, slow down and finish the rep with control rather than rushing through a sloppy one.
Keep your chest up and your core braced until you reach full standing. Do not let your hips shoot up first while your chest stays down. That fault turns the squat into a bent-over lift and loads the lower back.
Stand as one unit, hips and chest rising together.
Finish tall, with hips fully extended. Then reset your brace before the next rep. Each rep is its own lift, not a bounce off the bottom.
A short pause at the top keeps the set honest.
The knees past toes question
You have probably heard that knees must never pass the toes. That rule is a myth, or at least a big oversimplification. Ashley Rhodes Live calls it a common misconception that can limit progress and even lead to injury when followed rigidly.
Whether your knees travel past your toes depends on your anatomy, your flexibility, and your squat depth. People with longer thigh bones or deeper squats will often see the knees move past the toes. That alone does not make the squat dangerous.
What matters is tracking and control. Knees that travel forward while staying in line with the toes, over a grounded foot, spread the load normally. Knees that collapse inward, or heels that lift off the floor, do not.
The Public Safety Medical guide advises preventing the knees from traveling too far forward past the toes, which is a useful guardrail for beginners, not a law of physics.
If you are new to squatting, use the guardrail. Sit back, keep the heels down, and let the knees travel only as far as they need to. As your mobility and control improve, allow the natural amount of forward knee travel your body needs to reach depth.
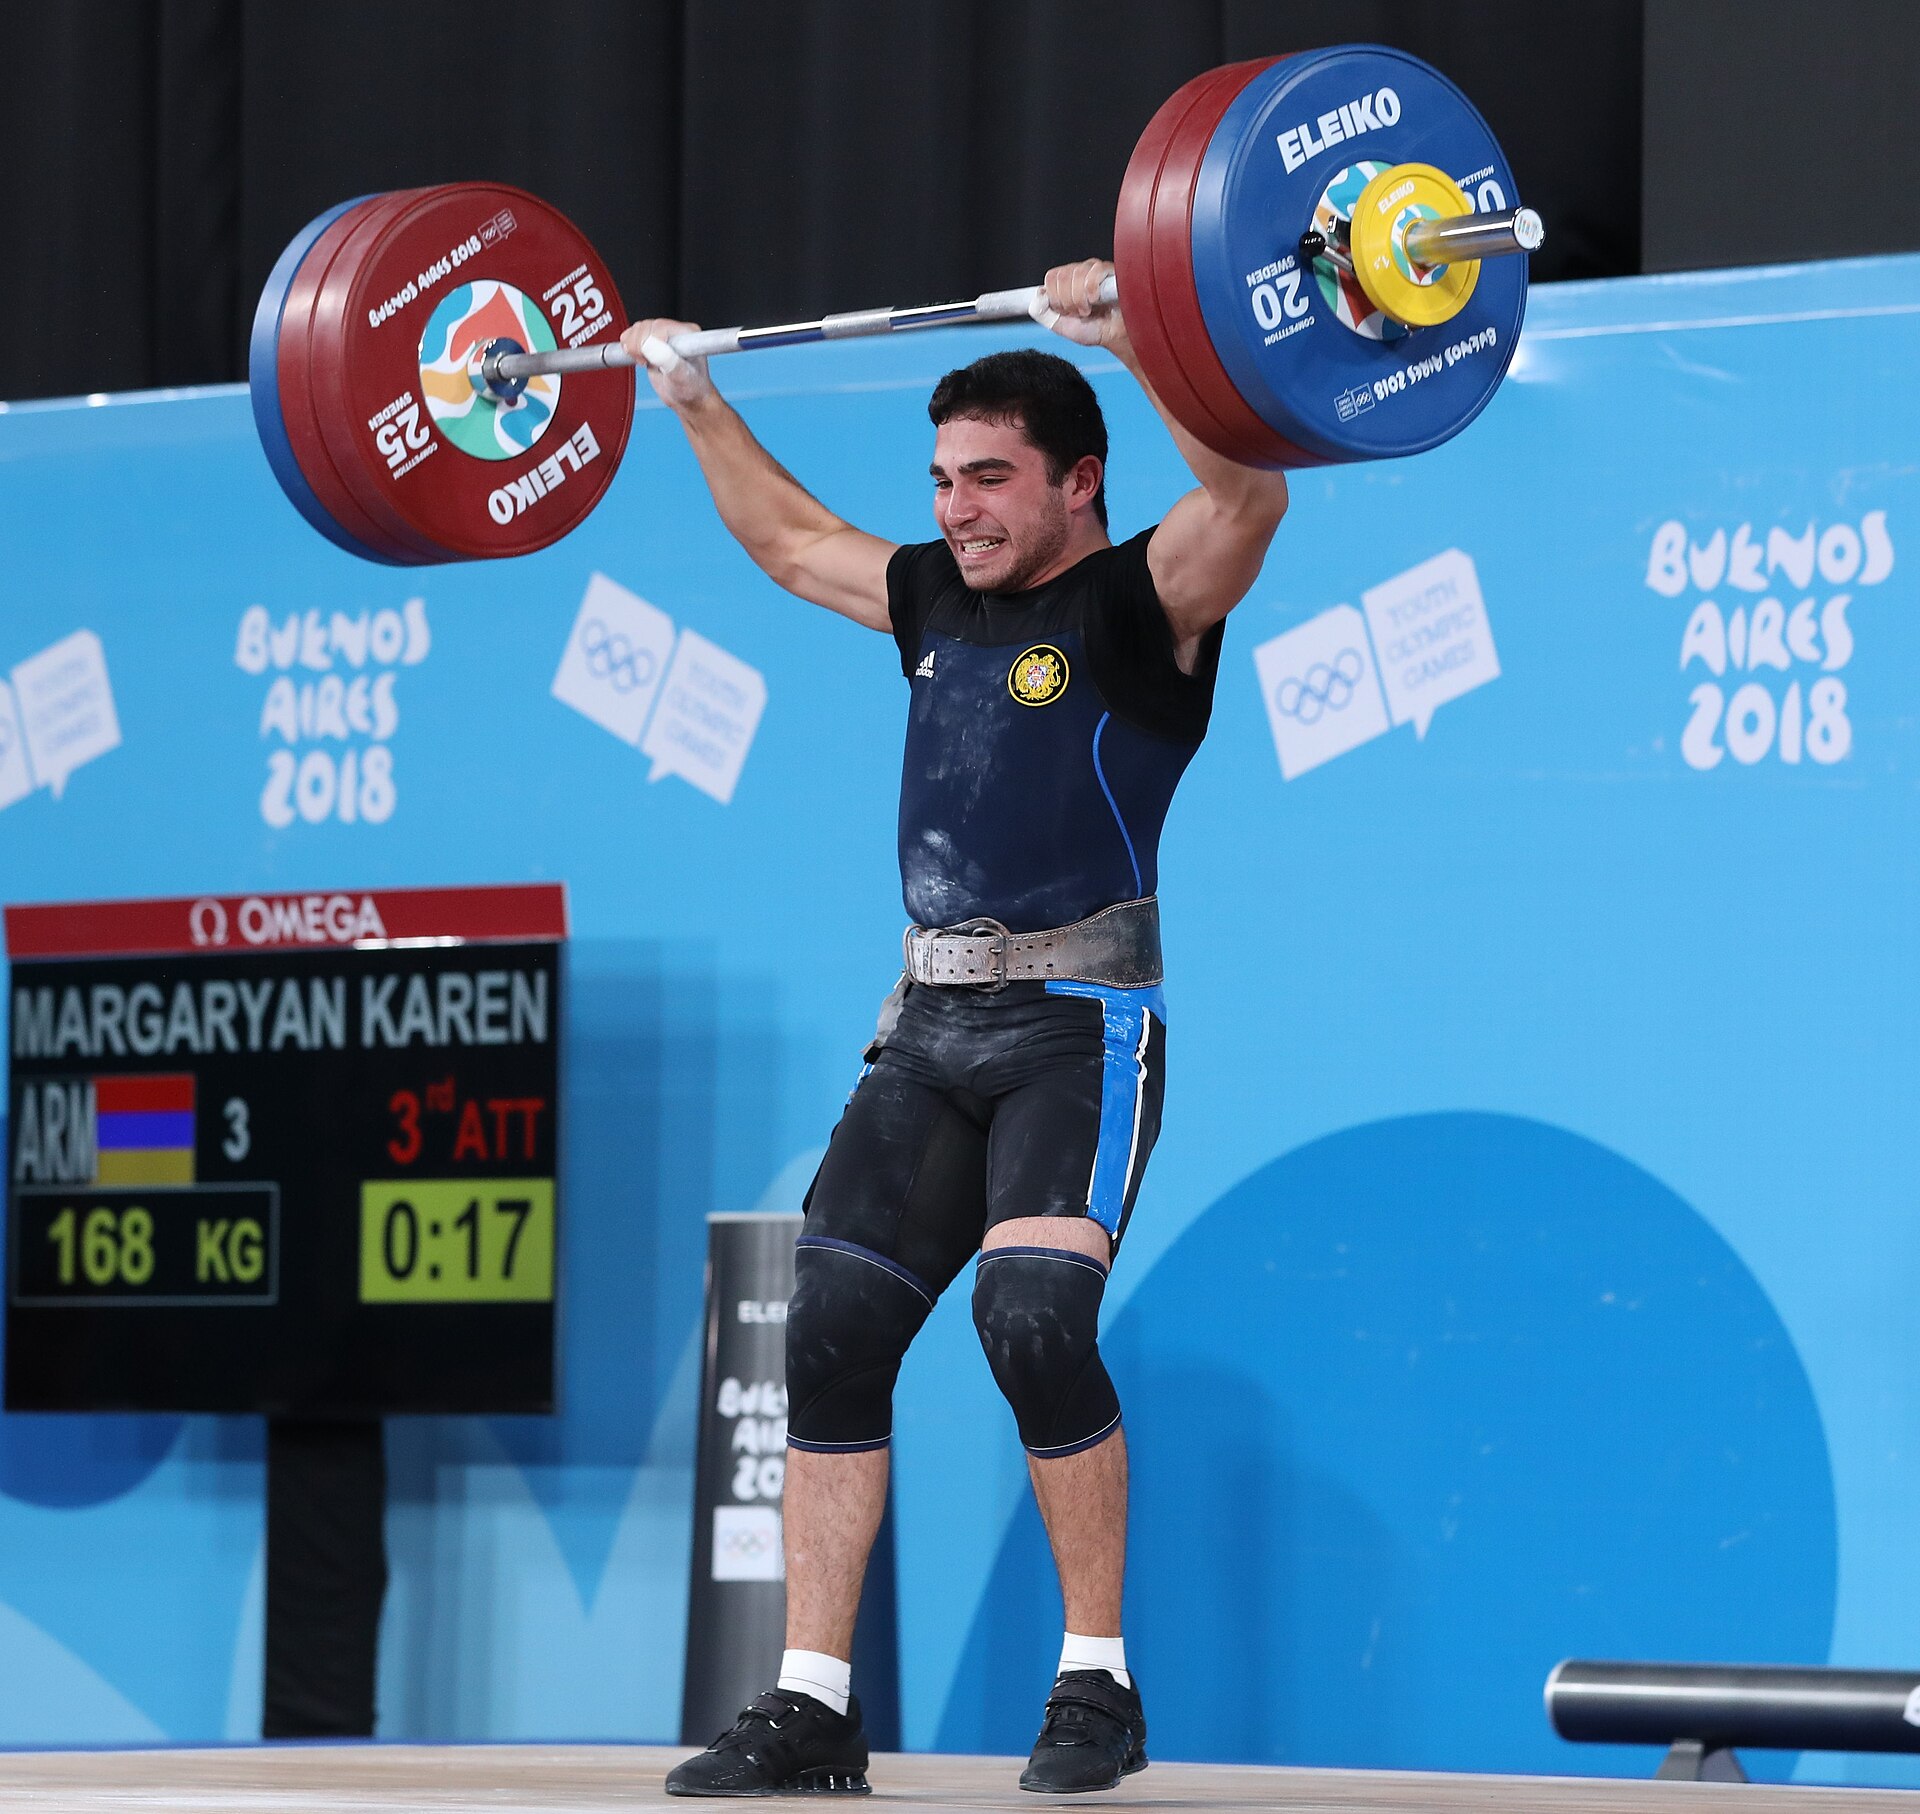
Common faults and how to fix them
Knees caving inward is the fault to watch first. It is called knee valgus. Weak glutes, poor foot control, or a load that is too heavy can all cause it.
The fix is to engage the glutes, slow the rep, and reduce the weight until the knees track cleanly. A mirror or a phone video from the front shows this fault clearly.
Heels lifting off the floor is next. It usually means tight ankles or a weight shift toward the toes. The fix is to sit back more, keep the full foot planted, and work on ankle mobility between sessions.
Elevating the heels on a small plate is a short-term workaround, not a cure for the underlying stiffness.
Rounding the back is a spinal fault with knee consequences. When the torso collapses, the hips shift and the knees take a different path. The fix is a lighter load, a braced core, and a chest-up cue.
If you cannot hold a flat back at a given depth, shorten the depth until you can.
Leaning too far forward loads the lower back and changes knee mechanics. The fix is the same family: lighter weight, upright torso, and a controlled descent. Ashley Rhodes Live lists excessive forward lean among the mistakes to avoid, alongside rounding the back and ignoring pain.
Partial squats look safer but often are not. WithPower notes that the idea that partial squats protect the knees is a misconception. Shallow squats underuse the glutes and hamstrings, which are the muscles that stabilize the knee.
Work toward parallel depth with good form instead of stopping high to avoid the hard part.
Ignoring pain is the worst fault of all. Muscle effort and joint pain are different signals. Ashley Rhodes Live advises stopping and reassessing form the moment you feel pain, rather than pushing through it.
Soreness after a workout is normal, and our guide to the difference between cardio and strength training explains the difference. Sharp pain during a rep is a stop sign.
How to build up safely
Master the bodyweight squat first. WithPower recommends starting with bodyweight reps until the technique is solid, then adding weight gradually with dumbbells or kettlebells held at chest level before moving to a barbell. That ladder keeps the pattern clean while the load grows.
Add weight in small steps. A five-pound jump that keeps your form is worth more than a twenty-pound jump that breaks it. If a new weight makes your knees cave or your back round, drop back to the last clean weight and build from there.
Use tools to check your form. A mirror shows the front view. A video from the side shows torso angle, hip depth, and heel contact.
WithPower suggests recording a video and checking for a straight line from head to tailbone when viewed from the side. Check once a week, not every set.
Progress comes in more than one form. You can add reps, add sets, slow the descent, or pause at the bottom. A three-second descent with a pause at parallel builds control without any extra weight.
That control is what protects the knees when the weight eventually goes up.
Train the support muscles too. Hip thrusts, glute bridges, and hamstring curls strengthen the muscles that keep the knee tracking well. Ashley Rhodes Live lists those moves as useful support work for squat form.
Two short sessions a week go a long way.
Frequently asked questions
Should my knees go past my toes?
Not necessarily, and not never. It depends on your anatomy and flexibility. The rule that matters is tracking: knees in line with toes, heels grounded, torso controlled.
If those hold, some forward knee travel is normal.
How deep should I squat?
Aim for thighs parallel to the floor or slightly below, if your mobility allows it. Do not force depth by rounding your back or lifting your heels. Shorten the range until those faults disappear, then build depth over weeks.
Is squatting bad for bad knees?
It depends on the cause. Squats strengthen the muscles that support the knee, which helps many people. But a painful, swollen, or recently injured knee needs a clinician first, not a workout article.
Stop squatting and get checked if you have sharp pain, swelling, or instability.
The bottom line
A knee-friendly squat is a checklist, not a mystery. Feet shoulder-width apart, toes slightly out, hips hinging back, knees tracking with toes, chest up, heels down, thighs to parallel. Practice that pattern with light weight until it feels automatic, then add load slowly.
Film yourself once, fix the biggest fault first, and stop at sharp pain. Knees that track well today become knees that handle heavier squats later. If motivation fades while you build the habit, our guide to staying motivated when exercise results feel slow has practical fixes.
This article is for general information, not medical advice. Talk to a clinician or qualified coach if you have knee pain, a past knee injury, or a medical condition that affects exercise.
Tags: squat form, knee safety, strength training, leg workout
Latest in Fitness
- How Long Should a Beginner Workout Last
- Cardio vs Strength Training: What Is the Difference
- How to Build a Home Workout With No Equipment
- How to Stay Motivated When Exercise Results Feel Slow
Subscribe to the Rive News newsletter for one practical explainer every week.
Related stories
How long does it really take to build noticeable muscle?
Strength gains start in week one, but visible muscle takes 8-12 weeks for most beginners. What the Oklahoma CT-scan study measured,
Why you feel dizzy after a workout: the 5 common causes
Post-workout dizziness usually comes from a blood pressure dip, dehydration, or low blood sugar. The numbers behind each cause, and when
Why Do Knees Hurt When Squatting but Not Running?
Knees hurt when squatting but not running because deep bends multiply force on the kneecap. Learn the mechanics, common causes, fixes,