
How a Stud Finder Actually Detects Studs in Your Wall
Key takeaways
- Stud finders work by magnetism (finding hidden screws) or capacitance (sensing density changes in the wall).
- Electronic models measure the wall's dielectric constant and alert when density rises over a stud.
- Calibrating over a hollow section of wall is essential; bad calibration is the main cause of false readings.

Image Credits: Wikimedia Commons / Amyreed444
Two devices with one name
"Stud finder" covers two completely different tools. A magnetic stud finder is a chunk of strong magnet that sticks to hidden screws and nails. An electronic stud finder emits a weak electrical field and measures how the wall answers back.
Knowing which one you hold explains why it behaves the way it does.
This article explains how each type detects studs, including the capacitance-sensing circuitry inside electronic models, why calibration on a hollow wall section matters, what the AC warning means, and how to avoid the false positives that make DIYers distrust these tools.
Magnetic finders: hunting the hidden screws
Magnetic stud finders are the simplest tools in the category. They contain a strong magnet, often a rare-earth type, in a small pivoting housing. You slide it across the wall until the magnet tugs toward a hidden fastener.
Drywall is attached to studs with screws or nails. The magnet finds those metal fasteners, and since a fastener means a stud is behind it, you have your answer. The device needs no batteries and rarely lies, because it is detecting metal, not guessing.
The catch is precision. A screw sits wherever the drywall installer placed it, usually near the edge of the stud rather than dead center. Magnetic finders confirm a fastener exists but cannot tell you the stud's exact center, as EngineerFix notes in its guide to how stud finders work.
Electronic finders: measuring capacitance
Electronic stud finders use a completely different physical principle: capacitance, which is the ability of a material to store an electrical charge. The device emits a weak electrical field into the wall and measures the wall's dielectric constant, the property that describes how the material responds to that field.
Here is what happens during a scan. The sensor plate inside the tool acts as one plate of a capacitor, with the wall as the dielectric material. Hollow wall cavities are mostly air, which has a low density and a low dielectric constant.
A solid wood or metal stud is much denser. When the sensor passes over the stud, the capacitance reading jumps, and the circuitry lights up or beeps to mark the change.
The sensitivity is remarkable. EngineerFix reports that the circuitry can detect capacitance changes as small as one femtofarad, which is one quadrillionth of a farad. That precision is why the tool must be held flat against the wall and moved slowly: jerky motion or lifted edges create noise that drowns out the real signal.
The concept is old. US Patent 4,099,118, issued on July 4, 1978, describes an electronic wall stud sensor that uses a capacitance plate and a reference oscillator to sense variations in the dielectric constant of a wall caused by a stud.
The meter indicates proximity to the stud as the capacitance of the plate changes. Modern tools are refined versions of that 1978 idea.
Edge finders versus center finders
Not all electronic finders report the same thing. Edge finders simply announce when the sensor crosses the stud's boundary. To find the center with an edge finder, you must scan from the left, mark the edge, scan from the right, mark the other edge, and calculate the midpoint.
A standard 2x4 stud is 1.5 inches wide, so the center lies three quarters of an inch from each edge.
Center finders use multiple sensors in an array to read the density profile across a wider area at once. The device maps how capacitance rises and falls and points to the middle directly. These models are faster and need less technique, which is why they dominate hardware store shelves.
Some high-end models go further with radar-style sensing. Ultra-wideband radar can map wood, pipes, wires, and even pests at multiple depths inside the wall, giving a fuller picture than capacitance alone.
Why calibration decides everything
Every electronic stud finder needs a reference point, and that is what calibration provides. You place the device flat against the wall on a section you believe is hollow, then press the calibration button. The tool measures the wall's current density and sets it as the zero point, so it only reacts to changes from that baseline.
Calibrate over a stud and the tool is doomed. It sets the high density of the stud as "normal" and then sees nothing unusual when it moves across more stud. EngineerFix's accuracy guide warns that calibrating over a stud produces error messages or missed detections, and you must move a few inches and start over.
Movement matters too. Once calibrated, scan slowly and horizontally, keeping the tool flat with even pressure. Moving too fast prevents the sensor from registering the gradual capacitance change at a stud's edge.
Scanning from both directions toward the marked spot confirms the width and true center.
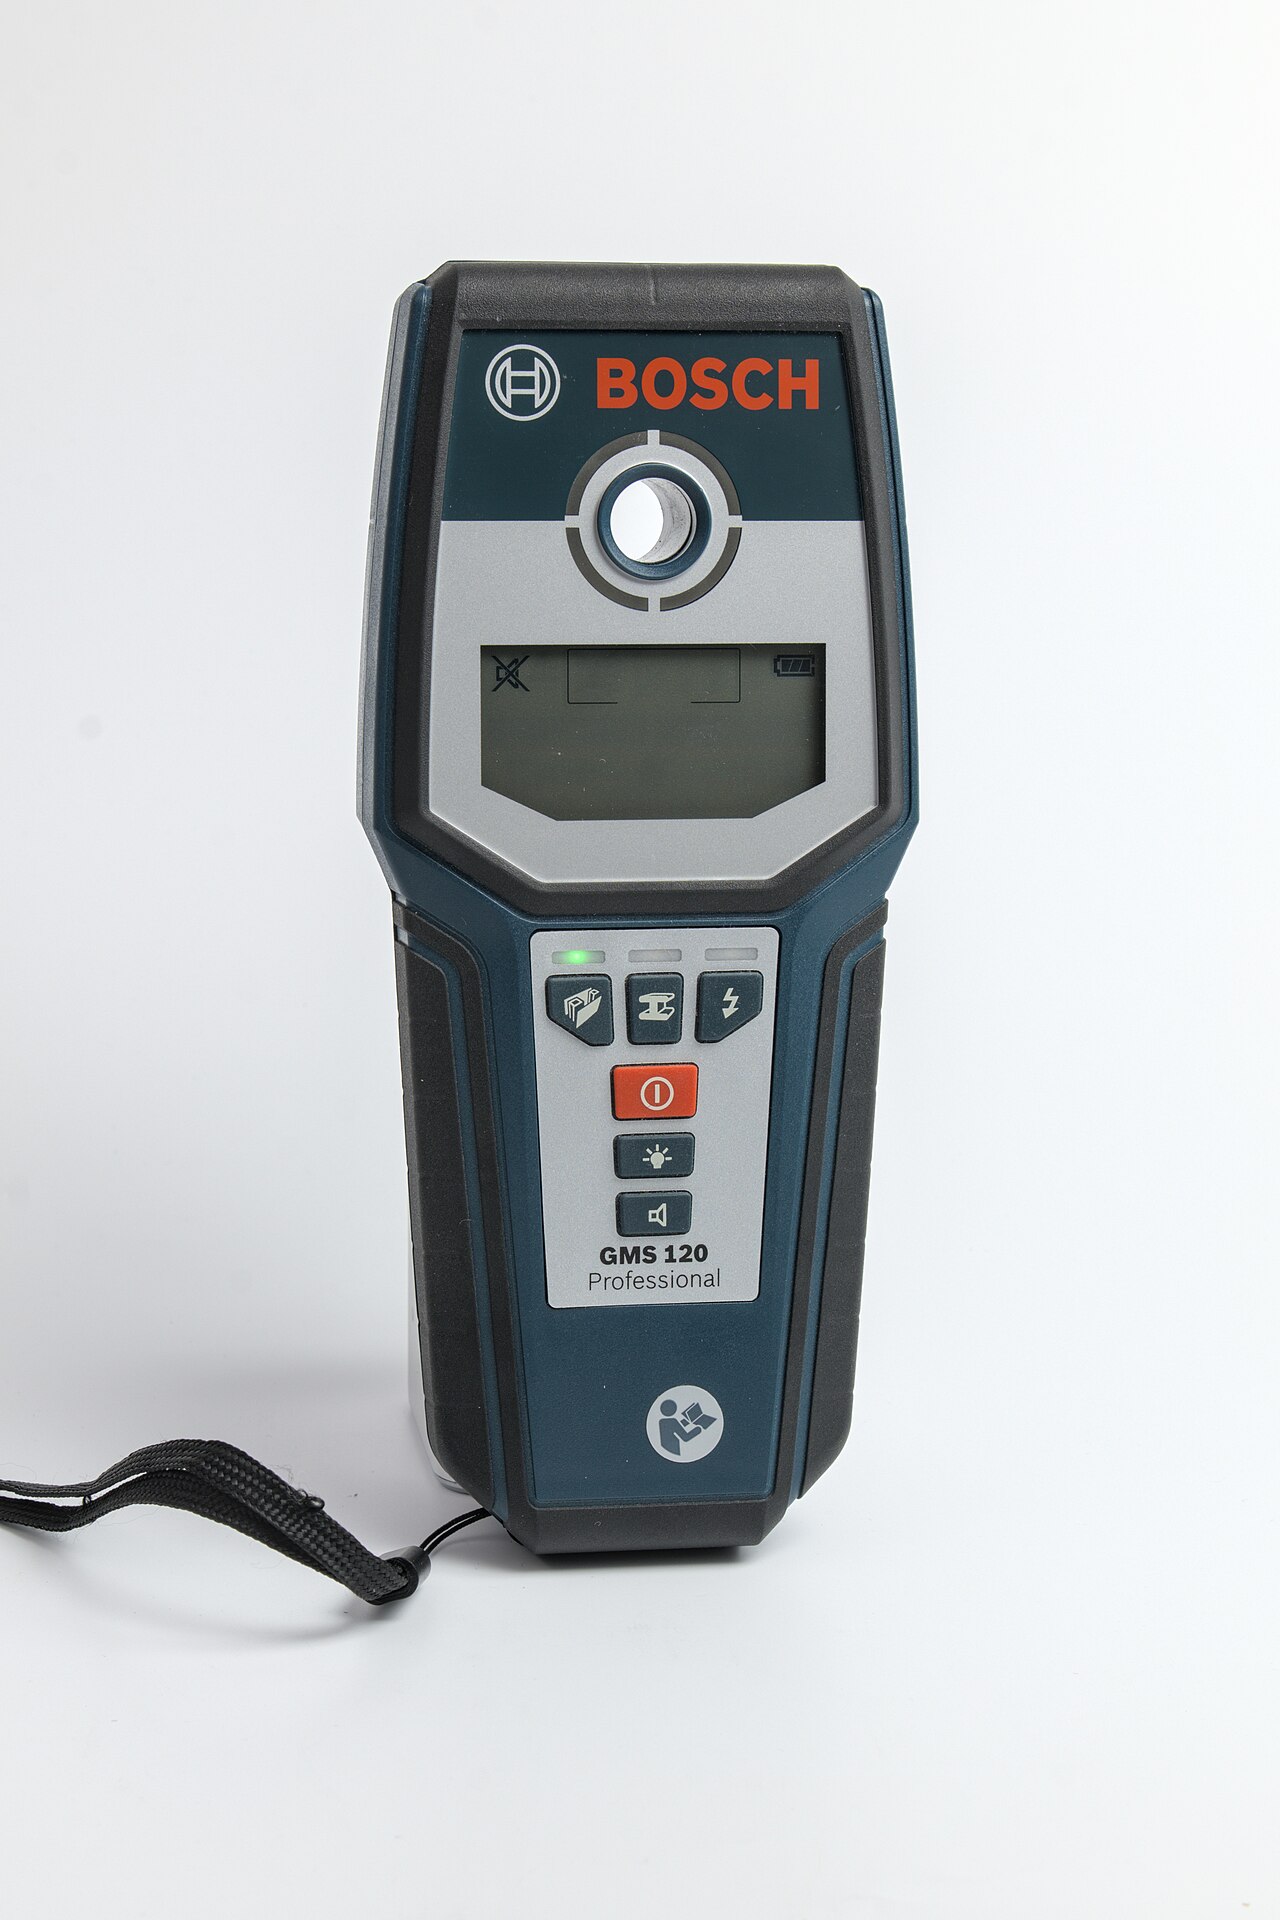
Image Credits: Wikimedia Commons / -stk
What the AC warning means
Most modern electronic finders also warn about live electrical wires. The abbreviation AC stands for alternating current, and when the device displays it, it has detected an energized wire behind the scanned area.
The AC detection works by capacitive coupling: the sensor picks up the electromagnetic field around a live wire, which oscillates at about 50 or 60 hertz depending on the country, according to EngineerFix's guide to the AC warning feature. Detection depth is typically limited to about two inches.
Two cautions apply. The tool generally cannot detect wires that are not energized, and it may miss low-voltage or DC wiring. It can also cry wolf, flagging live wires over a wide area in older homes.
Moisture, dense fire blocks, or lath-and-plaster walls can read as studs too. Old plaster walls are especially tricky because the wall itself is dense and thick enough to overwhelm standard scan modes.
Choosing between the two technologies
A magnetic finder is cheap, battery-free, and nearly foolproof for finding fasteners. An electronic finder can locate stud edges and centers directly, detect metal framing, and warn about live wires. Many professionals keep both: the electronic tool maps the wall, and the magnetic one confirms a screw exactly where the anchor should go.
For thick walls, use deep-scan mode. Many tools offer selectable depths of half an inch, one inch, and one and a half inches (12, 25, and 38 millimeters) to see past double drywall or tile. Deep scan increases sensitivity, which also increases the chance of false positives, so move slowly and confirm from both sides.
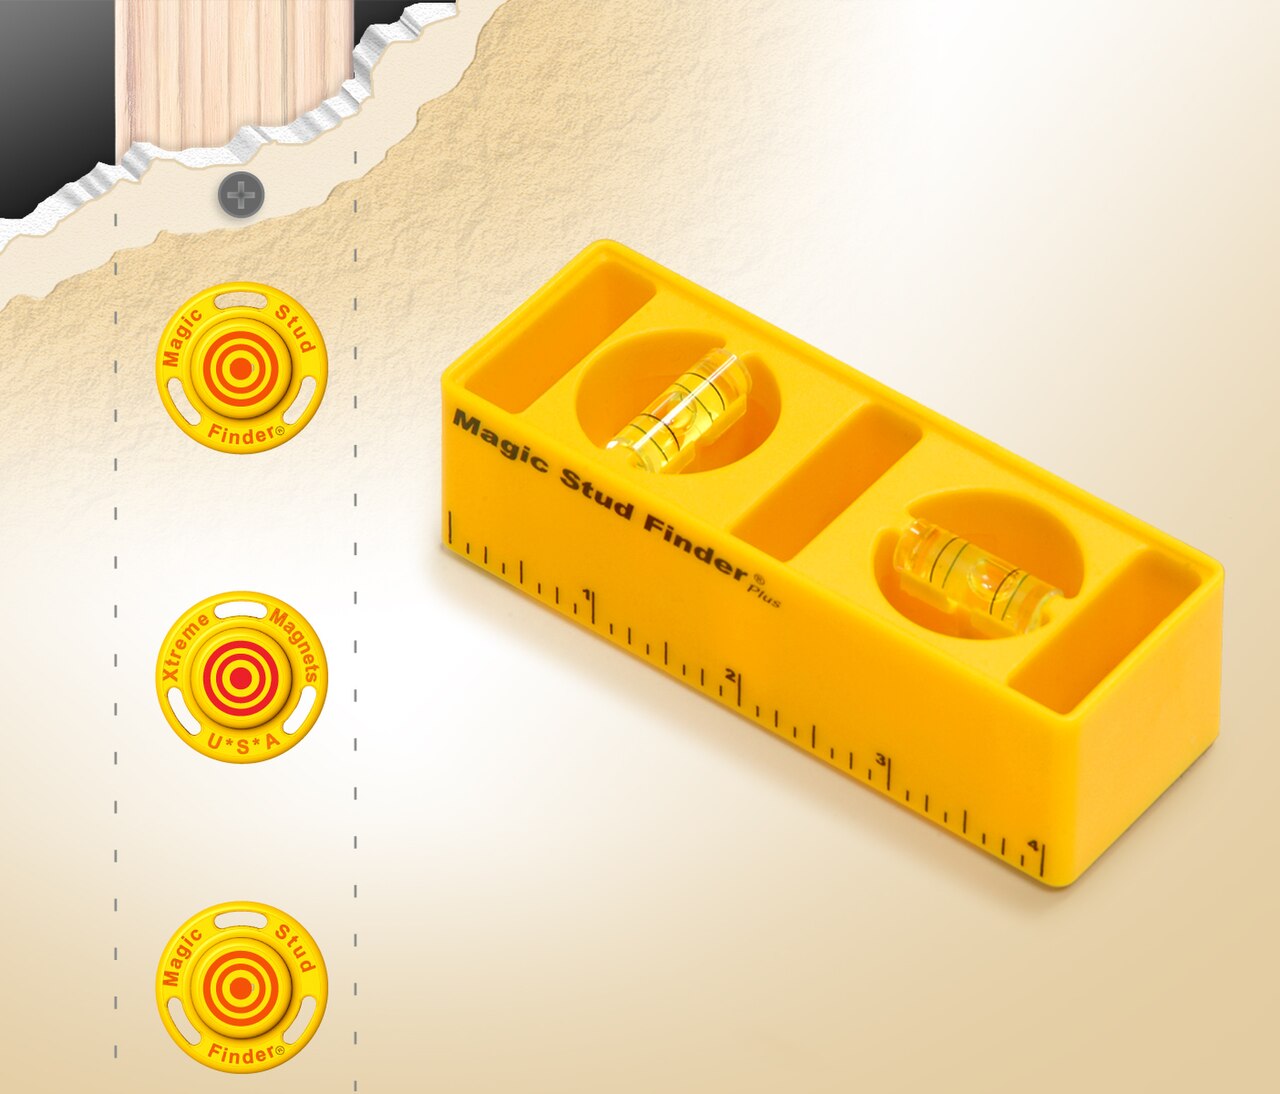
Image Credits: Wikimedia Commons / Betterinventions
How deep can a stud finder see?
Standard electronic finders typically detect studs through half an inch of drywall. Deep-scan modes extend sensitivity to about 1.5 inches (38 millimeters) for thicker walls. Live-wire detection usually reaches about 2 inches (50 millimeters) deep.
Why does my stud finder beep everywhere?
The most common cause is bad calibration: if you calibrated over a stud or moved the tool mid-calibration, the zero point is wrong and the sensor sees changes everywhere. Moisture, dense fire blocks, metal conduit, and thick plaster walls also cause false positives.
Do I need batteries for a magnetic stud finder?
No. Magnetic stud finders use a strong permanent magnet and need no batteries. Electronic and radar models all need power for their sensors and displays.
Can a stud finder find studs in plaster walls?
Old lath-and-plaster walls are a challenge because the wall itself is dense and thick, which can overwhelm standard capacitance modes. Deep-scan mode helps, but results are less reliable than on modern drywall.
The bottom line
A stud finder either hunts hidden screws with a magnet or reads the wall's density with a capacitance sensor. The magnetic kind needs no power and never guesses wrong about metal. The electronic kind maps density changes at the level of one femtofarad.
Understand which physics your tool uses, calibrate carefully, and you will hang heavy shelves with confidence.
Latest in Home & DIY
- How to hang heavy shelves on drywall safely
- How to fix a running toilet without a plumber
- Why laminate flooring buckles in summer heat
Get one practical home project guide in your inbox each week. Subscribe to the Rive News newsletter.
Related stories
Why Your Faucet Keeps Dripping After You Turn It Off
A dripping faucet is usually a worn washer, O-ring, or cartridge that can no longer seal. One drip per second wastes over 3,000 gallons
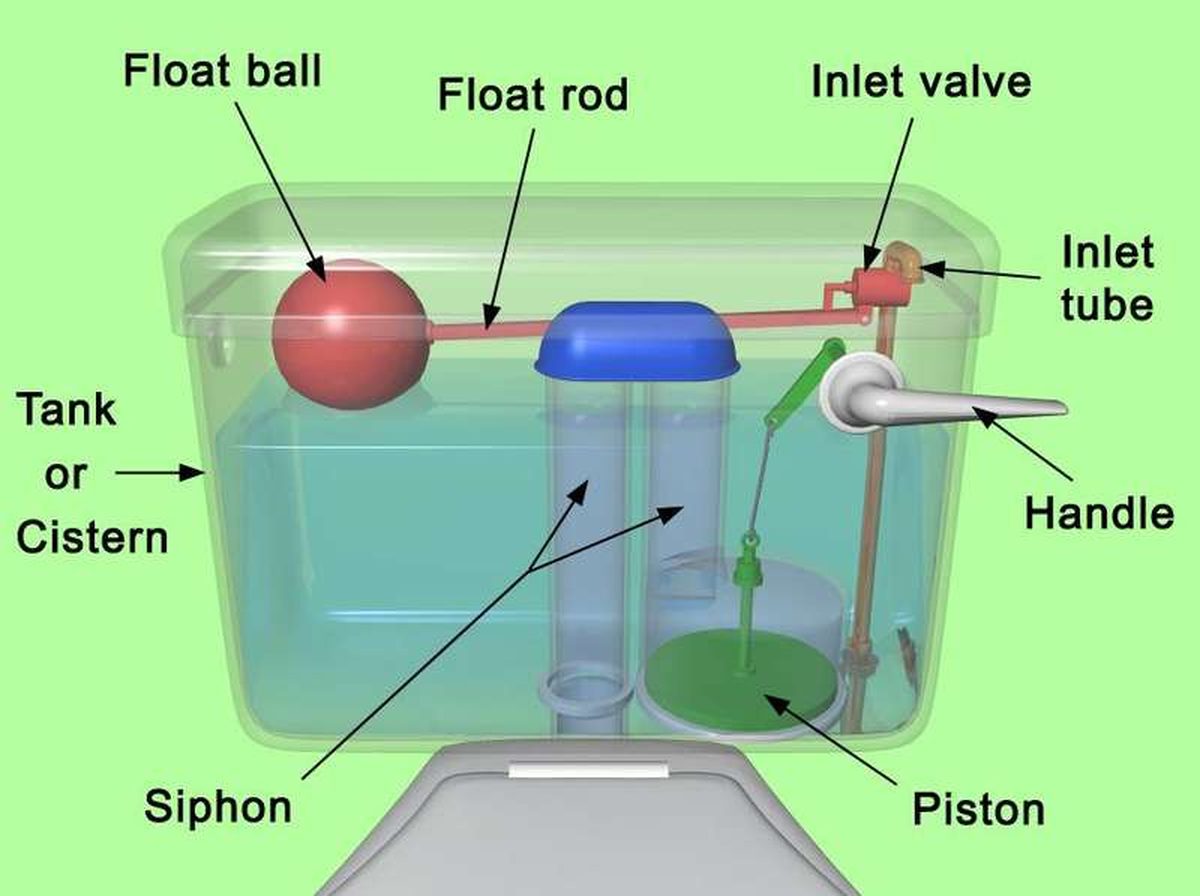
How to fix a running toilet without a plumber in 30 minutes
A running toilet can waste 200 gallons of water a day. Diagnose the flapper, float, or fill valve in two minutes, then fix it yourself

How to hang heavy shelves on drywall safely
Studs first, toggle bolts second, plastic anchors never for heavy loads. Weight ratings, installation steps, and mistakes that bring