
Why toast browns only on one side sometimes at home
By Rive News / Research desk | Rive News / Published October 27, 2026 at 9:00 AM PKT
Key takeaways
- Toast browns by radiant heat from wires on both sides of the slot, so any gap, dirt, or weak wire on one side shows up as pale toast.
- The most common fixable causes are crumbs on the elements, a slice leaning against one side, and a bent bread guide.
- A wire section that stays dark while the rest glows points to a failed element, and that fault usually means replacing the toaster.
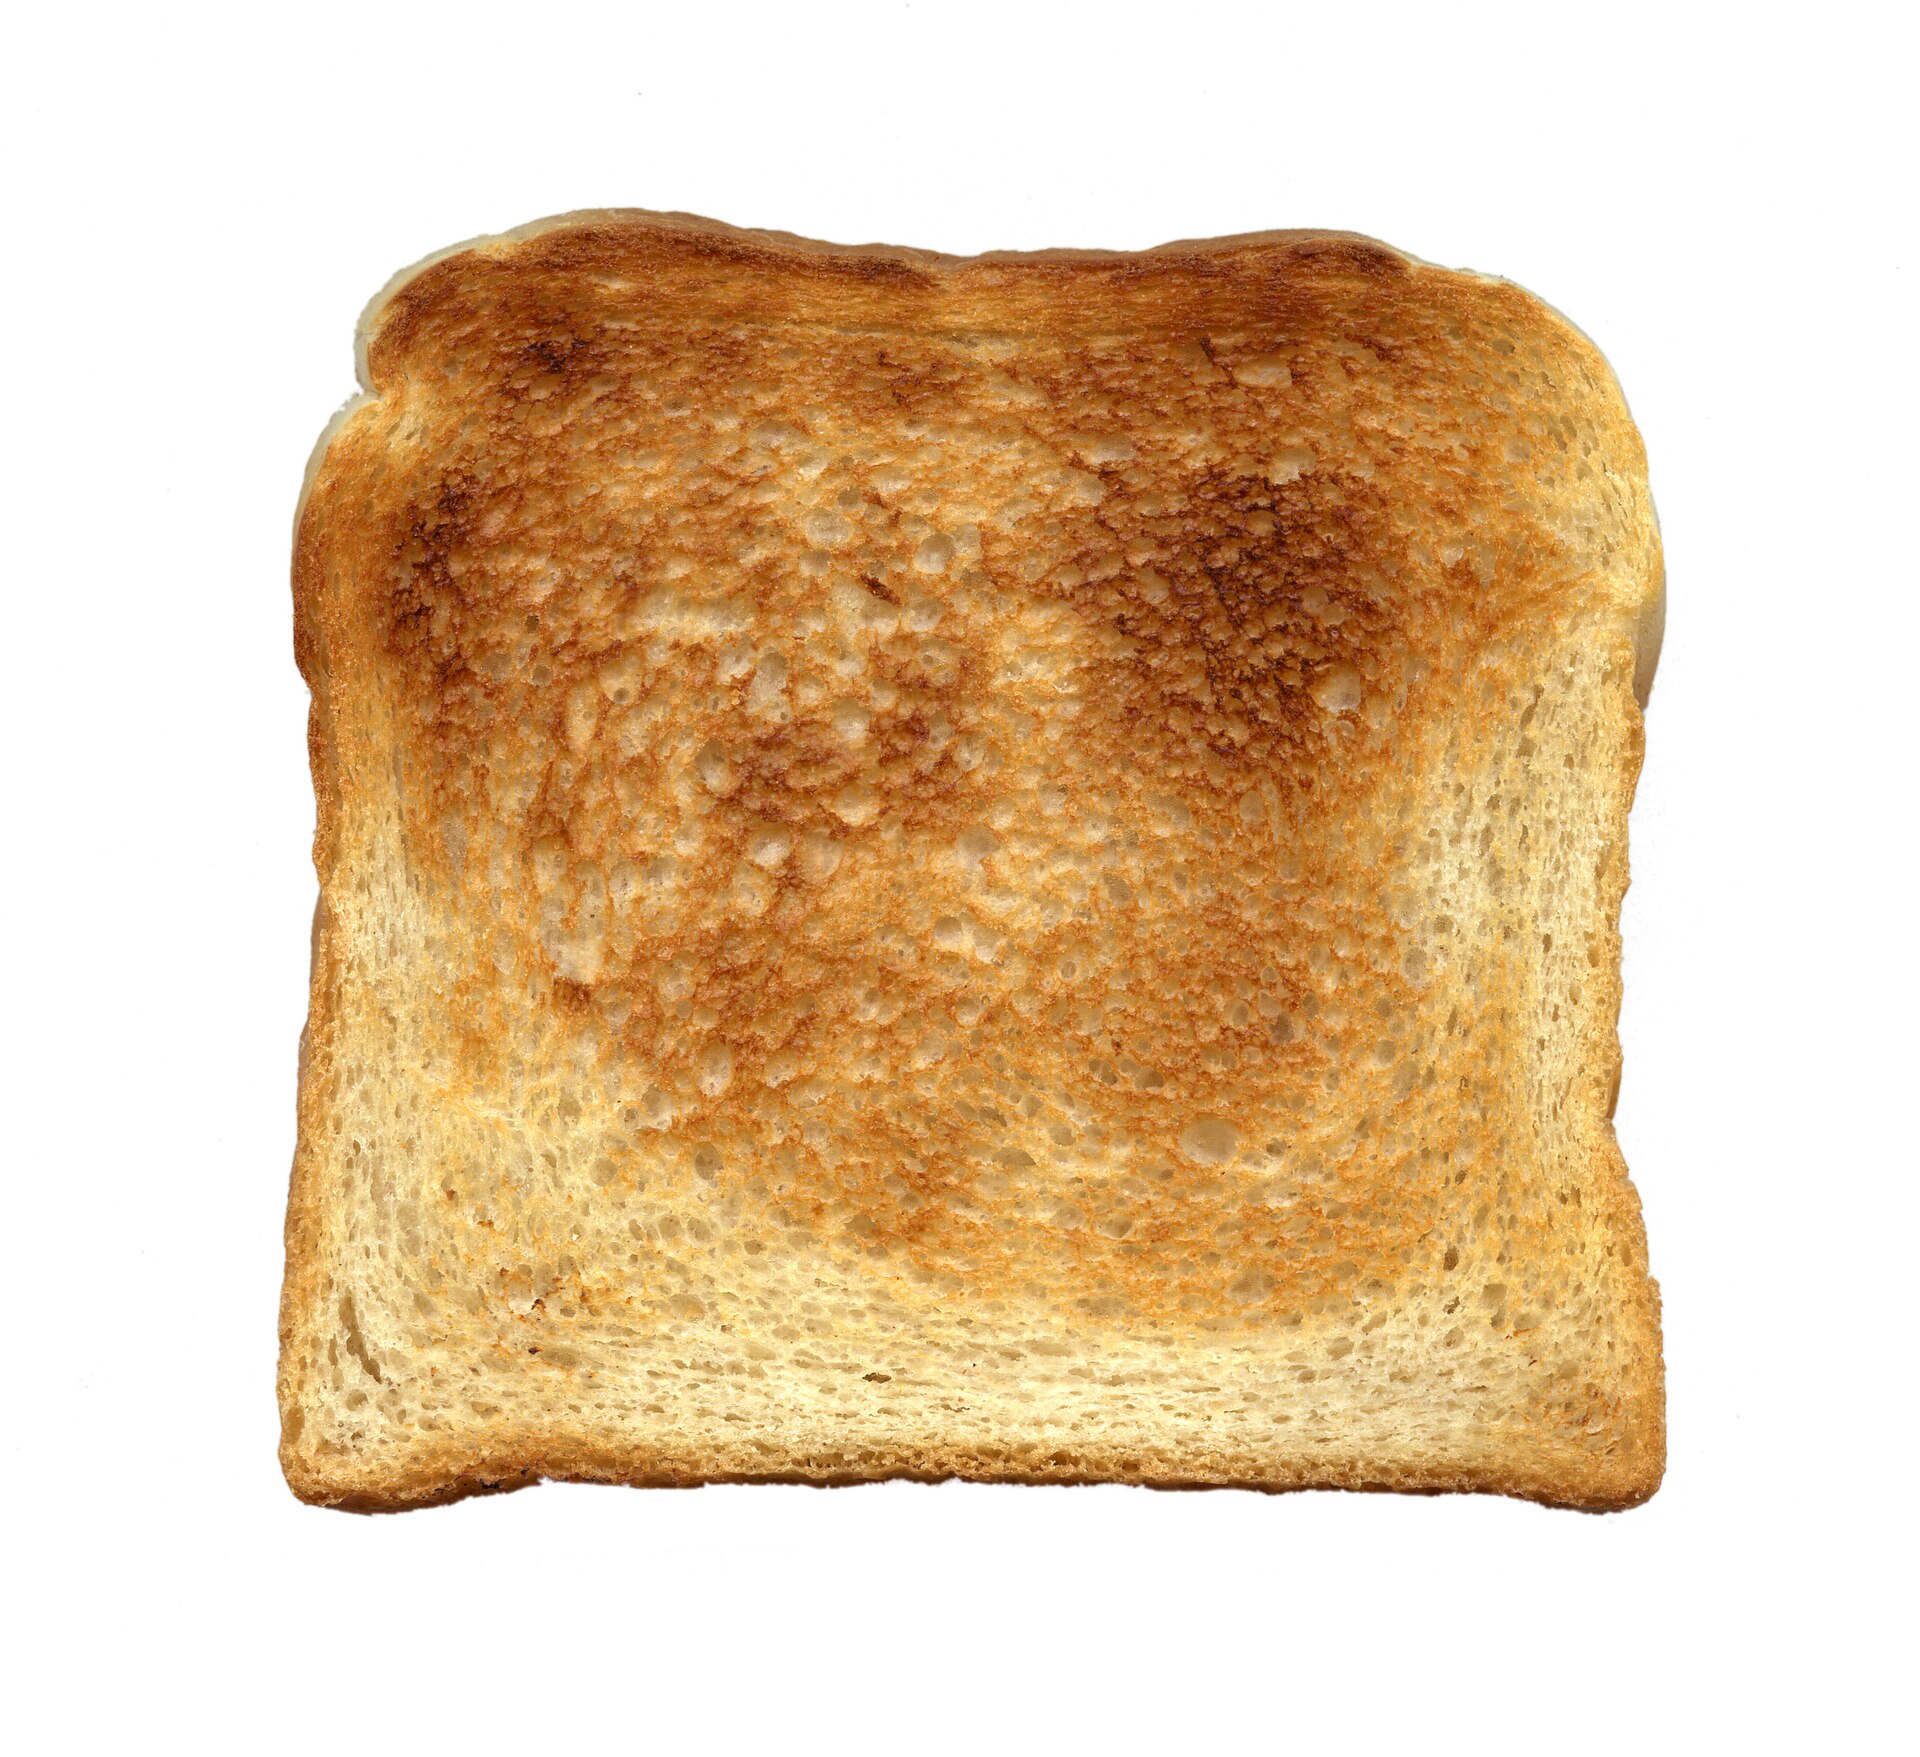
A slice of toasted bread on a plate. Photograph: the toasted bread scene
Image Credits: Wikimedia Commons
Toast browns only on one side when the two faces of the slice do not receive the same heat. A toaster heats bread mainly with radiant heat from glowing nichrome wires on each side of the slot. If one side is weaker, blocked, or farther away, that face stays pale while the other face browns, and a small difference in heat can produce a large difference in colour.
This article explains why toast browns only on one side sometimes, including how a toaster browns bread, which faults cause one-sided browning, how to test the toaster safely, and when cleaning will help and when it will not.
How a toaster browns bread
Browning in a toaster is mostly the Maillard reaction, a set of chemical reactions between amino acids and sugars that creates brown colour and toasted flavour when bread is heated. The reaction speeds up sharply as the surface dries and heats, which is why toast can go from pale to brown quickly near the end of a cycle. The same reaction explains much of the flavour in the related guide to the Maillard reaction.
Heat reaches the bread in three ways, but radiant heat dominates. The glowing wires radiate heat directly onto each face, hot air in the slot adds a smaller amount, and conduction plays a small role where bread touches a guide. Because radiant heat falls off quickly with distance, a slice that sits even a few millimetres closer to one side will brown faster on that side.
Toasters are built around that geometry. Two sets of wires face each other across a narrow slot, and guides hold the slice roughly in the middle.
The design assumes both wire sets glow evenly and the slice stays centred. When either assumption fails, one-sided browning is the expected result, not a mystery.
Bread and placement causes
The simplest cause is the bread itself. A thick slice pressed against one wire set will brown fast on that side and slowly on the other, because the far face is farther from its heat source and shielded by the slice. The same effect happens with a slice that is wider at one end, or with two slices of different thickness sharing a slot.
A leaning slice causes the same problem in a subtler way. If the bread carriage is tilted, or the slice is dropped in at an angle, one face ends up closer to its wires for the whole cycle. Centring the slice before starting the cycle is a free test: if the next slice browns evenly, placement was the cause.
Moisture also matters. Fresh, damp bread browns more slowly than slightly drier bread, because heat must first drive off surface water before browning can build.
A slice with a damp patch, such as bread stored in a sealed bag in a humid kitchen, can therefore brown unevenly even in a healthy toaster. Using slices of similar thickness and dryness removes that variable before blaming the appliance.
Dirt, crumbs, and blocked heat
Crumbs and oil are the most common fixable cause of one-sided browning. Bits of bread fall onto the wires or into the crumb tray, and oil from previous toasting coats parts of the element. A coated or covered section radiates less heat, so the bread facing it stays pale while the clean side browns normally.
The fix starts with safety. Unplug the toaster and let it cool completely before any cleaning, and never put a metal knife or fork inside the slots.
Slide out the crumb tray, wash it, and let it dry fully. Then turn the cool, unplugged toaster upside down over a bin and shake it gently to remove loose crumbs.
A soft, dry pastry brush or a puff of compressed air can remove debris from the wires without bending them. If cleaning restores even browning, the fault was dirt, and regular tray cleaning will prevent a repeat. Guides on toaster care commonly suggest cleaning the tray weekly for heavy use, because crumbs build up faster than most owners expect.
Weak, sagging, or broken elements
Heating elements age unevenly. Nichrome wires expand and contract with every cycle, and over years one side can thin, sag, or develop a break. A sagging wire moves farther from the bread, so its heat falls off, while a wire that touches the frame can lose heat to the frame instead of radiating it onto the slice.
The visual test is simple and revealing. With the toaster running and the room dimmed, look at the wires through the slots without touching the appliance.
Even glow on both sides points to a healthy element. A section that stays dark grey while the rest glows bright orange marks a cold section, and that section will leave a pale patch on the bread facing it.
A broken element is usually the end of the story for a standard toaster. Replacement elements are rarely sold for cheap models, and opening the case to rewire a mains appliance carries a shock risk that is not worth a breakfast appliance. If the glow test shows a dead section after cleaning, replacement is the practical answer rather than further repair.
Sensors, timers, and design limits
Some uneven browning comes from controls rather than wires. Many modern toasters use a sensor or timer to end the cycle, and a faulty sensor can stop heating too early or too late for one side.
Older mechanical timers can also drift, so the same dial setting produces different cycle lengths from day to day. These faults are harder to test at home than dirt or a dead wire.
Design limits matter too, especially in budget models. Some toasters have fewer wires on one side, weaker reflectors, or slots that share power unevenly when only one slot of a four-slice model is used.
Reflectors behind the wires bounce heat back onto the bread, and once they are coated in burnt oil they absorb heat instead of reflecting it. That loss creates hot spots and pale patches that cleaning the wires alone will not fix.
Placement in the kitchen can add a small effect. A toaster pushed against a wall or under a low cabinet traps heat around the case, which can disturb the thermostat.
One repair guide suggests leaving at least 4 inches of clearance on all sides of the toaster for ventilation. That clearance will not fix a dead element, but it removes a variable that can confuse diagnosis.
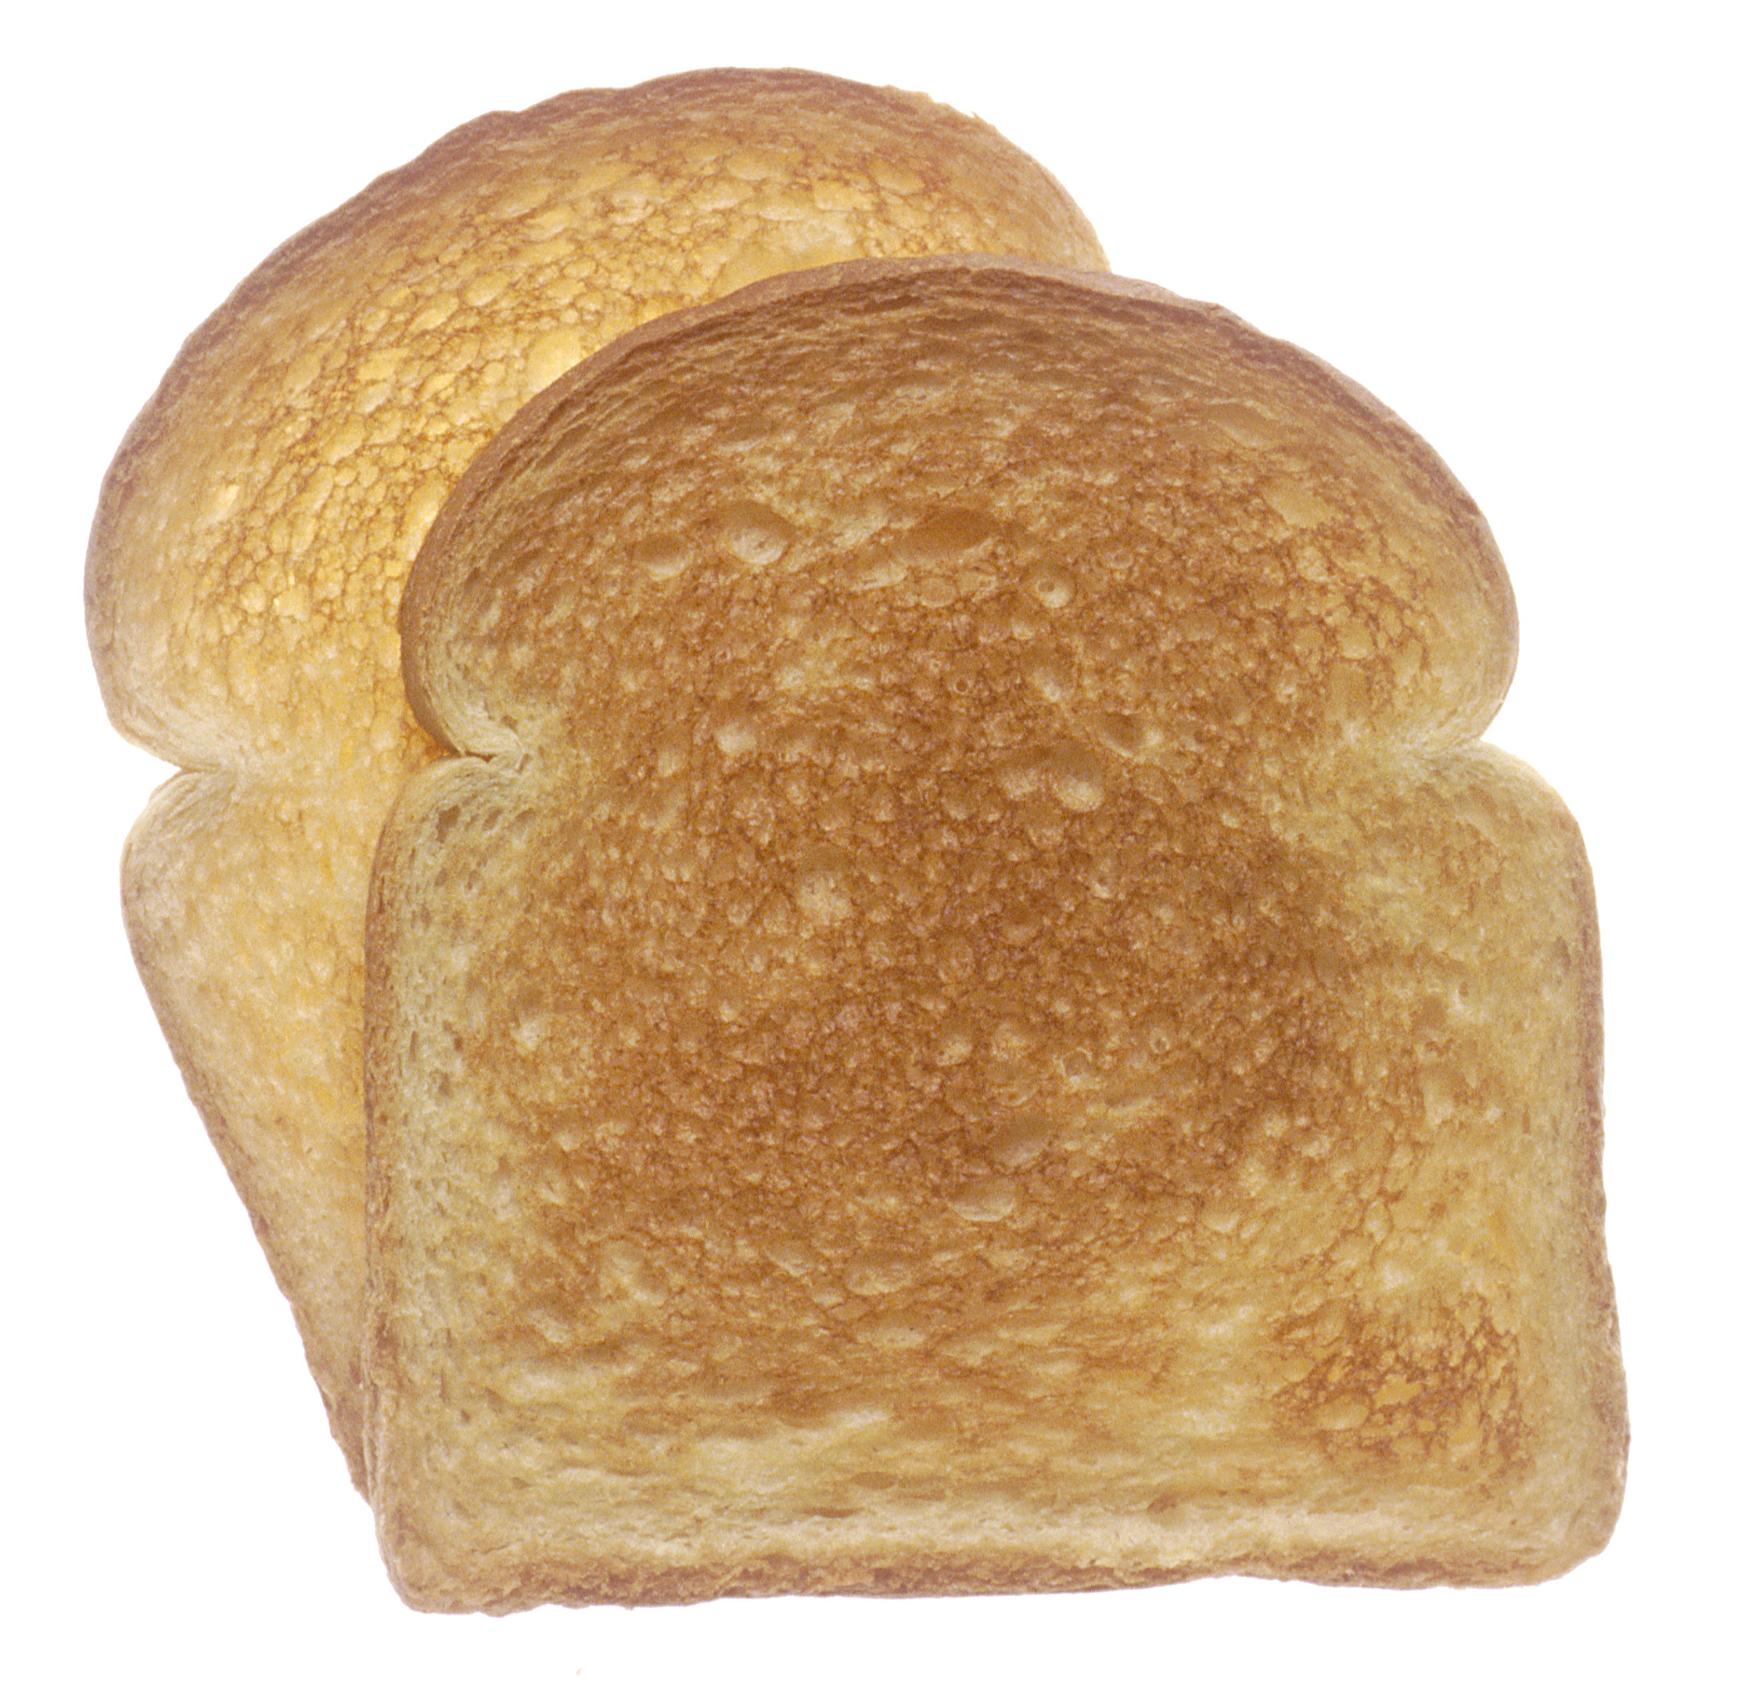
Plain toasted white bread slices. Photograph: the toasted bread scene
Image Credits: Wikimedia Commons
A safe diagnosis in order
Start with the cheapest tests. Try a fresh pair of evenly sliced, similar-thickness pieces, centred in the slot, at a middle setting. If both brown evenly, the problem was bread or placement, and no repair is needed.
If one side is still pale, clean the toaster as described above and repeat the test with the same bread. If cleaning fixes it, keep the crumb tray clean and the problem should stay away. If one side is still pale after cleaning, run the glow test and look for a dark wire section.
Stop at the point where the test points to an electrical fault. Sparks, smoke unrelated to crumbs, a burning smell from the case, or a breaker tripping are signs to unplug the toaster and replace it. A toaster is a cheap appliance with mains power inside, and no slice of toast justifies opening it without proper training.
The bottom line
Toast browns on one side when one face gets less radiant heat than the other, and the usual reasons are a leaning or thick slice, crumbs on the wires, or a weak element. Cleaning and centring fix most cases, while a dark wire section after cleaning points to a failed element. Test in that order, keep the toaster unplugged while cleaning it, and replace the appliance when the fault is electrical rather than dirt.
Tags: toast, toasters, kitchen science
The Rive News research desk writes plain-English explainers from published research and public sources, with claims tied to named studies where the evidence matters.
Related
- What the Maillard reaction is and why food tastes better
- Why bread goes stale so fast
- Why you need to preheat the oven before baking
Subscribe for one research-backed food explainer each week.
Rive News standards: claims are attributed to public sources, and no invented study, quote, or statistic appears in this article.
Related stories
Why Does Bread Go Stale Faster in the Refrigerator?
Bread goes stale faster in the fridge because starch recrystallizes fastest near 4°C. Here is the retrogradation science and the right way
Baking soda and baking powder: what's the difference?
Baking soda is pure sodium bicarbonate; baking powder adds two dry acids for double-acting lift. Learn when to use each, plus exact

What Is the Maillard Reaction in Simple Terms?
The Maillard reaction is the browning chemistry between amino acids and sugars above 140 C that creates the crust, color, and rich flavor