
Why Does Bathroom Caulk Pull Away From the Tub After a Year or Two?
Key takeaways
- The tub-to-wall joint moves constantly: tubs flex under weight and expand with hot water, stretching the caulk daily.
- Cheap acrylic caulk hardens and loses elasticity, while 100% silicone handles joint movement up to 25% of the joint width.
- Surface preparation decides the outcome: caulk must bond to a dry, clean surface, never over old caulk or soap scum.
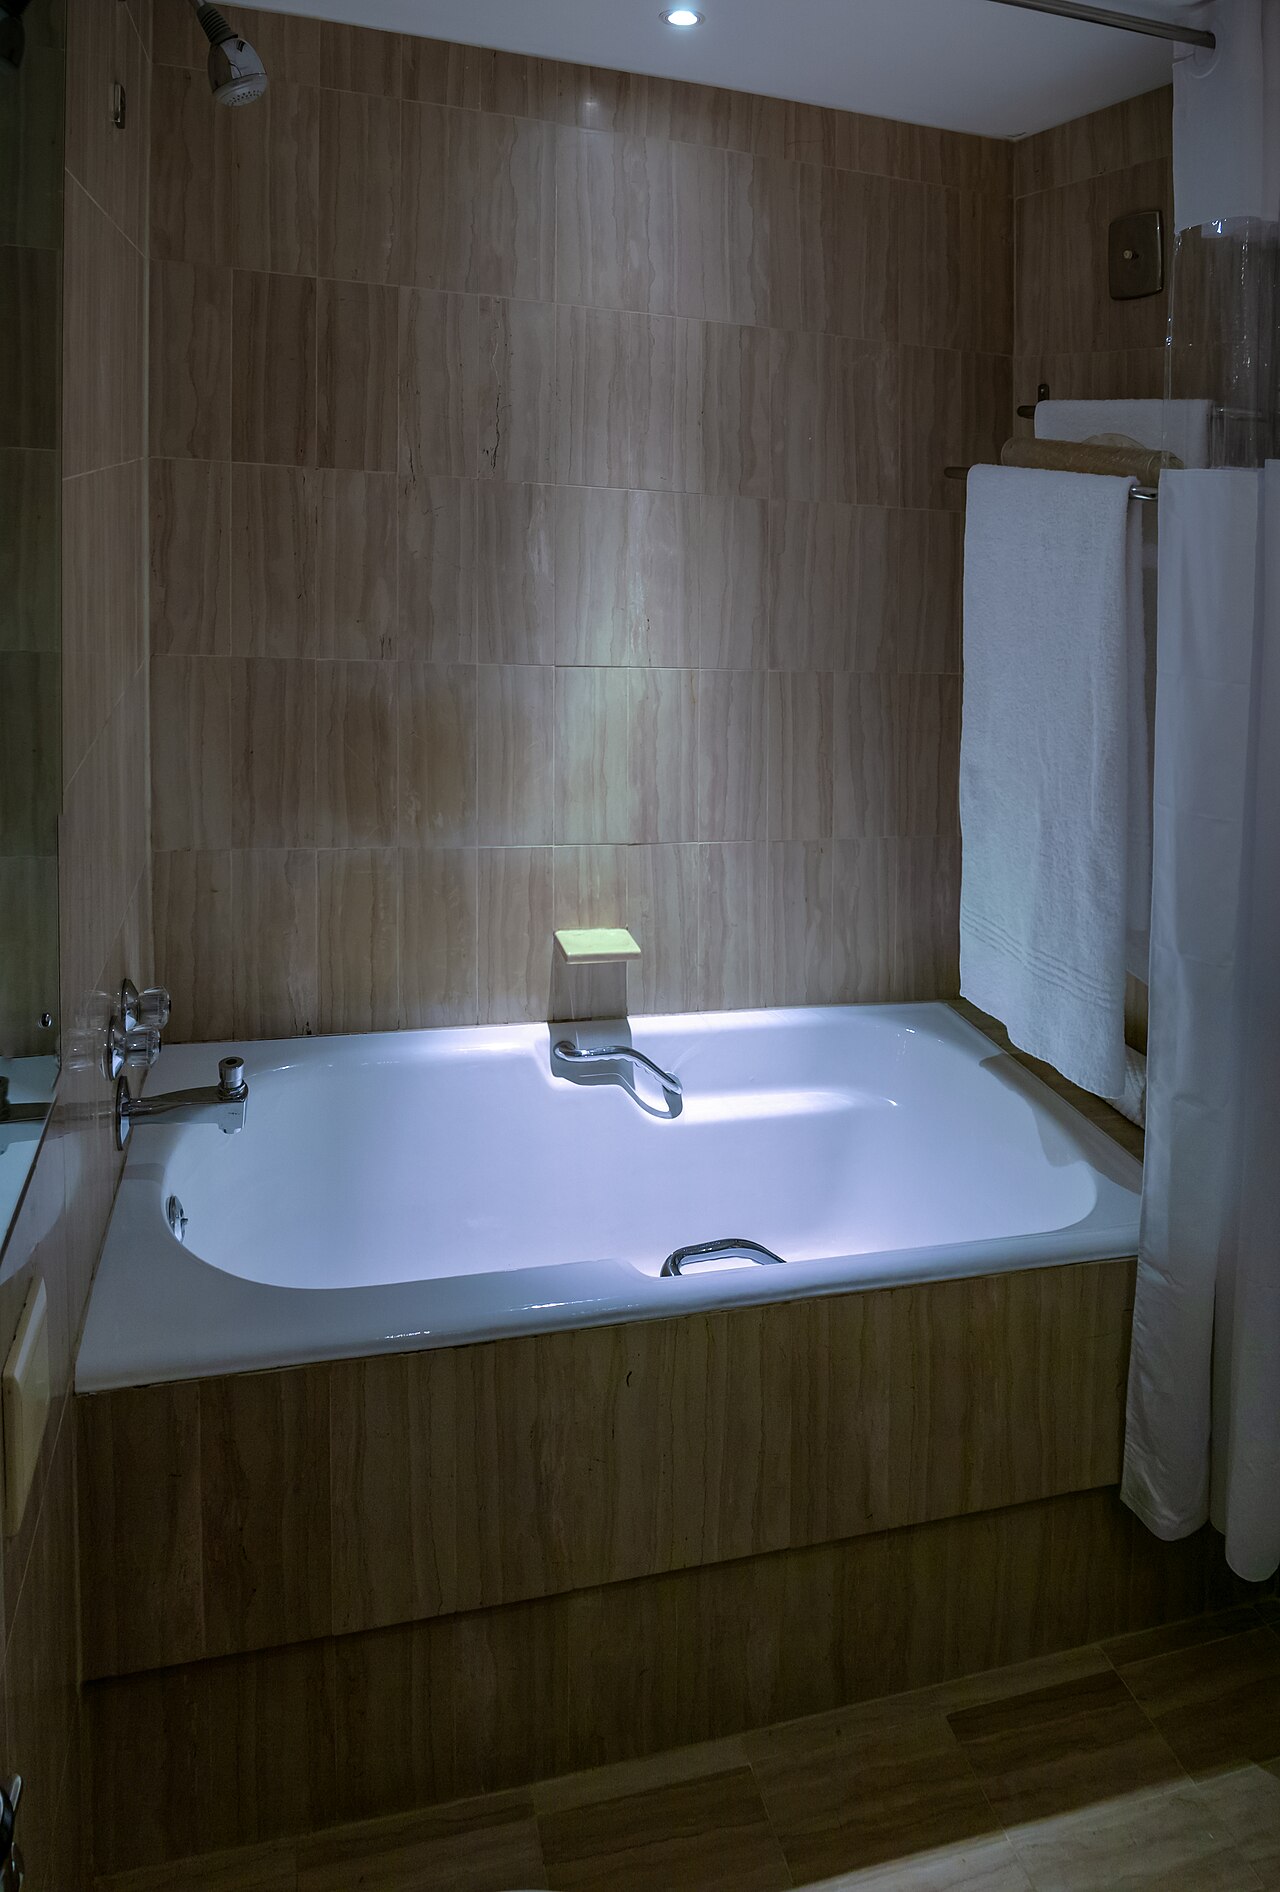
Caulk is the flexible sealant that bridges the gap between your bathtub and the wall. Its job is simple: keep shower water from getting behind the tub, where it feeds mold and rots the wall.
That seal usually fails within a couple of years, long before the decade the tube promised. The bead shrinks, cracks, or peels away from the tile or the tub rim, opening a hairline gap that water finds immediately.
This article explains why bathroom caulk pulls away from the tub after a year or two, including how much the joint actually moves, why the wrong caulk never stood a chance, the preparation mistakes that doom most jobs, and how to recaulk so the seal holds.
Why the tub-to-wall joint never sits still
A bathtub is not a static fixture. EngineerFix identifies excessive joint movement as the primary reason caulk cracks and pulls away, and the tub-to-wall seam is one of the busiest joints in the house.
The first movement is flex. When you step into the tub or fill it with water, the weight makes the rim deflect slightly downward, pulling the tub away from the rigid wall.
Fiberglass and acrylic tubs that are not fully supported flex the most. Every bath stretches the caulk bead and lets it relax again.
The second movement is thermal. Hot shower water expands tile, fiberglass, and the tub itself; everything contracts again as the room cools. EngineerFix notes that this daily expansion and contraction stresses the joint repeatedly, gradually weakening the caulk's grip on both surfaces.
The third is the slow creep of the house itself. Subtle settling and foundation movement shift the junction between the tub and the wall over months and years. Porous materials in the wall also absorb humidity and swell, adding more strain to the sealant line.
A sealant can only survive if it stretches with all three movements and springs back. When the movement exceeds the caulk's capacity, the bond tears on one side or the bead splits down the middle. That is the gap you see after a year or two.
The wrong caulk for a wet, moving joint
Many people seal a tub with basic acrylic latex caulk, the same tube they would use on window trim. EngineerFix calls this a frequent cause of premature failure. Acrylic caulk is water-based and designed for areas with minimal movement, so it quickly turns rigid in a shower and cracks under thermal and moisture expansion.
Water attacks it directly. Because acrylic caulk is water-soluble, constant exposure to shower water degrades it, and EngineerFix links it to early failure and mold growth. 98905.com makes the same point: in high-humidity bathrooms, silicone-based caulk outperforms latex-based caulk, which can bubble or come off faster because it dissolves in water.
The reliable material for this joint is 100% silicone sealant. EngineerFix describes it as a rubber-like compound with superior flexibility that can handle joint movement up to 25% of the joint width, which makes it resistant to the expansion and contraction cycles of a bathroom. Silicone is not water-soluble, so daily soaking does not break it down.
Cheap tubes also fail because of what is inside them. Sashco, a sealant manufacturer, warns that inferior caulks harden over time as their plasticizers evaporate, so the cured bead cracks instead of stretching when the house shifts. Real Life DIY reports that caulk marketed as lasting 10 to 20 years routinely fails within 3 to 5 years in kitchens and bathrooms, and hardening is a major reason why.
The prep mistakes that guarantee early failure
Real Life DIY argues that surface preparation, not product quality, is the single biggest predictor of how long a caulk joint will hold. Most one-year failures trace back to the hour before the tube was opened.
The classic mistake is caulking over old caulk. EngineerFix states it plainly: applying new caulk over old material guarantees premature failure, because the fresh bead bonds to the old caulk instead of to the tile or tub.
Real Life DIY compares it to painting over rust. When the old layer lets go, the new one goes with it.
Contamination is the second killer. Residual moisture, soap scum, body oils, or mildew prevent the fresh sealant from chemically bonding to the surface. 98905.com notes that any dirt, soap scum, or grime on the surface keeps caulk from bonding, and even the tiniest imperfection lets water creep behind the bead.
Moisture is the third. Applying caulk to a damp surface weakens the bond, especially with silicone.
EngineerFix recommends letting the joint air-dry for 12 to 24 hours before caulking. Caulking a tub that was used that morning is a common way to buy a one-year failure.
You can test a suspect bead with your thumbnail. Real Life DIY describes the thumbnail test: press firmly into the bead, and healthy caulk should compress slightly and spring back. If it crumbles at the edges or feels rock-hard with no give, it has lost its elasticity and is already separating at a microscopic level.
How to recaulk so the seal lasts
Do the job once, properly, and the seal can last many years instead of one.
Strip the old caulk completely. Every trace of the old bead, plus soap scum and mildew, must come off. The new sealant has to touch bare tile and bare tub, not residue.
Dry the joint for 12 to 24 hours. Do not use the shower the day before you recaulk. Moisture on the surface interferes with curing and adhesion, so patience here is the cheapest insurance you can buy.
Fill the tub before you caulk. EngineerFix recommends filling the bathtub with water to just below the overflow drain, which simulates the maximum deflection the tub will experience in use. Caulking the joint in this loaded, expanded state means the bead sits compressed when the tub is empty instead of being stretched apart when it is full.
Use 100% silicone, not acrylic. For a tub surround, silicone's flexibility and water resistance are what the joint needs. Tool the bead smooth with a wet finger or a caulking tool so water sheets off instead of pooling against the edges.
Let it cure for 24 to 48 hours with no water or heavy humidity touching it. EngineerFix gives this cure window as the standard. Showering the same evening is the fastest way to ruin a good bead.
FAQ
How long should bathroom caulk around a tub actually last?
With 100% silicone, proper prep, and a dry cure, five to ten years is realistic. Real Life DIY notes that even good caulk in high-moisture zones often shows wear within three to five years, so plan on inspecting the joint every spring.
Can I just put new caulk over the old cracked bead?
No. The new layer bonds to the old caulk instead of the tub and tile, and it traps moisture and mold underneath. Strip the old bead completely first.
Why does caulk fail faster in some bathrooms than others?
Heavy tubs that flex, daily hot showers with big temperature swings, hard water that leaves scale on the bead, and harsh cleaners that attack the sealant all shorten its life. Ventilation helps: a fan that runs during and after showers reduces the moisture load on the joint.
Is the black discoloration on caulk dangerous?
The black staining is usually mold or mildew growing on or under the bead, fed by constant moisture. It means the seal is compromised and the joint needs to be stripped, dried, and recaulked.
Should I caulk the gap between the tub and the floor?
Yes, that joint also sees water, but it moves less than the tub-to-wall seam. The same rules apply: strip, dry, and use 100% silicone.
The bottom line
Bathroom caulk pulls away from the tub because the joint moves every single day while the sealant slowly hardens, and most failures start with dirty prep or the wrong tube. Match a flexible 100% silicone to a stripped, bone-dry joint, caulk with the tub full of water, and give it two days to cure. Do that, and the bead will outlast the year-or-two cycle for good.
Inspect your tub joint this weekend with the thumbnail test. If the bead is hard, cracked, or lifting at the edges, schedule the strip-and-recaulk before water gets behind the wall. A two-hour job now beats a rotted wall later.
Rive News is a research desk covering home maintenance. For water damage behind walls or persistent leaks, hire a licensed contractor.
Latest in Home & DIY
- How to Tell If Old Paint in the Can Is Still Usable
- Why Does a Garage Door Opener Click but the Door Does Not Move
- Why Your Kitchen Smells Like Fish or Hot Plastic
- Why Extension Cords Get Warm: When Heat Turns Dangerous
Subscribe for one plain-English home maintenance explainer every week.
Found an error in this article? Email the research desk with the correction and we will fix it.
Related stories
Why Your Faucet Keeps Dripping After You Turn It Off
A dripping faucet is usually a worn washer, O-ring, or cartridge that can no longer seal. One drip per second wastes over 3,000 gallons
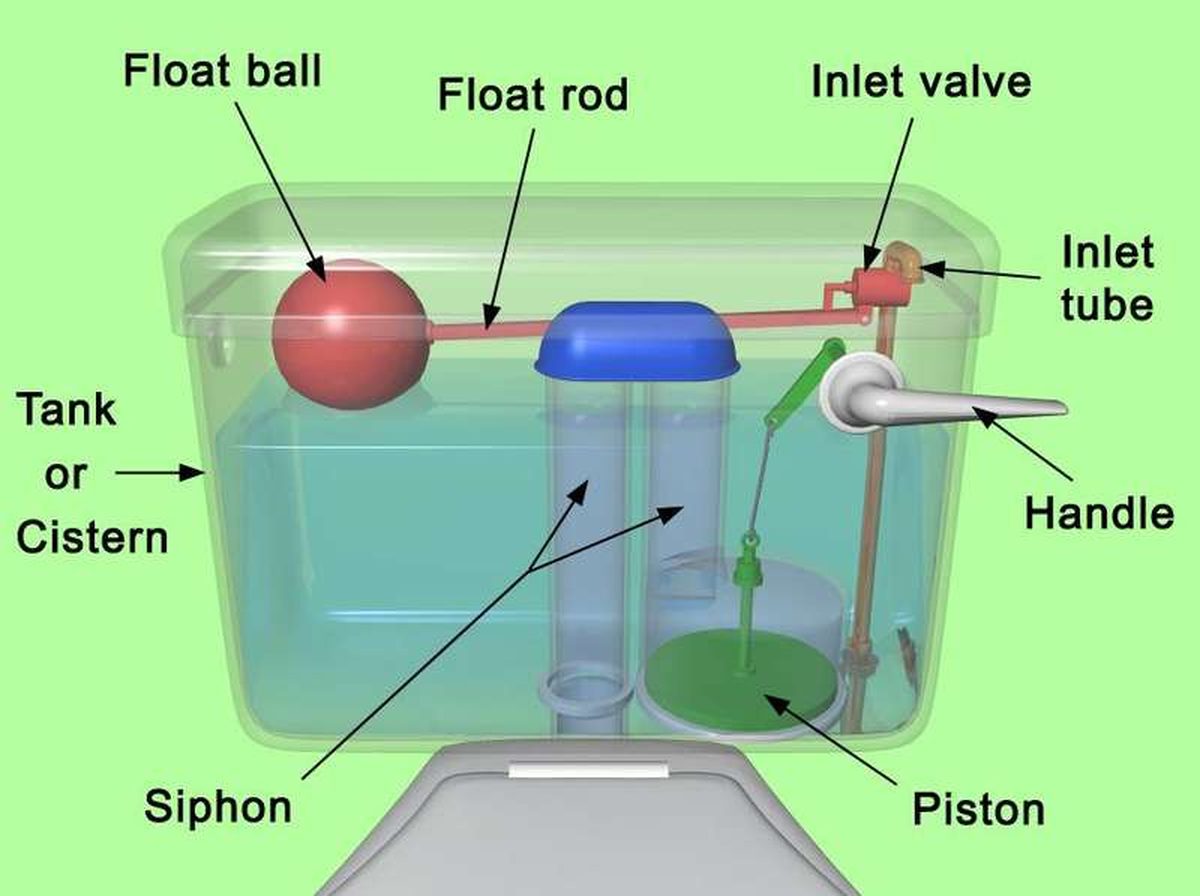
How to fix a running toilet without a plumber in 30 minutes
A running toilet can waste 200 gallons of water a day. Diagnose the flapper, float, or fill valve in two minutes, then fix it yourself
How to hang heavy shelves on drywall safely
Studs first, toggle bolts second, plastic anchors never for heavy loads. Weight ratings, installation steps, and mistakes that bring