
How to Get Rid of Mould on Bathroom Walls Safely
Key takeaways
- Mould is a fungus that feeds on moisture, so drying the bathroom matters as much as cleaning it.
- Ventilate, wear gloves and eye protection, and never mix bleach with vinegar or other cleaners.
- Call a professional for patches larger than 10 square feet or mould you can smell but cannot see.
How to get rid of mould on bathroom walls safely
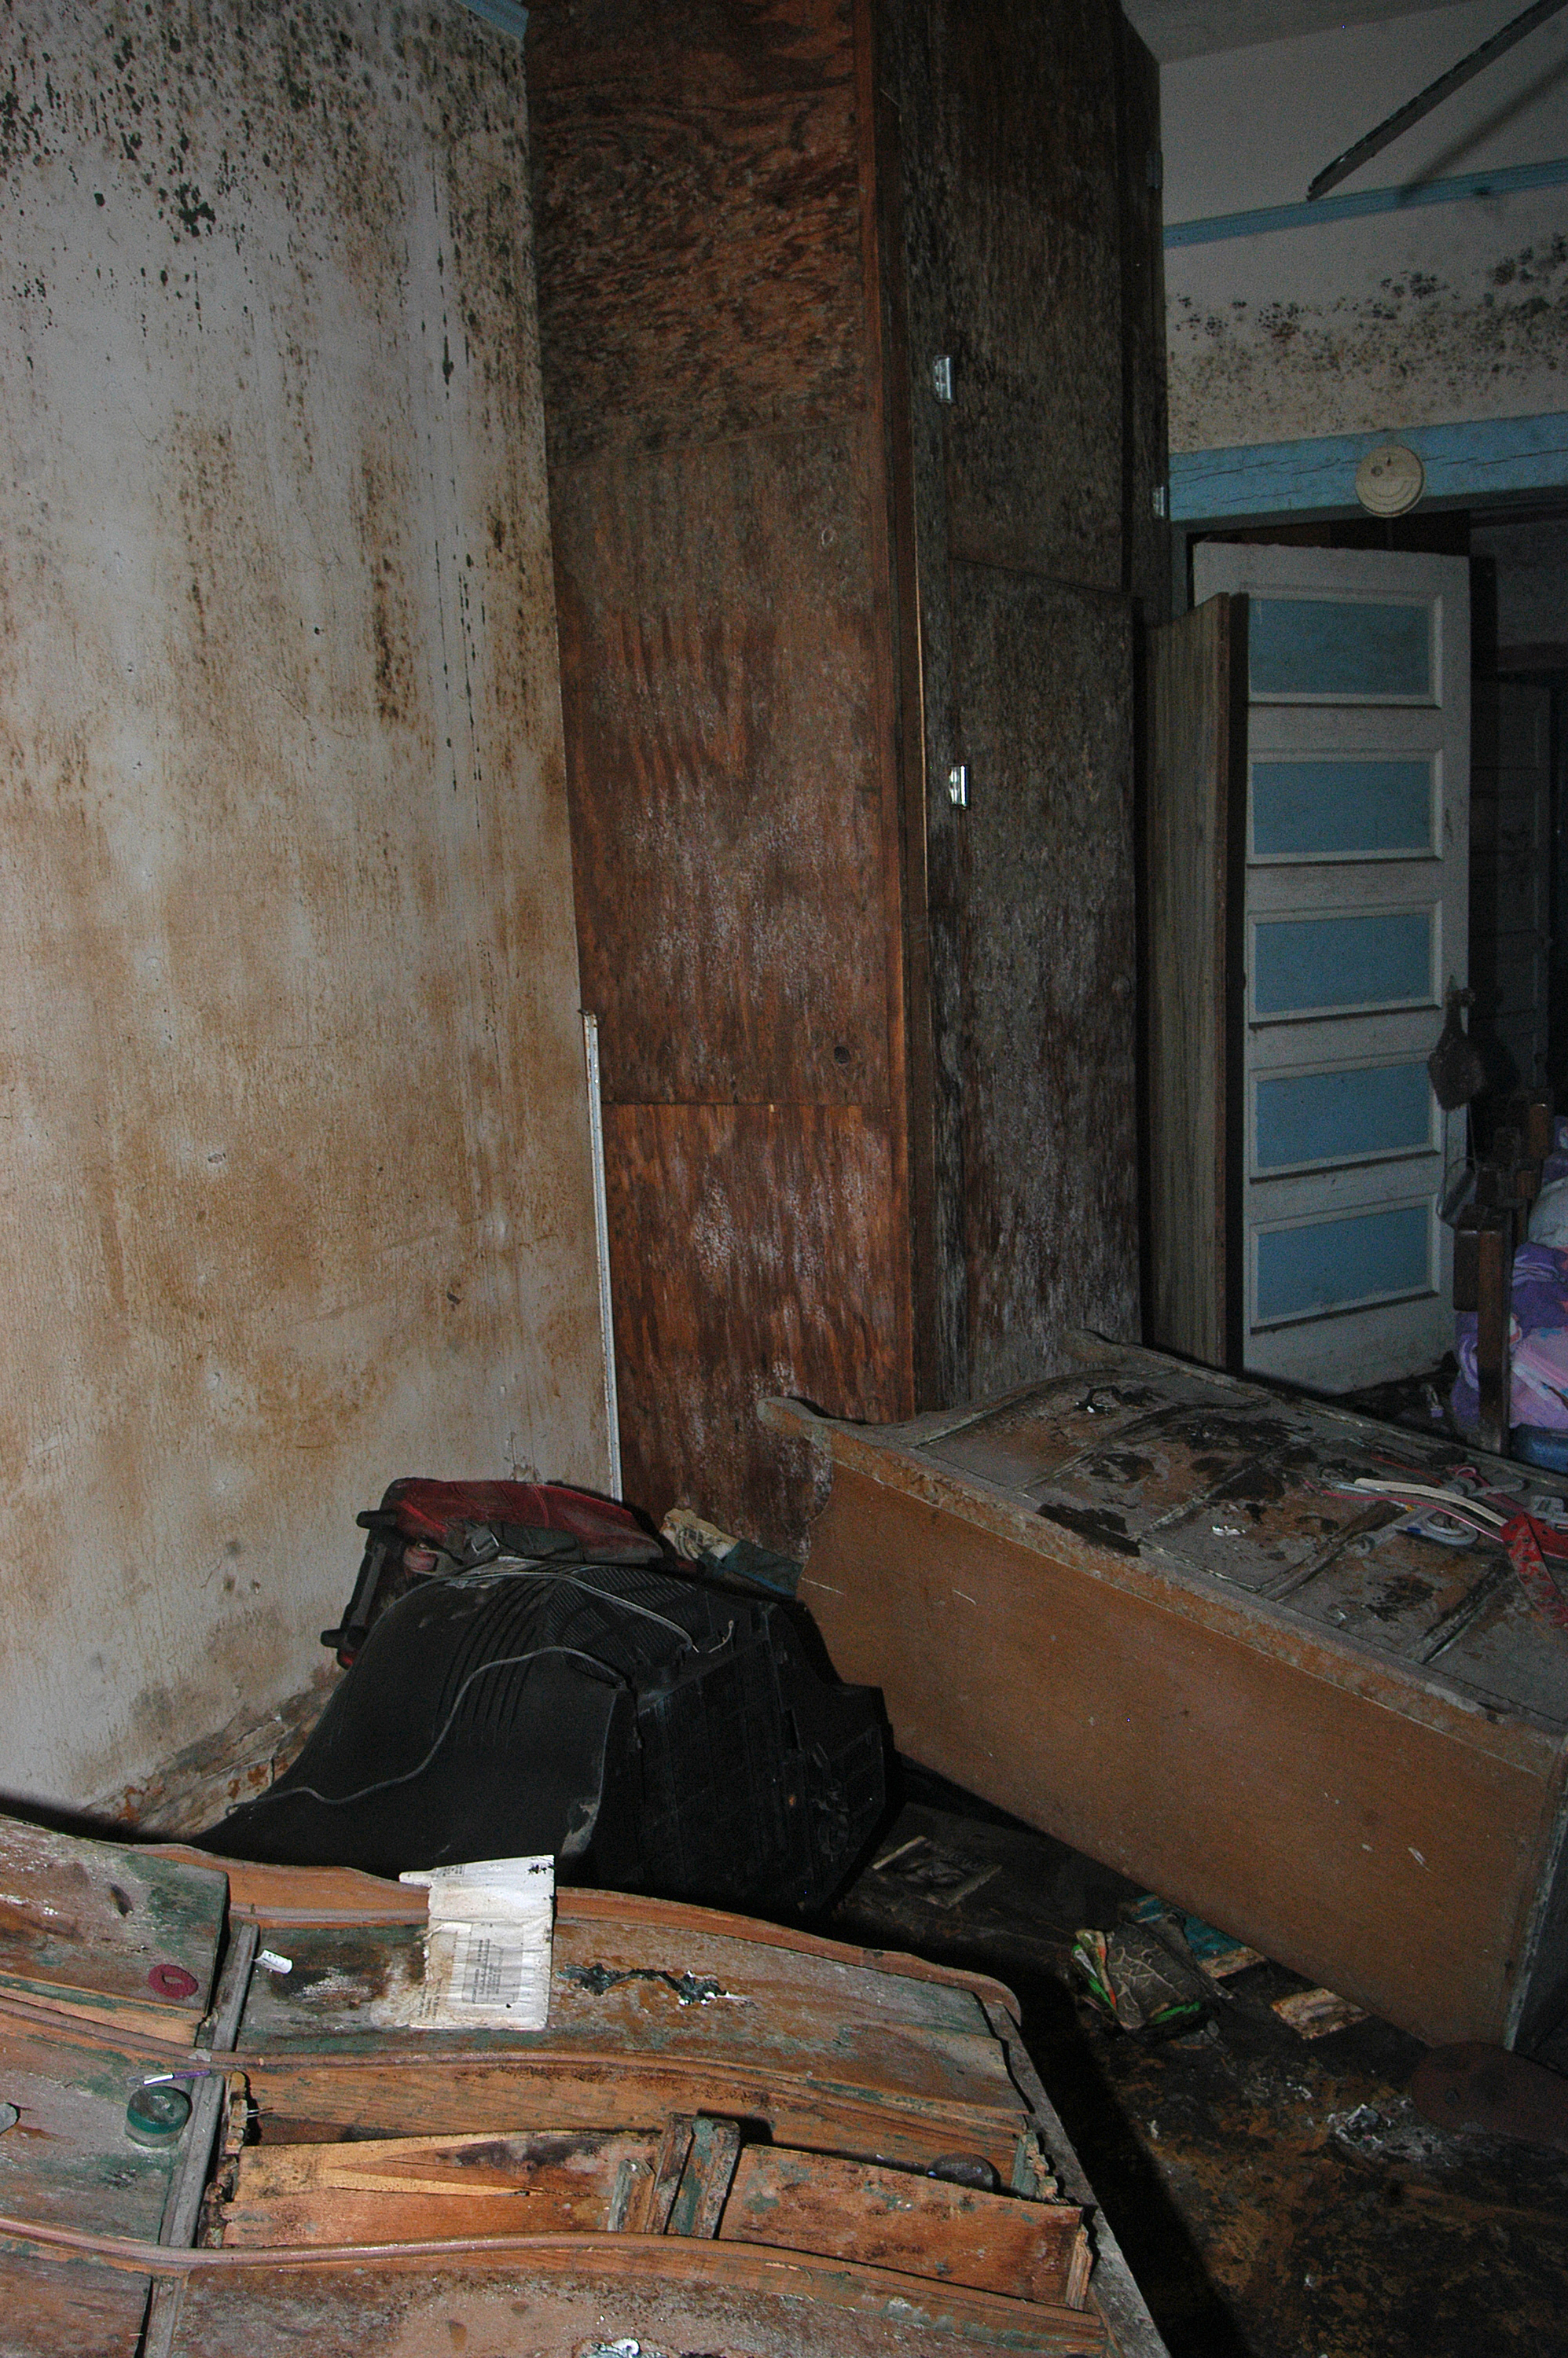
Mould on bathroom walls looks like a cleaning problem, but it is really a moisture problem. Mould is a fungus that grows where excess moisture sits, and bathrooms supply that moisture daily through showers, baths, and steam. This article explains how to clean mould off bathroom walls safely, when to call a professional, and how to stop it coming back.
This article is for general information, not medical advice. If you have asthma or other breathing problems, do not tackle mould yourself. Wickes advises getting professional help in that case.
Why mould grows in bathrooms
Bathrooms are warm, damp, and often poorly ventilated. That combination is close to ideal for mould. Steam from a shower settles on walls, ceilings, and tiles.
If the air cannot carry that moisture away, water sits on surfaces long enough for mould to take hold.
Poor ventilation is the most common cause. Without airflow, steam lingers and condenses on cold surfaces such as tiles, mirrors, and windows. Leaking pipes and dripping taps add steady moisture, often in hidden spots behind sinks or under baths.
Condensation plays a large part. When warm, humid air meets a cold wall, droplets form. Over time, those droplets create the damp conditions mould needs.
Porous materials such as grout, sealant, and some plasters absorb moisture easily, which makes them vulnerable.
Safety rules before you start
Get the safety steps right before you touch the mould. Ventilate the room first. Open windows and doors, and switch the extractor fan on before you begin.
Keep the fan running while you work and for a while afterwards.
Wear rubber gloves and protective eyewear. Cleaning solutions can irritate skin and eyes, and mould on a ceiling can drip down onto your face. A simple dust mask helps too, especially if the patch is large or the room is small.
Never mix cleaning products. Mira Showers warns never to mix different cleaning products, especially bleach and vinegar, because the mix can create toxic fumes. Pick one method and stick with it.
If you switch products, rinse the surface first.
Do not brush dry mould. Brushing can release spores into the air. Houzz advises soaking a rag in soapy water and wiping mould away, then putting the used rag in a plastic bag and throwing the bag away.
Gentle wiping beats hard scrubbing for safety.
Step 1: Check the size of the patch
Size decides whether this is a DIY job. Wickes says to call in a professional if a patch is larger than 10 square feet. That is roughly a patch one metre by one metre, which is bigger than it sounds.
Call a professional in three other cases as well. If you can smell mould but cannot see it, it is probably hidden behind walls, floors, or fittings. If mould keeps returning after cleaning, a leak or hidden damp problem may be feeding it.
If anyone in the home has breathing problems, leave the job to someone with the right equipment.
Small patches on tiles, grout, or painted walls are fair game for careful DIY cleaning. Large patches, hidden mould, and recurring mould are not.
Step 2: Pick the right cleaner
Three options cover most bathroom walls: diluted bleach, a commercial mould remover, and white vinegar. Each fits a different case.
Bleach is strong and effective on hard, non-porous surfaces such as tiles and glass. Wickes gives a wall recipe of four parts water to one part bleach in a spray bottle. Spray it on the mould, leave it to sit for a few minutes, then wipe it away with a wet sponge or damp cloth.
Repeat if any mould remains.
Bleach has limits. It works less well on porous materials such as wood and plaster, because it cannot reach the roots of the mould inside the material. Wickes notes that bleach may kill surface mould on those materials while leaving the deeper growth intact.
Bleach also gives off fumes, so ventilation and eye protection matter more with bleach than with milder options.
A commercial mould remover is often less harsh than bleach. Many are gentle enough for painted walls without stripping the paint. Follow the packaging instructions, and expect to spray, wait around 15 minutes, and wipe away the residue.
Avoid harsh scrubbing on painted walls so you do not damage the finish.
White vinegar suits small, light patches. Vinegar is acidic, and its acidity kills many mould types on contact. Wickes suggests a one-to-one mix of vinegar and warm water, sprayed on the mould and left for about an hour, then wiped away with a clean cloth.
Vinegar is a natural, non-toxic option, but it is not the right tool for deep outbreaks or heavy black mould.
For grout lines, a baking soda paste plus hydrogen peroxide works well. Houzz describes stirring half a cup of baking soda with a few teaspoons of water into a paste, applying it to the grout, then spraying it with hydrogen peroxide. The paste bubbles.
Leave it for a bit, then brush gently with an old toothbrush and rinse.
Step 3: Clean the walls
Work from the top down so dirty water does not run over cleaned areas. Spray your chosen cleaner onto the mould and let it soak. A few minutes is enough for bleach on tiles.
Vinegar needs about an hour. Mould remover needs around 15 minutes, per its label.
Wipe with a damp cloth or sponge, using gentle pressure. On painted walls, keep pressure light so you do not strip the paint. On tiles, an old toothbrush reaches into grout lines and corners.
Rinse the area with clean water after cleaning. Then dry it fully with a towel. Moisture left behind invites mould back, so drying is part of cleaning, not an afterthought.
Put used cloths and sponges in a plastic bag and throw the bag away. Rinse brushes well. Wash your gloves and hands after you finish.
Step 4: Clean ceilings, grout, and sealant
Ceilings need extra care because warm, humid air rises and condenses on the cooler ceiling surface. Use a sturdy step ladder, and have someone nearby while you work at height. Wear eye protection, since cleaner can drip down.
Spray the cleaner onto the ceiling mould and leave it for 15 to 20 minutes to penetrate. Scrub carefully with a long-handled brush or sponge, working methodically across the ceiling without overreaching. Rinse with a damp cloth and dry with a towel.
Wait at least 24 hours before repainting, and use anti-mould paint for the extra barrier it gives.
Grout is porous, so it holds mould more stubbornly than tile faces. The baking soda and hydrogen peroxide paste above is a good first try. If grout stays stained after cleaning, a grout pen from a DIY store can hide the marks.
Sealing clean grout helps block future moisture.
Sealant is the weak spot. If mould has taken over the silicone around a bath or shower, cleaning may not be enough. Wickes says resealing is probably the right move when silicone is badly affected.
Replacing old sealant removes the mould living inside it, which surface cleaning cannot reach.
Do not paint over mould. Paint traps the mould underneath, and it keeps growing under the new coat. Remove and kill the mould first, then repaint with mould-resistant paint in areas that have been affected before.
Step 5: Stop it coming back
Cleaning without fixing the moisture is a short-term win. Prevention is the longer game, and it rests on ventilation and drying habits.
Run the extractor fan during and after every shower. Wickes advises keeping the fan on for at least 30 minutes after a bath or shower so moisture escapes. Mira Showers gives a similar rule of at least 20 minutes.
Open a window as well if you have one.
Squeegee shower walls and doors after every shower. Removing water from surfaces cuts the moisture in the room at once. Stretch out the shower curtain so it dries fully, and hang towels up to dry in a well-ventilated area.
Fix leaks promptly. A dripping tap or a leaking pipe feeds mould quietly for weeks. Check under sinks and around the bath for damp spots.
Condensation on bedroom windows comes from the same cause, so the drying habits transfer across rooms.
Wash bathmats and towels often, and clean bathroom surfaces weekly. Wipe down tiles and shower screens so soap scum and moisture do not build up. A dry bathroom is a mould-free bathroom.
Frequently asked questions
Is bathroom mould dangerous?
It can be. Mould releases spores that can irritate skin and eyes, cause breathing problems, and trigger allergies and headaches. Black mould is linked to chronic coughing, headaches, and fatigue.
People with asthma should avoid cleaning it themselves.
Can I use bleach on mould on painted walls?
Bleach works best on hard, non-porous surfaces such as tiles and glass. On painted walls, a commercial mould remover made for painted surfaces is usually gentler. Always do a patch test in an inconspicuous area first, and avoid harsh scrubbing.
Should I mix bleach and vinegar for stronger cleaning?
No. Never mix bleach with vinegar or any other cleaner. The mix can create toxic fumes.
Pick one method, and rinse the surface if you switch products.
Does mould go away on its own when it dries out?
No. Dried mould becomes dormant, but it can grow back when moisture returns. Cleaning and drying together are both needed.
Fix the moisture source or the mould will return.
How do I tell surface mould from a deeper problem?
Surface mould wipes away easily and does not return fast. Deeper mould returns quickly, spreads behind grout or paint, smells strong, and is often linked to leaks or damp. If mould keeps coming back, get a professional to check for hidden damp.
The bottom line
Mould on bathroom walls comes from moisture, so the fix has two halves: clean the patch safely, then dry the room. Ventilate, protect your skin and eyes, pick one cleaner, and wipe gently. Call a professional for large patches, hidden mould, or recurring growth.
Then keep the fan running, squeegee the shower, and fix leaks fast so the mould has nothing to feed on.
Tags: mould, bathroom, cleaning, ventilation
Latest in Home
- Stop Condensation on Bedroom Windows
- Childproof Your Home Before Baby Crawls
- Keep Your Home Cool Without Air Conditioning
- Why Your Room Smells Musty Even When Clean
Subscribe to the Rive News newsletter for one practical guide each week.
Related stories
Why Your Faucet Keeps Dripping After You Turn It Off
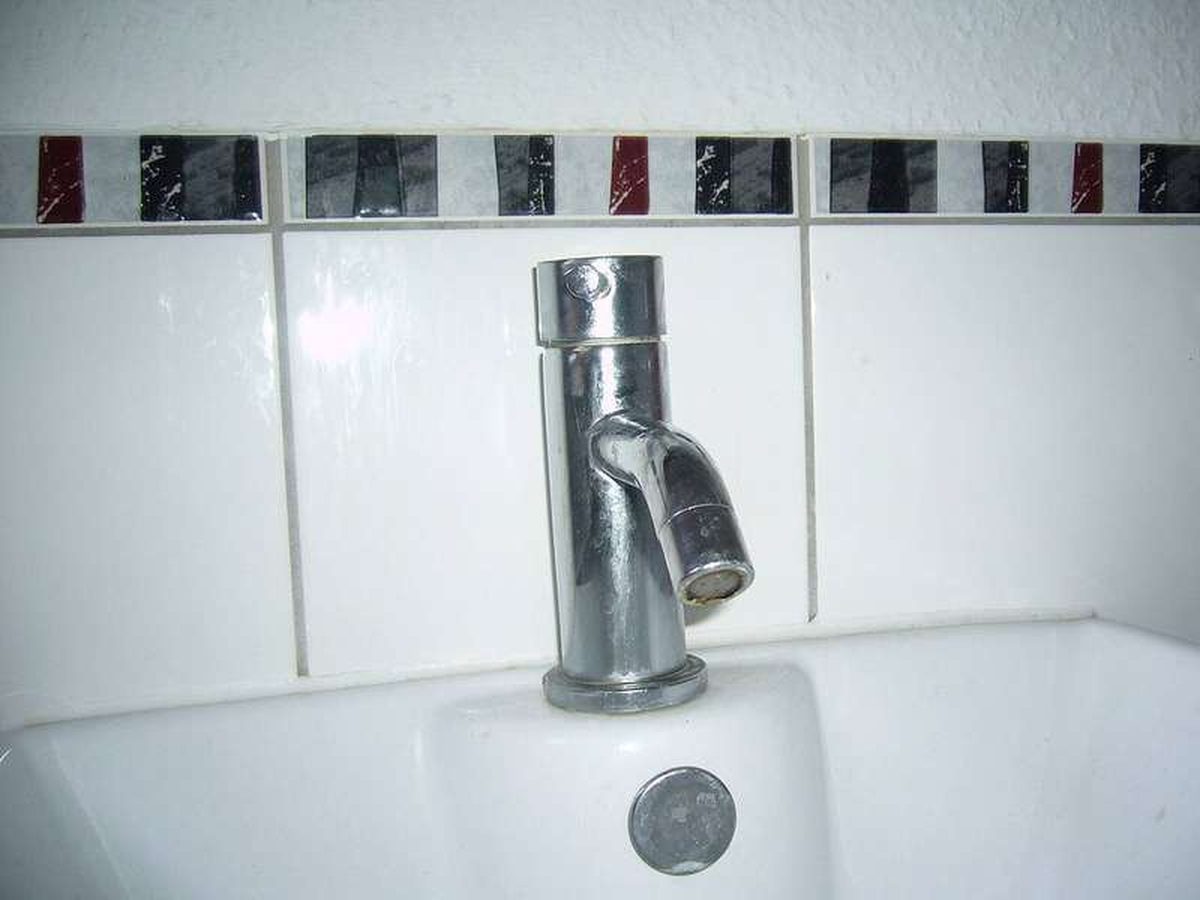
A dripping faucet is usually a worn washer, O-ring, or cartridge that can no longer seal. One drip per second wastes over 3,000 gallons
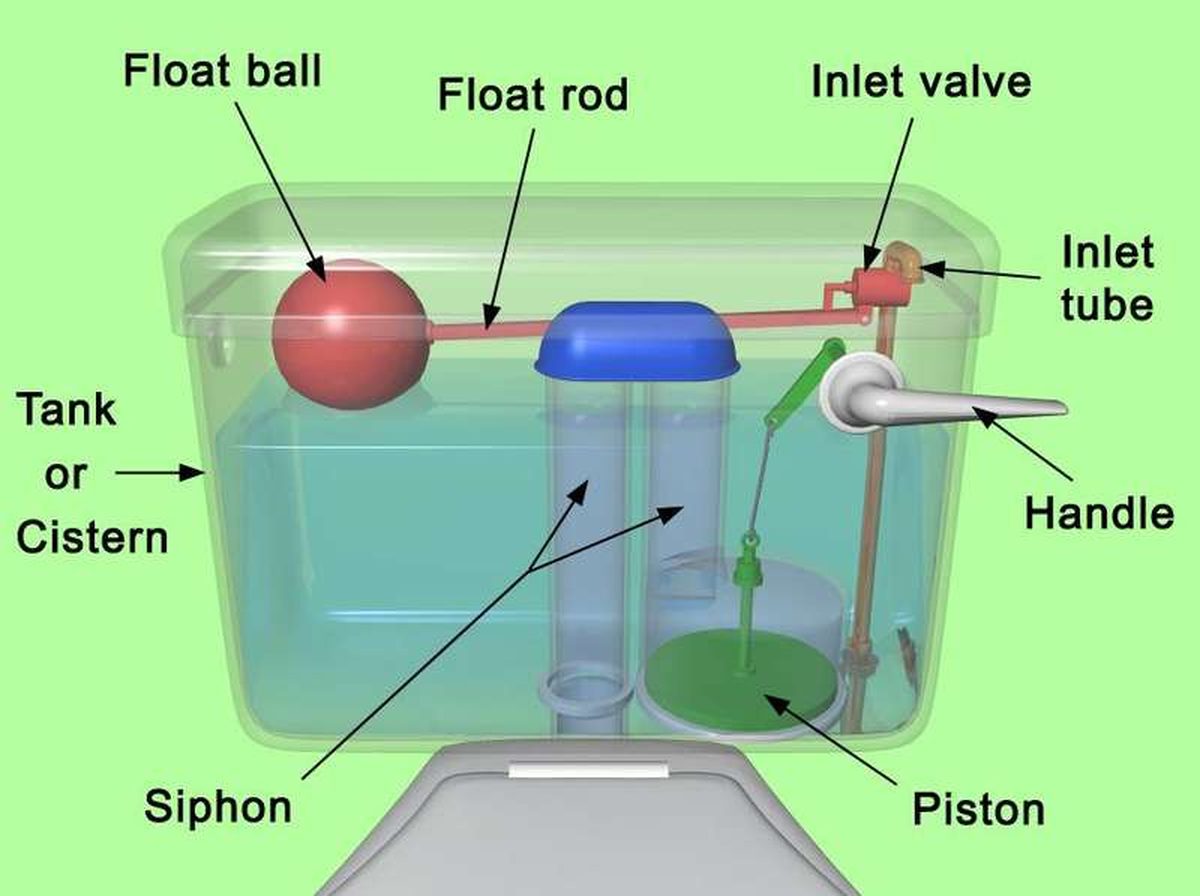
How to fix a running toilet without a plumber in 30 minutes
A running toilet can waste 200 gallons of water a day. Diagnose the flapper, float, or fill valve in two minutes, then fix it yourself

How to hang heavy shelves on drywall safely
Studs first, toggle bolts second, plastic anchors never for heavy loads. Weight ratings, installation steps, and mistakes that bring