
How to Clean Car Headlights That Have Gone Cloudy
Key takeaways
- Cloudy headlights are oxidized plastic, not dirt, so washing alone will not fix them.
- A restoration kit with wet sanding, polish, and a UV sealant gives the longest lasting result.
- Skip bug spray. Its solvent can damage polycarbonate and the haze returns fast without UV protection.
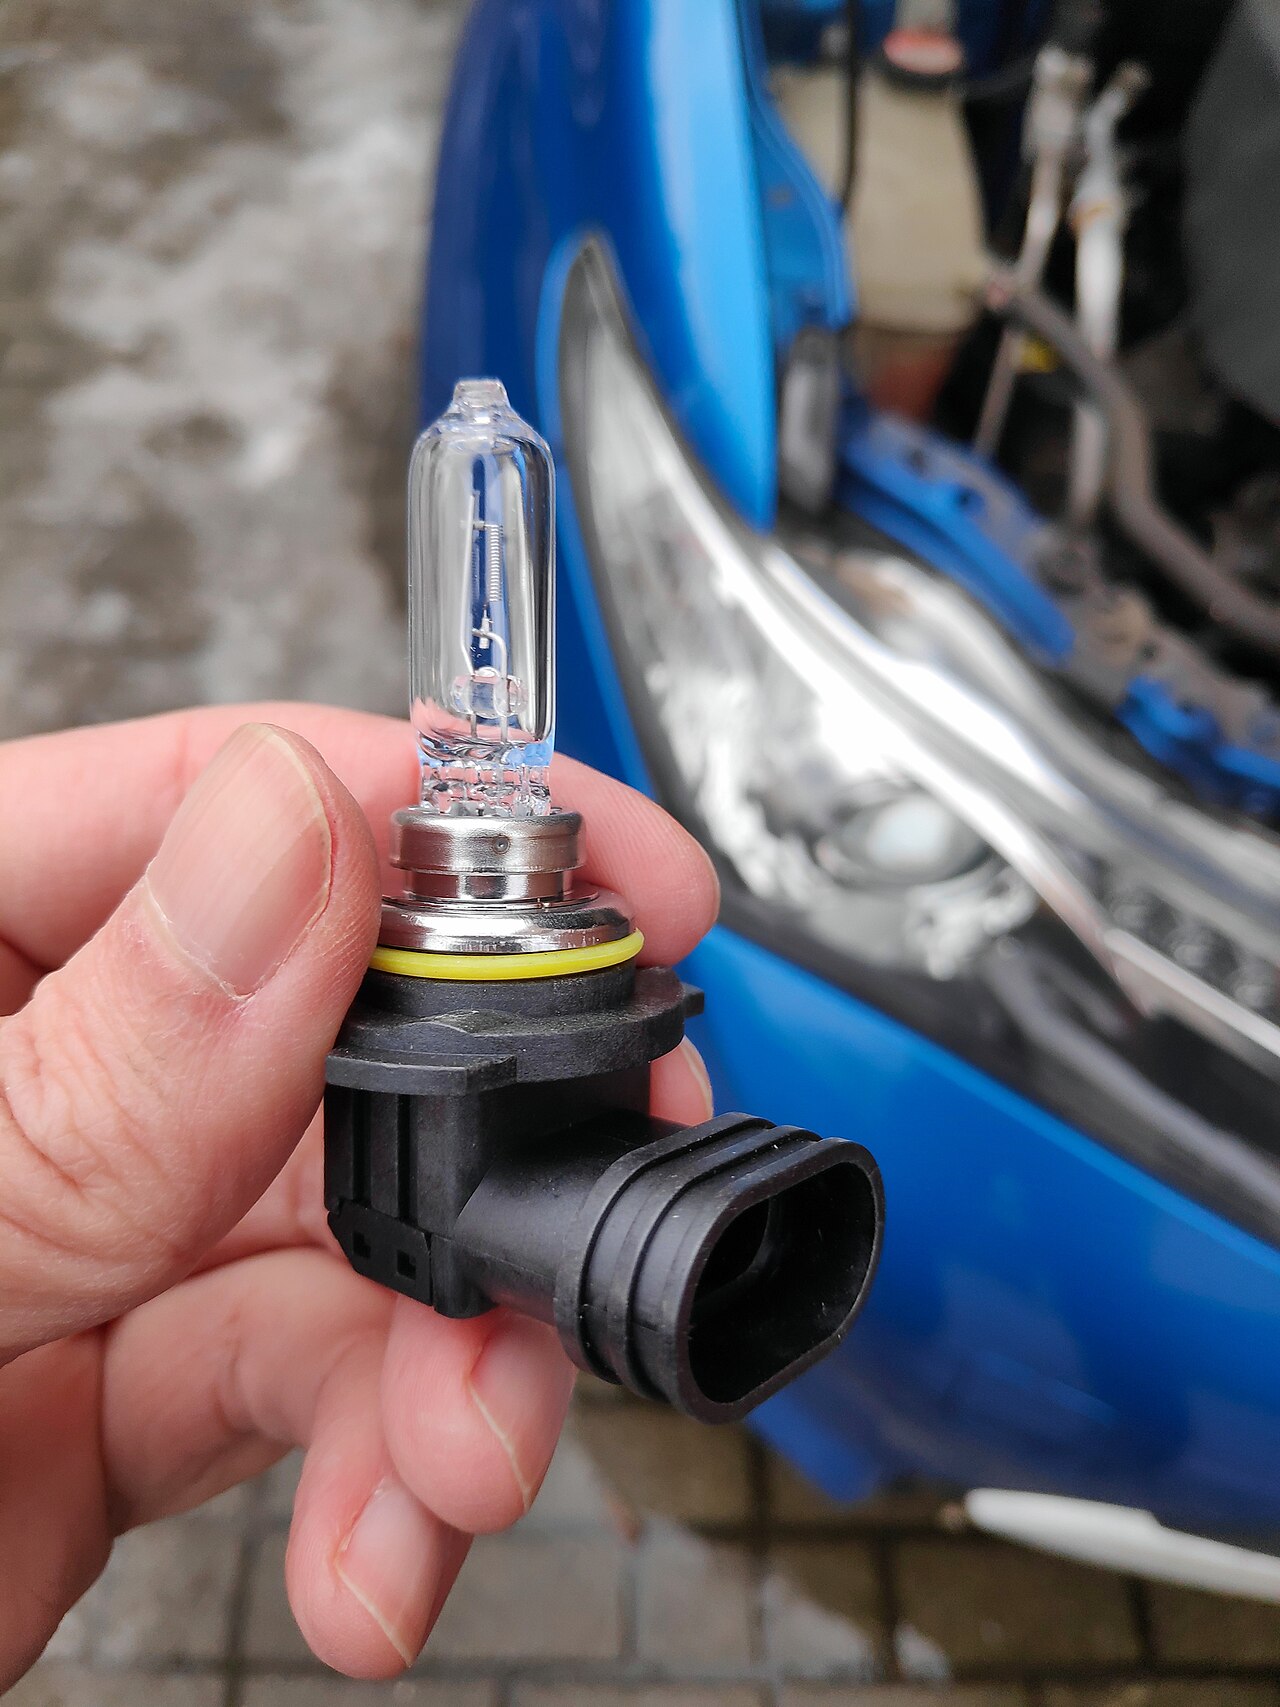
Cloudy headlights look like a cosmetic problem. They are a safety problem first. The haze sits in the lens itself, and it scatters the light that should reach the road ahead.
Most modern headlight lenses are polycarbonate plastic, not glass. The factory coats that plastic with a clear UV protective layer. Sun, road grit, and chemicals wear that coating away, and then the bare plastic oxidizes.
This article explains why headlights turn cloudy, how to judge how bad the haze is, how to restore lenses step by step, and how to keep them clear.
Why headlights turn cloudy
The main culprit is ultraviolet light from the sun. UV radiation breaks down the factory clear coat and then attacks the polycarbonate underneath. The surface turns chalky, yellow, or foggy as the plastic oxidizes.
Road debris adds to the damage. Sand, grit, small stones, and winter road salt strike the lens and leave tiny scratches. Each scratch scatters a little more light.
Over years, the surface goes from smooth and clear to rough and dull.
Heat plays a smaller role. The bulb inside the housing warms the lens from within, and that long term stress can change the plastic over time. Moisture is a separate issue.
If the seal around the lens fails, condensation can fog the inside of the housing, and no amount of outside polishing will fix that.
The safety stakes are real. The US National Highway Traffic Safety Administration has noted that oxidized headlights can reduce light output by as much as 80 percent. That is a large loss on a dark road.
Cloudy lenses also scatter light outward, which can glare into the eyes of other drivers.
How bad is the haze
Start by finding where the fog sits. Wash the lens with car soap and water, dry it, and look at it in daylight. If the surface feels rough and looks milky from the outside, the damage is on the outer layer.
That is the case most owners can fix at home.
Run a finger across the lens. Light haze feels almost smooth and looks like a faint film. Moderate haze looks yellow and feels slightly rough.
Severe haze looks deep yellow or brown, and the lens may show fine cracks called crazing.
Check for inside moisture next. If you see droplets or a film that stays put when the outside is dry, the seal may have failed. Drying and resealing a housing is a bigger job than polishing.
If the lens is cracked, warped, or full of deep crazing, replacement is the honest answer, not another round of sanding.
If you are buying a used car, cloudy lenses belong on your inspection list. They tell you how the car was stored and how much sun it saw. They also tell you the next owner will need to budget for a restoration or a new assembly.
How to restore cloudy headlights
A dedicated restoration kit is the most reliable method for moderate to severe haze. Kits typically include several grades of wet sandpaper, a polishing compound, and a UV sealant. Prices commonly run from 15 to 30 dollars.
Set aside about an hour, and work in shade so the sealant can cure.
- Wash the headlights with car soap and water, then dry them fully. This removes grit that could scratch the lens during sanding.
- Mask the paint, trim, and chrome around each headlight with painter's tape. Sandpaper near paint is how a small job becomes a body shop visit.
- Wet sand with the coarsest grit in the kit, often 800-grit. Keep the lens and the paper wet. Sand in straight, even strokes until the surface looks uniformly hazy.
- Wipe the lens clean and move to the next finer grit, often 1500-grit, then 3000-grit. Each pass should make the haze finer and less visible.
- Apply the polishing compound with a microfiber cloth or a foam pad. Buff until the lens turns clear. This step removes the fine sanding marks.
- Apply the UV sealant from the kit exactly as the instructions describe. Let it cure for several hours, and keep it dry during that time.
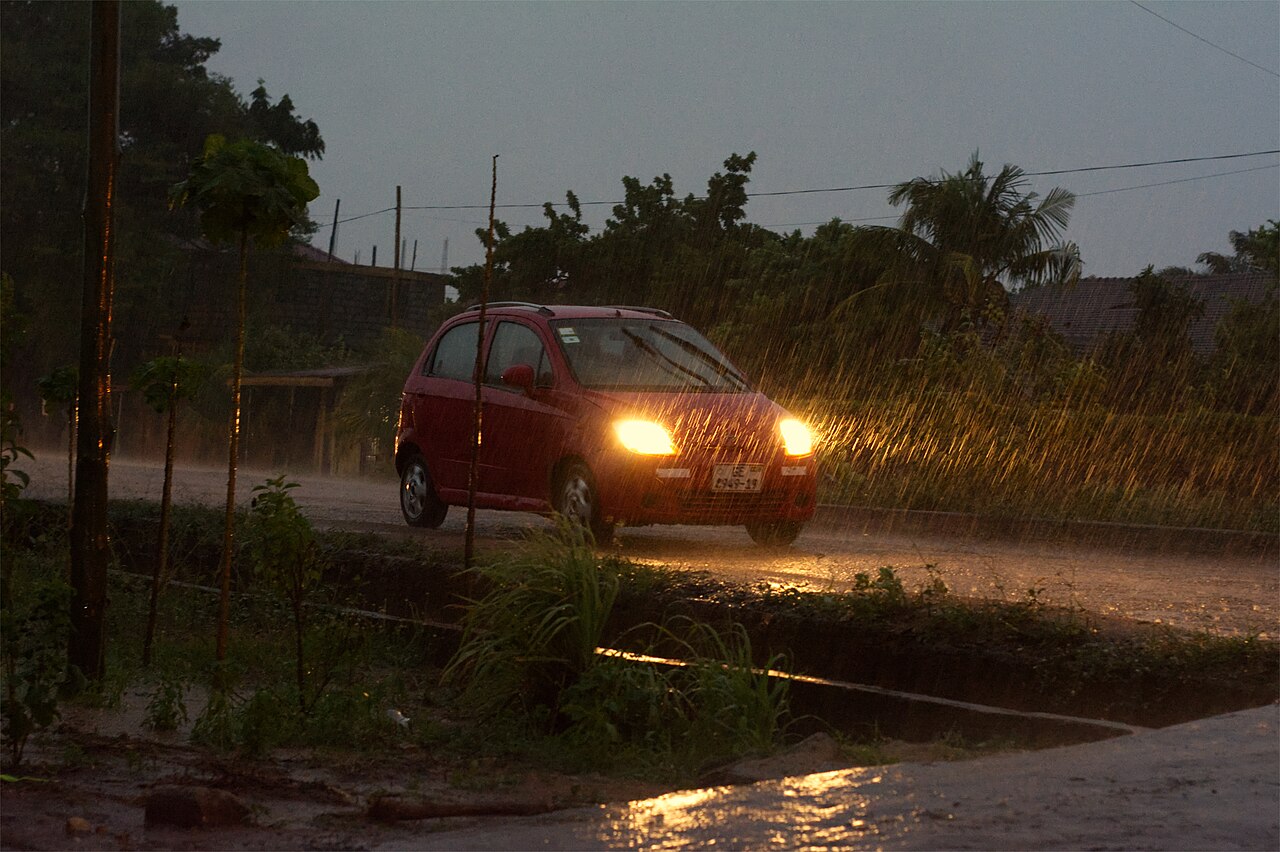
The sealant is the step that decides how long the fix lasts. Sanding and polishing strip away the damaged layer, but they also leave fresh plastic exposed. Without a new UV barrier, oxidation starts again within months.
A proper restoration with a UV sealant can last one to three years, depending on climate and sun exposure.
Work one headlight at a time. That way you can compare the finished lens with the untreated one and catch any uneven patches before the sealant cures. If the lens still looks hazy after polishing, go back one grit level and repeat the sequence rather than pressing harder.
What about toothpaste and home remedies
Toothpaste, baking soda, and vinegar mixtures show up in many online videos. They can give a small, short term improvement on light haze because they are mildly abrasive. They scrub off the top layer of oxidation and the lens looks better for a while.
They are not a full fix. Home mixtures do not remove deep oxidation, and they add no UV protection afterward. The haze often returns within weeks, and it can look worse than before once the thin polished layer dulls.
If you try a home method on a lightly hazed lens, follow it with a real UV protectant or a coat of car wax, and treat the result as temporary.
Bug spray deserves a flat warning. Many bug sprays contain DEET, a solvent that can melt the surface of polycarbonate. The lens may flash clear for a moment, but the plastic is damaged and has no UV protection left.
Rapid and severe yellowing follows. Keep DEET based sprays away from headlights, paint, and clear coat.
How to keep headlights clear
Prevention is cheaper than restoration. Wash the headlights when you wash the car, using car soap and a soft cloth. Dirt and chemicals left on the lens eat at the protective coating.
Reapply a UV protectant every few months. A dedicated headlight coating works, and a quality car wax or ceramic coating also helps. Parking in a garage or in shade cuts UV exposure, which is the single biggest driver of oxidation.
Inspect the lenses twice a year. Catching haze early means a light polish will do, instead of a full wet sanding session. Check the seals too.
A housing that lets water in will fog from the inside, and that problem needs a repair, not a polish. A headlight check fits naturally into a wider maintenance routine, along with checks like reading the engine oil dipstick and topping up coolant safely.
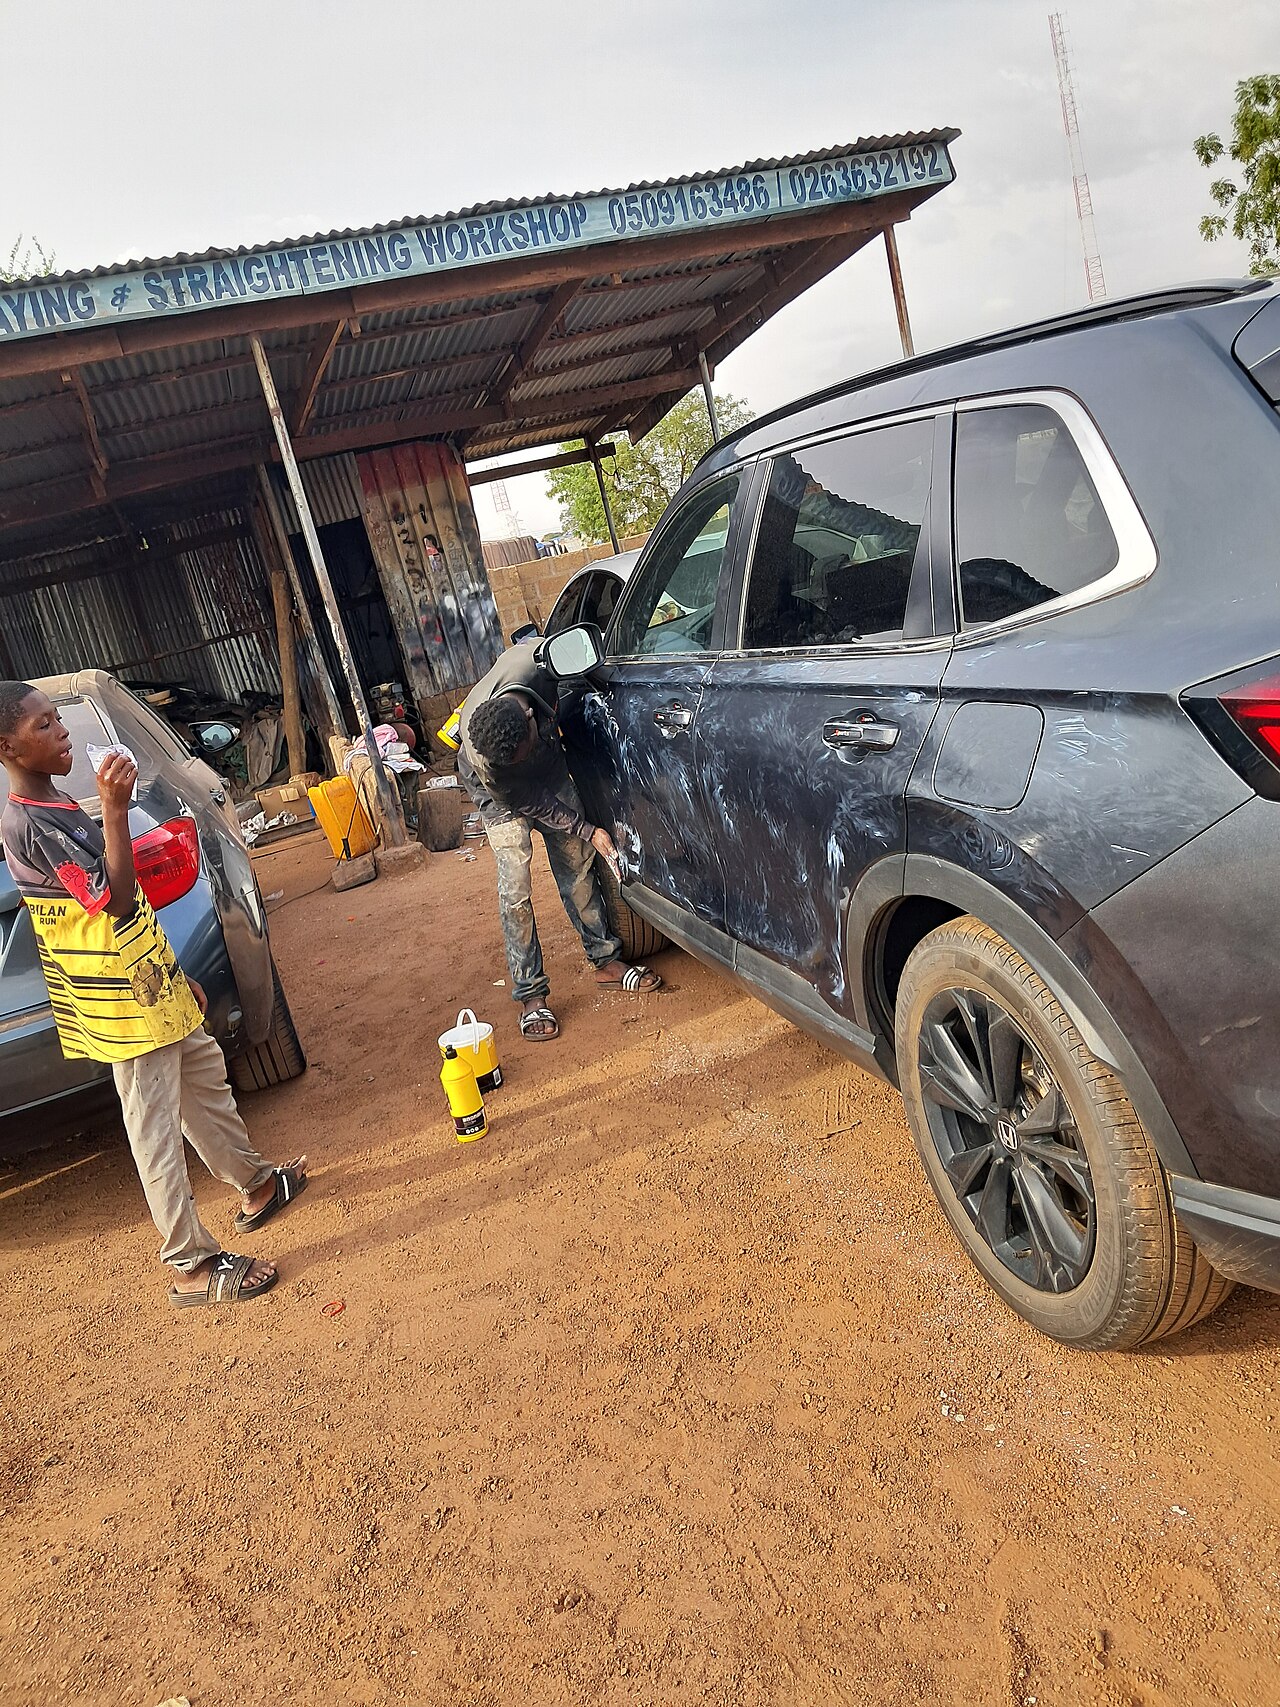
If cleaning and restoration fail to improve the lens, the damage may run too deep. Pitted, cracked, or warped lenses need replacement. New headlight assemblies commonly cost 100 to 500 dollars per pair, depending on the vehicle, and correct alignment matters after fitting.
How often should I clean cloudy headlights?
Clean them when haze appears, and inspect them every 6 to 12 months. Cars parked outdoors in strong sun need attention more often than garaged cars.
Can household items clean cloudy headlights?
They can improve light haze for a short time. Toothpaste, baking soda, and vinegar handle the top layer only. Seal the lens with a UV protectant afterward for the best result.
Are headlight restoration kits worth it?
Yes for moderate or severe haze. Kits cost 15 to 30 dollars and include the sandpaper, polish, and sealant that a lasting fix needs. Home mixtures cannot match that combination.
How do I stop headlights from clouding again?
Apply a UV resistant sealant every few months, wash the lenses regularly, and park in shade when you can. A clear protective film fitted by a professional adds a physical shield against UV and grit.
When should I replace headlights instead of restoring them?
Replace the assembly if the lens is cracked, if moisture stays trapped inside, or if a proper restoration fails to improve clarity. Deep crazing and warping do not sand out.
The bottom line
Cloudy headlights are oxidized plastic, and the fix is to remove the damaged layer and seal the fresh surface. A restoration kit with wet sanding, polish, and a UV sealant gives the longest lasting result for most cars. Home mixtures can help light haze for a while, but they cannot replace a real sealant.
Check the lenses twice a year, reseal them on schedule, and replace any assembly that is cracked or full of moisture.
Tags: car maintenance, headlights, DIY, driving safety
Latest in Auto
- Check if a used car has had an accident
- Change a flat tyre safely at the roadside
- Why a car pulls to one side while driving
Subscribe for weekly maintenance guides that save you a trip to the garage.
Related stories

Why Does Tire Pressure Drop in Cold Weather?
Cold weather can cut tire pressure by 1 psi for every 10°F drop, thanks to the ideal gas law. Here is what happens inside the tire and what
Why Do Brake Rotors Warp, or Do They Actually?
Mechanics rarely see a truly warped rotor. The shudder usually comes from uneven pad deposits a few thousandths of an inch thick. Here
How to Buy a Used Car Without Getting Scammed: The Checklist
Over 450,000 cars a year have rolled-back odometers, NHTSA says. This checklist covers VIN checks, title washing, and the inspection that