
How to Cook Rice That Is Never Sticky or Burnt
Key takeaways
- Rinse rice until the water runs mostly clear to wash off the surface starch that glues grains together.
- Use 1.5 cups of water per cup of long-grain white rice, simmer 16 to 18 minutes, then rest 10 minutes.
- Never stir rice while it simmers, and never peek under the lid until the rest is done.
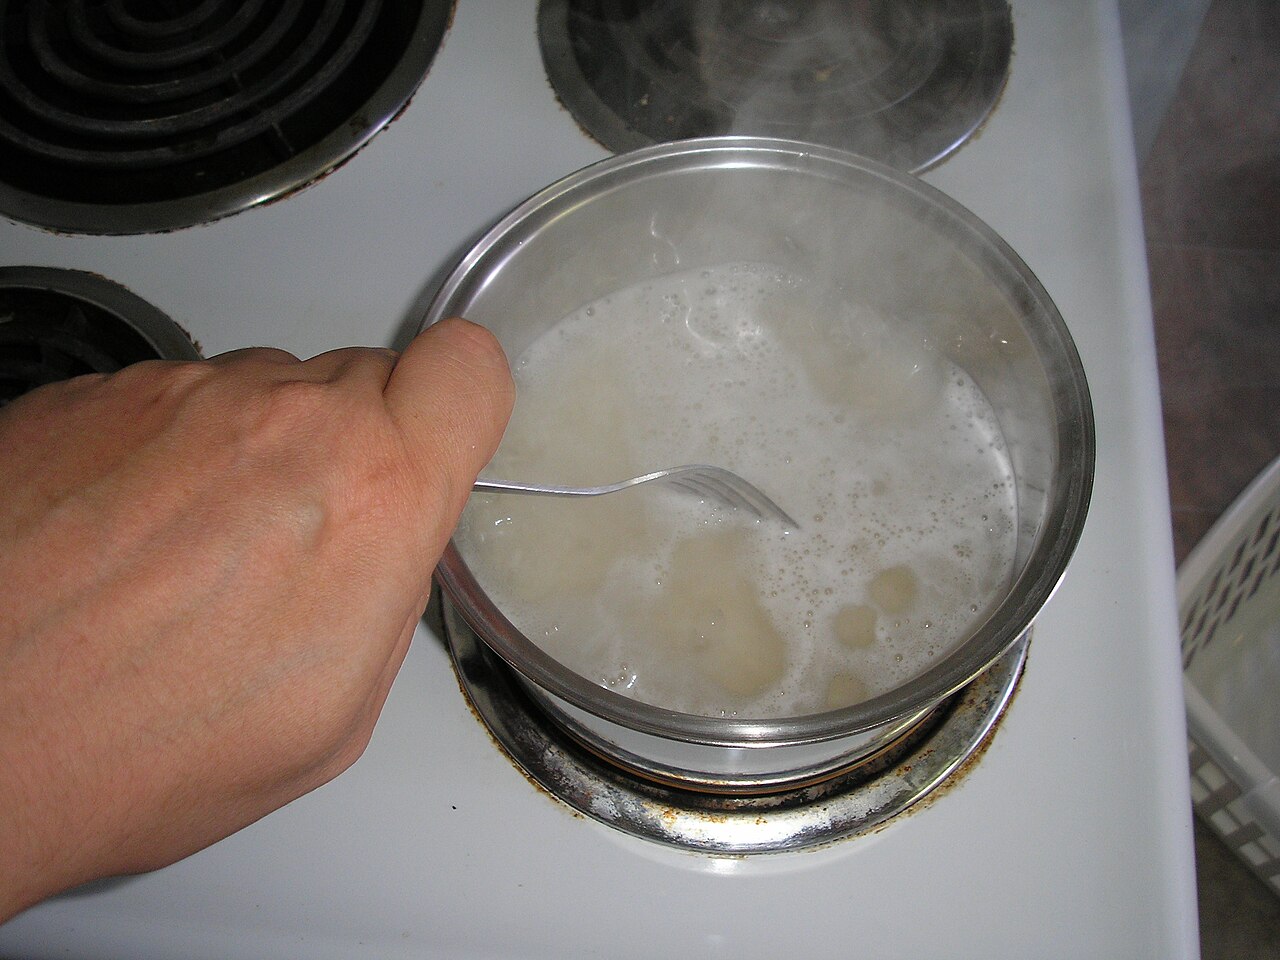
Sticky rice and burnt rice come from the same three mistakes: too much water, too much heat, and too much interference. Fix those three, and a pot of rice turns out fluffy almost every time. The method below works on a basic stovetop with a saucepan and a tight lid, and it needs no special gear.
This article explains how to cook rice that is never sticky or burnt, including the rinse, the ratio table, the simmer, the rest, and the fixes for each failure.
Why rice goes sticky or burnt
Each grain of rice wears a coat of loose surface starch from milling. That starch swells in hot water and glues grains together. Rinsing strips most of it off before cooking starts.
Skipping the rinse is the single biggest cause of clumpy rice.
Burnt rice has a different cause. Once the water is gone, the bottom layer keeps cooking against hot metal. High heat speeds that up, and a thin pot makes it worse.
A low simmer, a heavy pot, and the right amount of water keep the bottom layer safe. Stirring during cooking breaks grains and frees more starch, so it makes stickiness worse at the same time.
Step 1: rinse until the water runs clear
Put the rice in a fine-mesh sieve or a bowl. Run cold water over it, swishing with your fingers, until the water runs mostly clear. That takes three or four rinses for most white rice.
Drain well.
Rinsing does two jobs. It removes the loose starch that causes clumping, and it clears milling dust. One exception: skip the rinse for risotto and similar dishes where you want the starch to thicken the sauce.
For plain fluffy rice, always rinse.
Soaking is a separate step. A 15 to 30 minute soak can shorten cooking time and improve the shape of aged long-grain rice like basmati. Drain well after soaking so the extra water does not throw off the ratio.
Step 2: measure with the ratio table
Water ratio is where most pots fail. Use a measuring cup, not a guess. The table below covers the common types, using the stovetop absorption method.
| Rice type | Water per 1 cup rice | Simmer time | Rest |
| --- | --- | --- | --- |
| Long-grain white | 1.5 cups | 16 to 18 minutes | 10 minutes |
| Medium-grain white | 1.5 cups | 16 to 18 minutes | 10 minutes |
| Short-grain white | 1.25 cups | 16 to 18 minutes | 10 minutes |
| Basmati | 1.5 cups | 15 to 20 minutes | 10 minutes |
| Jasmine | 1.25 to 1.33 cups | 15 to 18 minutes | 10 minutes |
| Brown rice | 2.5 cups | 40 to 45 minutes | 10 minutes |
Brown rice needs more water and more time because the bran layer slows absorption. Short-grain rice holds together by design, so less water keeps it from turning to paste. If your rice comes out hard, add 2 to 3 tablespoons of water per cup next time.
If it comes out wet, cut the same amount.
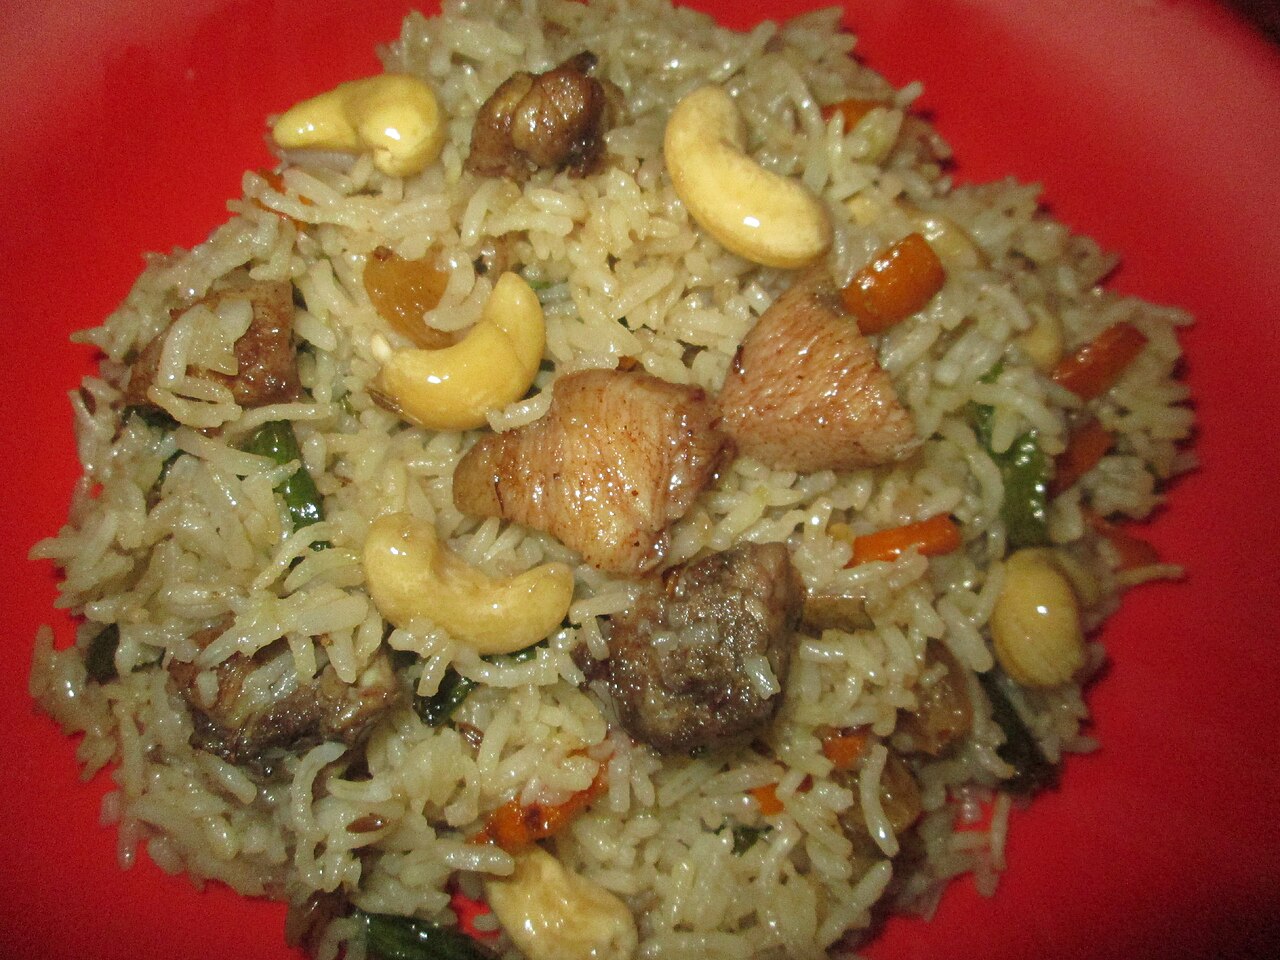
Step 3: simmer low with the lid on
Combine the rinsed rice, water, and a pinch of salt in the pot. Add a teaspoon of oil or a small knob of butter if you like a glossy finish. Bring it to a gentle boil, stir once to break up clumps, then drop the heat to low and cover with a tight lid.
Now leave it alone. Steam does the work. Every peek lets steam escape and slows the cook.
Stirring breaks grains and releases starch. A low, steady simmer for 16 to 18 minutes cooks long-grain white rice through. You should hear faint bubbling and see gentle steam at the lid, not a rolling boil.
Pot choice matters. A heavy-bottomed saucepan spreads heat and resists scorching. A thin pot concentrates heat on the bottom and burns the lowest layer before the top is done.
If your burner runs hot, a heat diffuser plate helps.
Step 4: rest 10 minutes, then fluff
Turn off the heat and leave the covered pot alone for 10 minutes. The rest lets moisture even out from the wettest grains at the bottom to the driest at the top. Rice served straight off the boil is uneven: soggy at the bottom, firm at the top.
The rest fixes that.
Then lift the lid and fluff with a fork, raking from the edges toward the center. Fluffing separates the grains and lets the last steam escape. For an extra-dry finish, lay a clean kitchen towel under the lid for 5 minutes before fluffing.
The towel absorbs condensation that would otherwise drip back onto the rice.
Other methods: rice cooker, Instant Pot, microwave
A rice cooker removes the guesswork. Rinse, drain, and fill to the inner water line for your rice type. Cooker cups hold about 180 ml, not a full US cup, so follow the cooker's lines rather than the stovetop ratio.
Let the pot sit 10 minutes on warm before opening.
An Instant Pot uses equal volumes: 1 cup rinsed rice to 1 cup water. Cook on high pressure for 3 to 4 minutes, then let the pressure drop naturally for 10 minutes before opening. Add 2 to 3 extra tablespoons of water per cup next time if you prefer a softer bite.
A microwave works too. Combine 1 cup rice with 1.5 cups water in a deep microwave-safe bowl. Cover with a vented lid or a plate set slightly askew.
Heat about 10 minutes on full power, then 2 to 5 minutes at half power, then stand 5 to 10 minutes before fluffing. A deep bowl keeps the foam from boiling over.
The boil-and-drain method for lower arsenic
The US Food and Drug Administration notes that boiling rice in excess water, six to ten parts water to one part rice, and draining can lower inorganic arsenic by about 40 to 60 percent. Boil the rinsed rice for 10 to 12 minutes, drain, then cover in the empty hot pot for 5 minutes to steam off the last moisture.
This method trades a small amount of B vitamins from enriched rice for the arsenic reduction. Use it when that trade matters to you, and pair the meal with other nutrient sources.
Troubleshooting: fix every failure
| Problem | Likely cause | Fix |
| --- | --- | --- |
| Wet or gummy | Too much water, no rest | Spread on a sheet pan for 2 to 3 minutes; cut water next time |
| Hard center | Too little water, heat too high | Drizzle 2 to 3 tablespoons hot water, cover 5 minutes off heat |
| Scorched bottom | Heat too high, thin pot | Use a heavier pot or diffuser; keep to a low simmer |
| Clumpy | Skipped rinse, stirred during simmer | Rinse next time; stir only once at the boil |
| Bland | No salt, water only | Add half a teaspoon of salt per cup; swap part of the water for broth |
| Uneven | Peeking, loose lid, no rest | Keep the lid on, rest 10 minutes, fluff from the edges |
Badly overcooked rice rarely recovers as plain rice. Repurpose it instead. Day-old or slightly mushy rice fries well, since the pan drives off moisture and the grains firm up.
Slightly sticky rice also works in rice pancakes or soup.
Storage and reheating
Cool leftovers fast. Spread rice in a thin layer on a plate or sheet pan so the heat drops quickly, then pack it into shallow containers within an hour. Keep it at 4 C (40 F) or below.
Refrigerated rice keeps 3 to 4 days. Freeze portions for a month.
To reheat, splash a teaspoon of water per cup over the rice, cover, and heat until steaming. A skillet works too: add a little water or oil, cover, and steam on low, stirring once. Cooked rice that sat out for hours should be thrown away, not reheated.
Frequently asked questions
Should I rinse rice every time?
Yes for plain fluffy rice. Rinsing removes the surface starch that makes grains clump. Skip it only when you want a creamy dish like risotto.
Why does my rice stick even when I follow the ratio?
The usual cause is stirring during the simmer or lifting the lid. Both release starch and steam. Stir once at the boil, then leave the pot closed until the rest is done.
How much water does brown rice need?
About 2.5 cups of water per cup of rice, with 40 to 45 minutes of simmering. The bran layer slows absorption, so brown rice needs both more water and more time than white rice.
Can I cook rice without a lid?
A tight lid is part of the method. Without one, steam escapes and the rice dries out before it cooks through. If your lid fits loosely, lay a clean towel under it to seal the gap.
Is resting really necessary?
Yes. The 10 minute rest evens out moisture between the top and bottom of the pot. Rice served without a rest is soggy at the bottom and firm at the top.
The bottom line
Rinse until the water runs clear. Measure 1.5 cups of water per cup of long-grain white rice. Simmer low for 16 to 18 minutes without stirring or peeking.
Rest 10 minutes, then fluff with a fork. Those four moves cover almost every pot, and the ratio table above covers the rest.
Tags: rice, cooking basics, stovetop, kitchen skills
Latest in Food
- Why you should rest meat after cooking
- How to sharpen a kitchen knife without a sharpener
- The difference between granulated sugar and caster sugar in baking
- How the Maillard reaction makes food taste better
Subscribe for one practical kitchen guide in your inbox each week.
Related stories
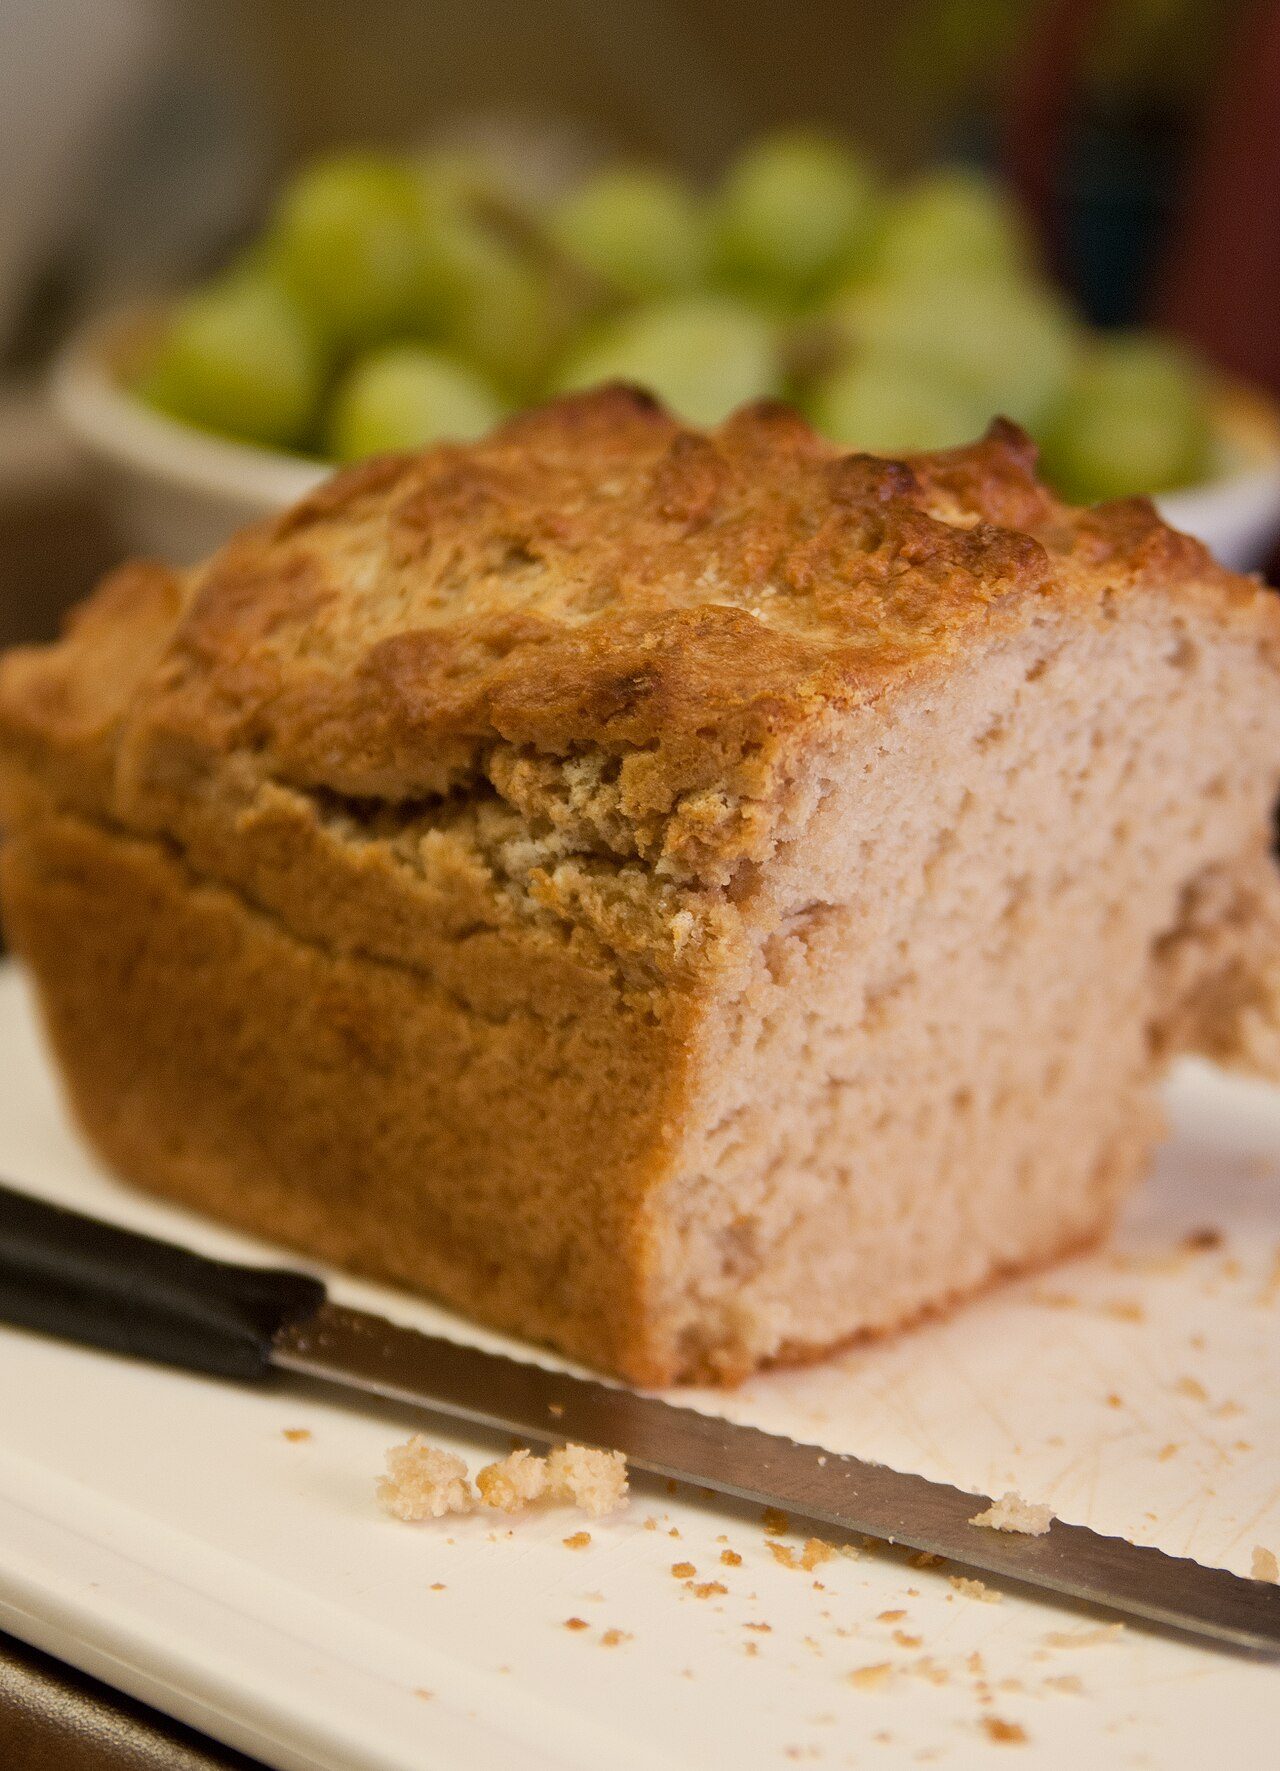
Why Does Bread Go Stale Faster in the Refrigerator?
Bread goes stale faster in the fridge because starch recrystallizes fastest near 4°C. Here is the retrogradation science and the right way
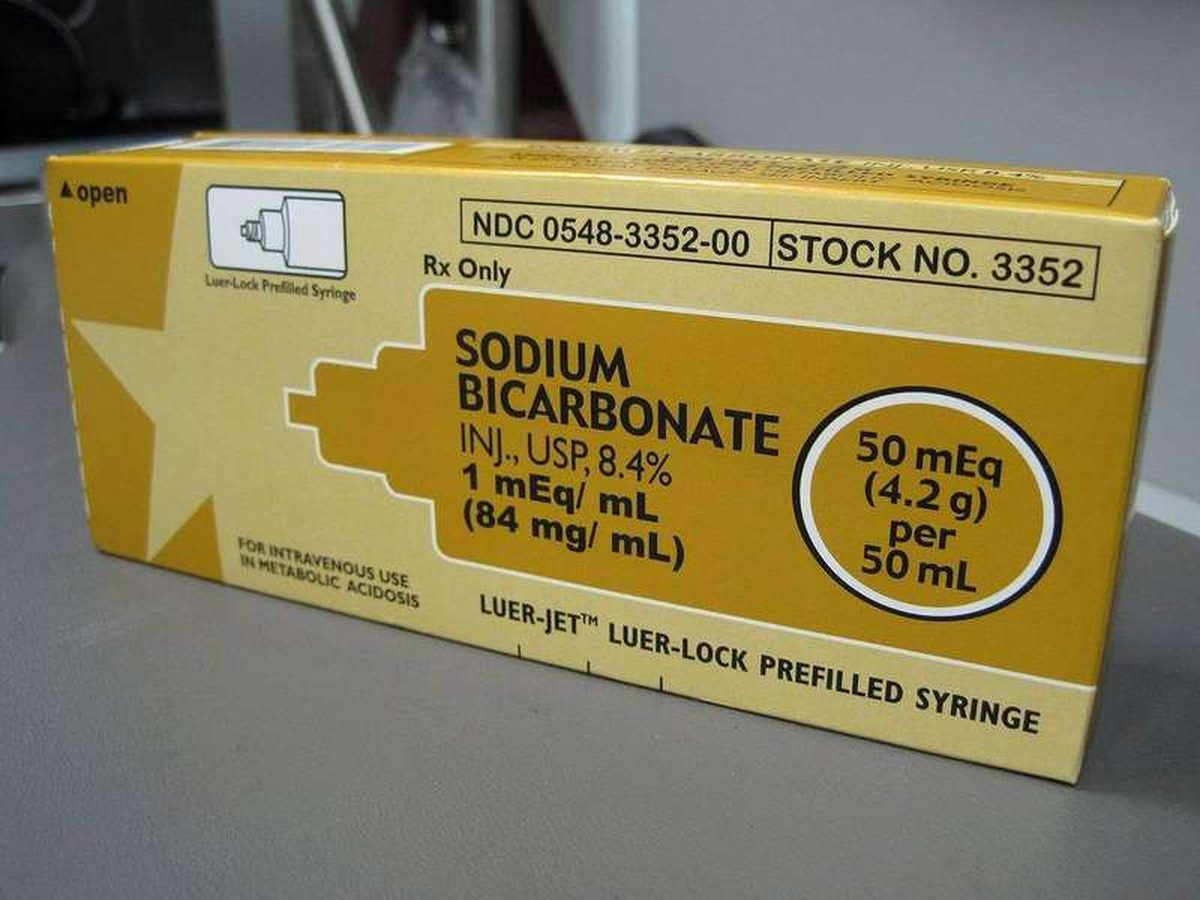
Baking soda and baking powder: what's the difference?
Baking soda is pure sodium bicarbonate; baking powder adds two dry acids for double-acting lift. Learn when to use each, plus exact
What Is the Maillard Reaction in Simple Terms?
The Maillard reaction is the browning chemistry between amino acids and sugars above 140 C that creates the crust, color, and rich flavor