
Hardening off seedlings: why tender plants need it first
By Rive News / Research desk | Rive News / Published October 26, 2026 at 9:00 AM PKT
Key takeaways
- Hardening off is the gradual move of indoor seedlings to outdoor conditions over 7 to 14 days.
- The process thickens the leaf cuticle, strengthens stems, and builds carbohydrate reserves for new roots.
- Skipping it risks sunscald, wilting, snapped stems, and stunted growth after transplanting.
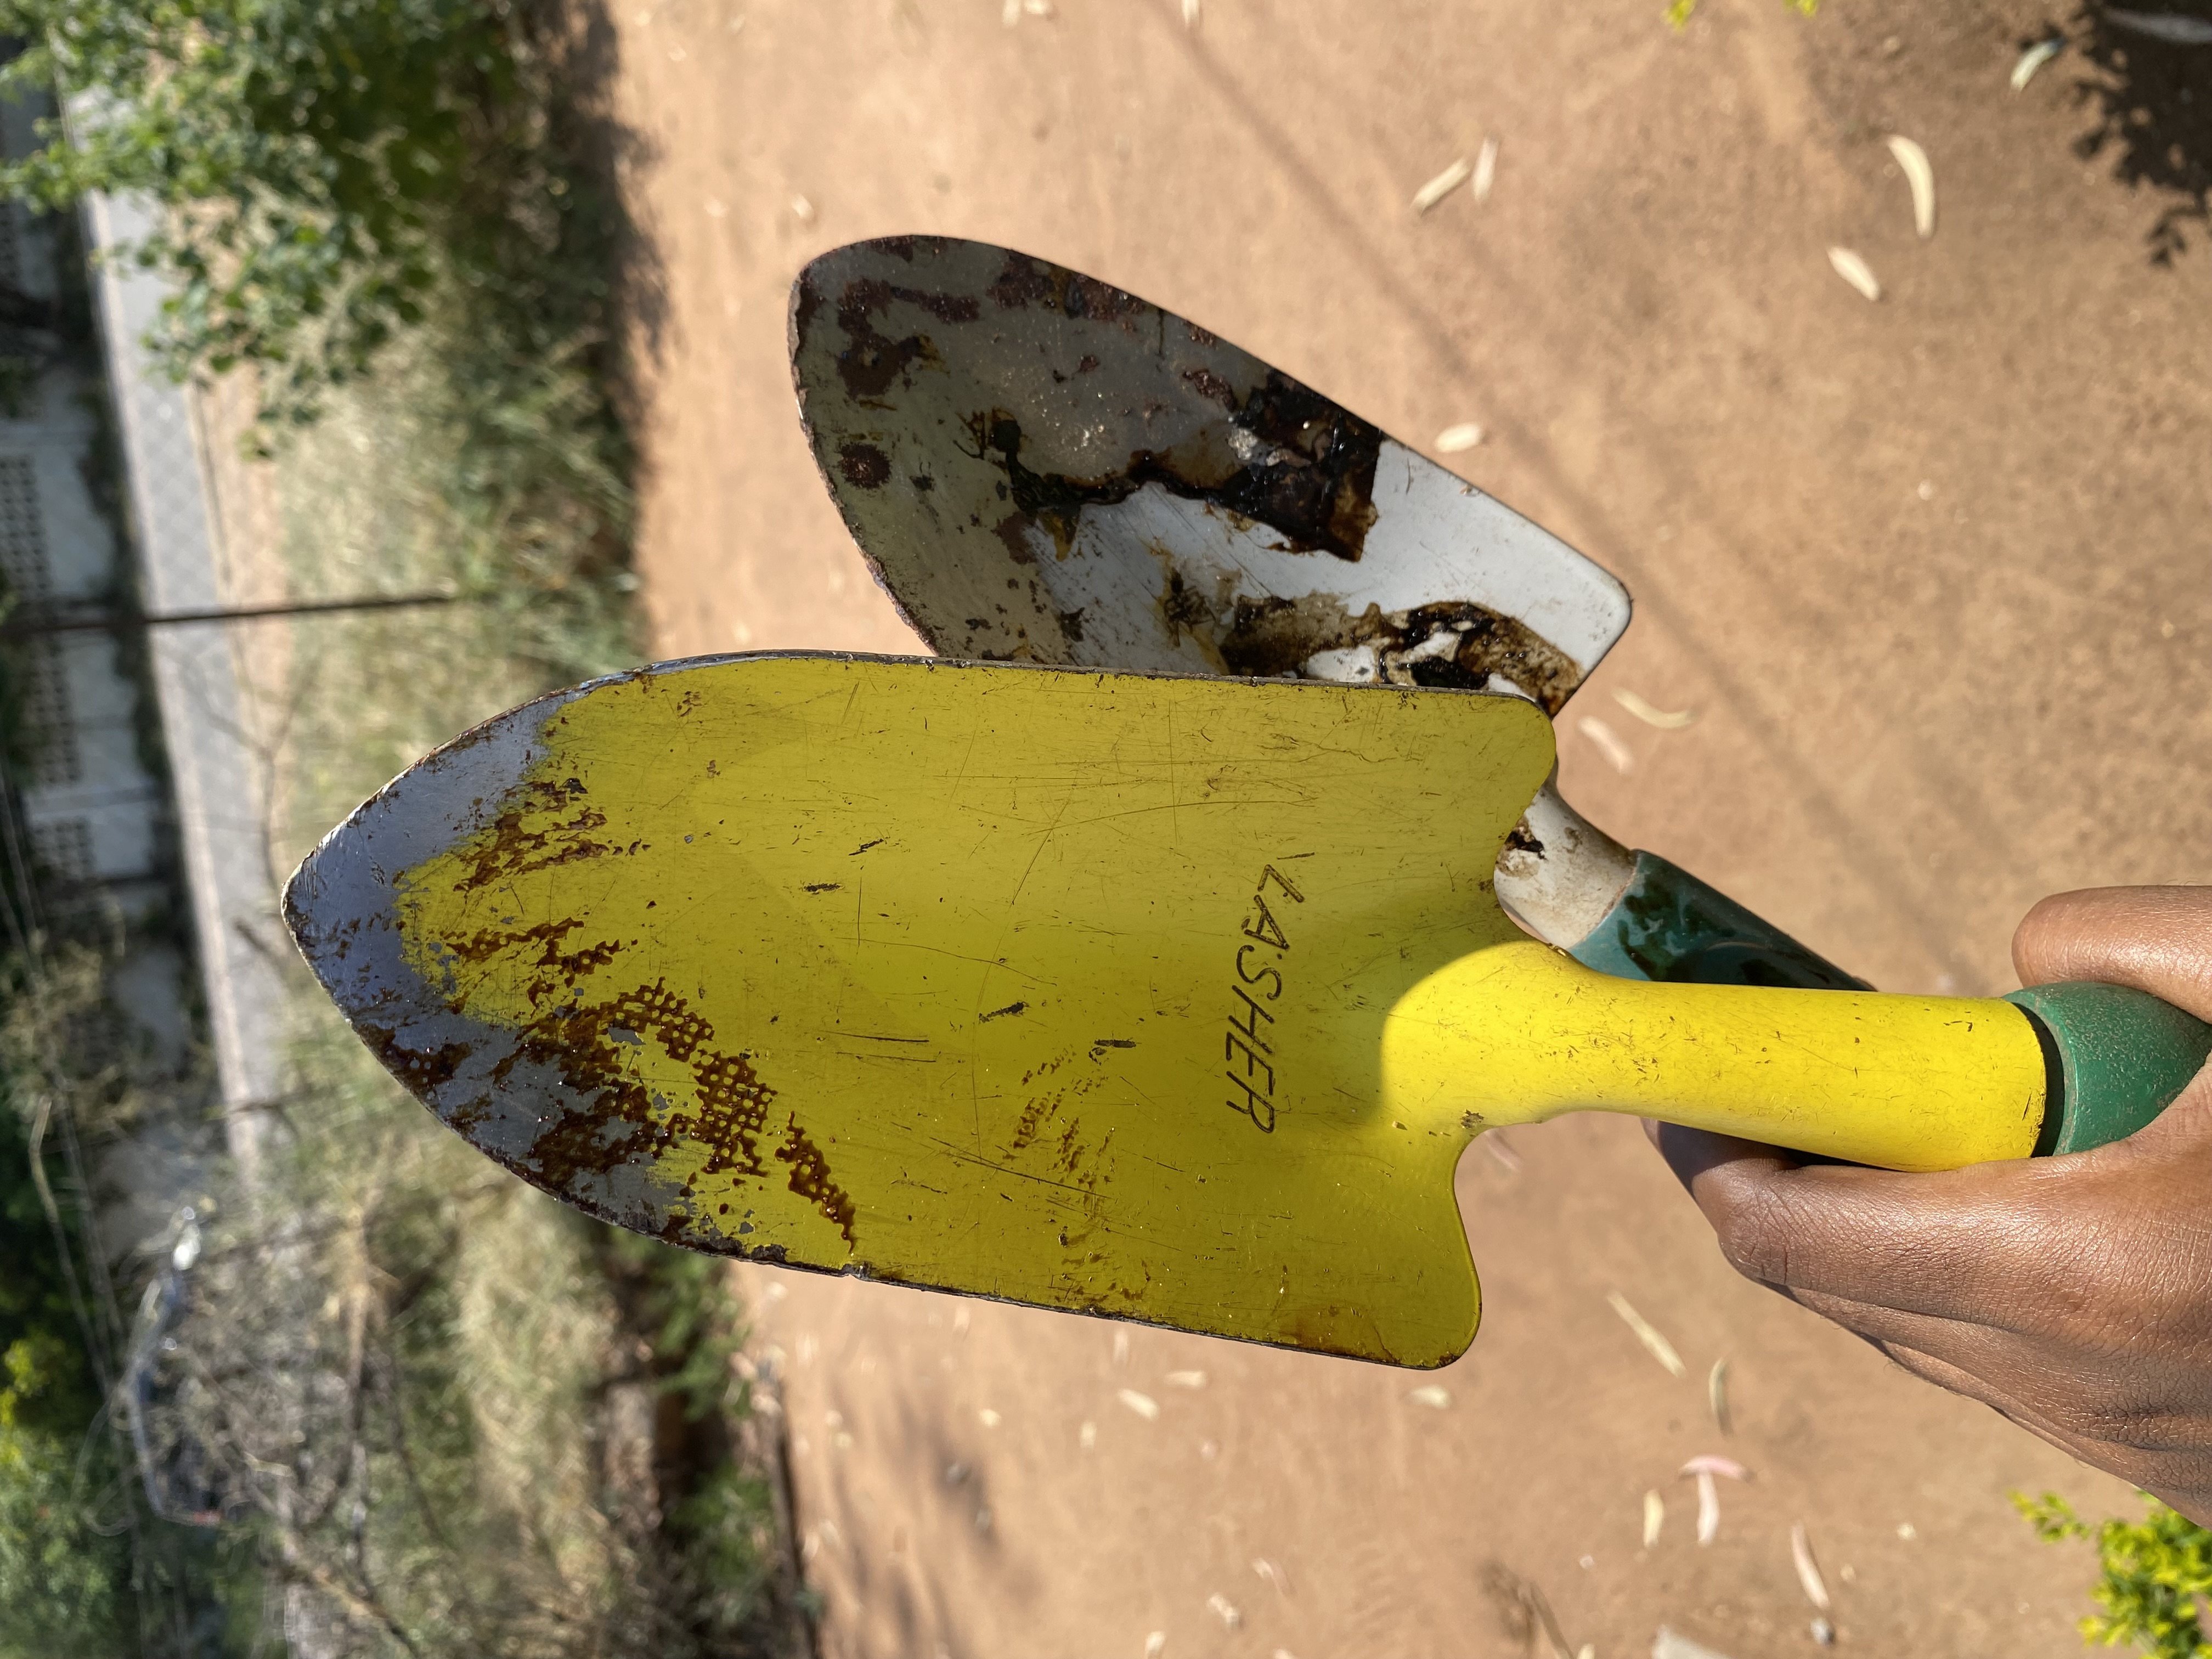
[Trowels and seedlings ready for transplanting.] Photograph: Wikimedia Commons contributor
Image Credits: Wikimedia Commons
Hardening off is the process of slowly introducing indoor seedlings to outdoor conditions before they are planted in the garden. South Dakota State University Extension defines it as gradually getting plants acclimated to wind, direct sun, temperature swings, and changing moisture. This article explains what hardening off does inside the plant, including cuticle thickening, stem strengthening, and root reserves, and how to run the 7 to 14 day process without losing plants.
What hardening off actually changes in a plant
Indoor seedlings grow in steady temperatures, still air, and filtered light. Their leaves carry a thinner waxy cuticle than outdoor leaves, because they have never needed a thick one. South Dakota State University Extension reports that hardening slows growth and triggers thickening of the leaf cuticle, which limits water loss on hot, windy, and sunny days.
Stems change too. Without wind, indoor stems stay soft, with less lignin in their cell walls. Garden and Bloom explains that outdoor flexing triggers thigmomorphogenesis, a response in which the plant deposits more lignin and cellulose to thicken stem walls.
A plant that never flexed indoors has no such reinforcement when a real breeze hits it.
Stomata, the tiny pores on leaf surfaces, also learn new habits during hardening. In still, humid indoor air they stay wide open, but outdoors they must close quickly in dry wind and heat. A seedling that cannot close its stomata fast enough can wilt even when its soil is moist.
Hardening gives those pores time to practise responding to real conditions.
Why skipping it causes transplant shock
Transplant shock is the setback a plant suffers when its new environment overwhelms it. Leaves can bleach white in direct sun, a form of sunscald, because indoor chlorophyll was never exposed to full ultraviolet light. Stems can snap in wind they were never built to resist.
Growth stalls while the plant repairs damage instead of putting out roots.
South Dakota State University Extension notes two further changes that protect hardened plants. Carbohydrates accumulate in plant tissues during hardening, giving reserves for new root growth after transplanting. The share of freezable water in tissues also falls, which raises cold tolerance for early-season crops.
An unhardened plant misses both buffers.
The 7 to 14 day schedule
South Dakota State University Extension recommends hardening transplants over 7 to 14 days before planting. The University of Illinois Extension gives a similar window, starting about 2 weeks before transplanting. Tender warm-season crops such as tomatoes and peppers usually need the full two weeks, while hardier crops may manage with less.
Start in shade and shelter. Place seedlings outside for 2 to 3 hours during the warmest part of the day, typically between noon and 5 PM, according to Illinois Extension. Increase the time outdoors a little each day, moving plants gradually into more direct sun.
After several days at 10 to 12 hours outside, leave them out for 24 hours for a couple of days before transplanting.
Reduce watering gradually during the same period. The aim is to slow soft growth, not to let plants wilt. Illinois Extension advises against fertilising before or during hardening, since fresh fertiliser pushes the soft growth the process is trying to slow.
Check soil moisture daily, because small pots dry out far faster outdoors than they did on a windowsill.
What to watch for each day
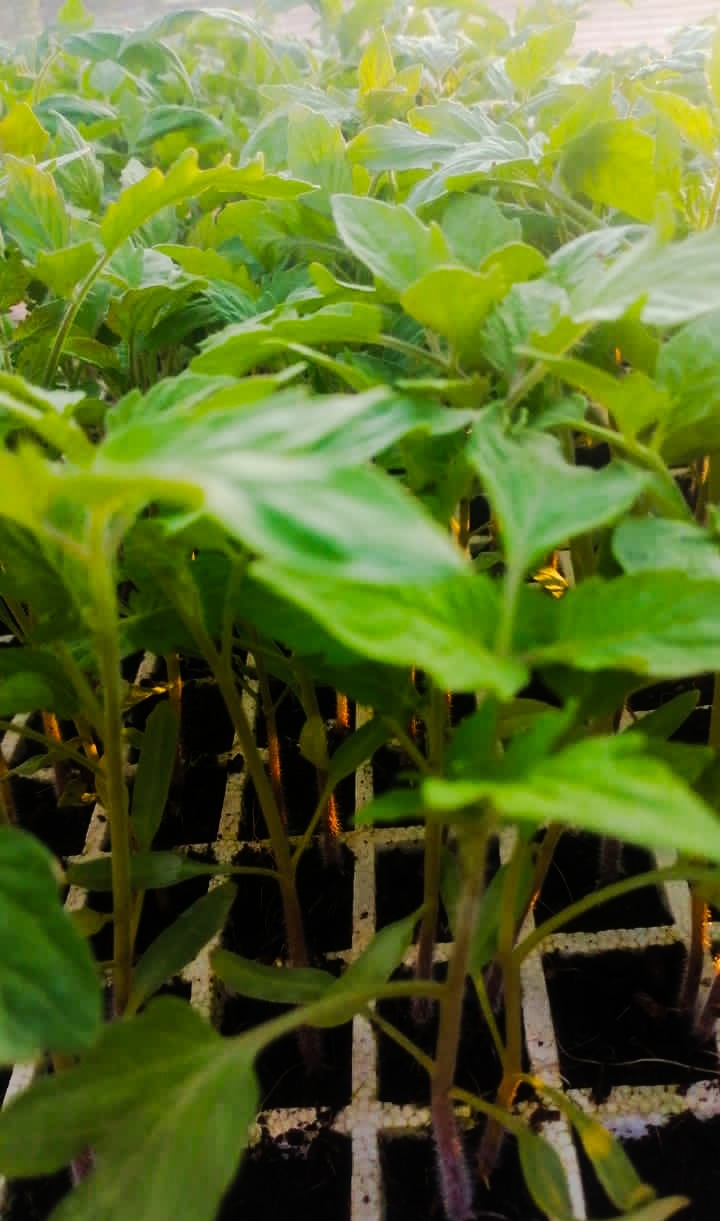
[A bed of tomato seedlings.] Photograph: Wikimedia Commons contributor
Image Credits: Wikimedia Commons
White or bleached patches on leaves mean too much sun too fast. Move the plants back into shade and lengthen the shade phase before trying sun again. Wilting in the afternoon usually means the pots dried out, not that the plant is failing, so water and check again the next morning.
Wind damage shows as bent or snapped stems. A sheltered corner, a cold frame lid, or a simple windbreak lets plants feel a breeze without taking the full force of it. If a forecast brings frost, bring tender plants indoors overnight.
Hardening builds cold tolerance, but it does not make a tomato frost-proof.
Do nursery plants and outdoor-sown seeds need it?
Plants bought from a garden centre may already be partly hardened, since many nurseries grow them in unheated tunnels or outdoor benches. Even so, a few days of sheltered outdoor time at home is cheap insurance, especially if the plants were kept under cover at the shop. Ask where the plants were grown if you are unsure.
Seeds sown directly outdoors need no hardening at all. They germinate in the conditions they will grow in, so their cuticles and stems develop for those conditions from the start. The same logic applies to seedlings raised in a cold frame that has been opened a little more each day.
If the raising environment already matches the garden, the transition is already happening.
Common mistakes that undo the work
The most common mistake is rushing the last days. A plant that handled three hours of sun is not ready for a full day of it. Increase exposure in small steps, and hold at a step for an extra day if leaves look stressed.
Another mistake is hardening in deep shade only, then planting straight into full sun. Shade is the starting point, not the whole process.
Forgetting water is the quiet killer of hardening trays. Small pots in sun and wind can dry out in hours. Check trays twice a day in warm weather, and water in the morning so leaves dry before night.
Finally, do not harden plants on a balcony rail or an exposed roof where wind funnels past them. A sheltered spot with morning sun and afternoon shade is the classic starting place for a reason.
Frequently asked questions
How long does hardening off take?
Most seedlings need 7 to 14 days, according to South Dakota State University Extension. The exact length depends on how sheltered the indoor conditions were and how harsh the outdoor conditions are.
Can seedlings be hardened off in shade?
Yes, shade is where hardening starts. Plants should spend their first days in full shade and shelter, then move gradually into sun over the following days.
What temperature is too cold for hardening off?
Temperatures below 45 degrees Fahrenheit (7 degrees Celsius) are unsafe for most seedlings. Warm-season crops such as tomatoes and peppers should not go below 50 degrees Fahrenheit (10 degrees Celsius).
Should I water less during hardening off?
Yes, reduce watering gradually to slow soft growth, but never let plants wilt. Small pots dry quickly outdoors, so check soil moisture daily.
The bottom line
Hardening off is not fussiness, it is construction. Over 7 to 14 days a seedling builds a thicker cuticle, stronger stems, responsive stomata, and carbohydrate reserves, all of which it needs the moment it meets real weather. Start in shade, add sun and wind a little at a time, water carefully, and plant out only when the seedling has spent full days outdoors without stress.
Tags: seed starting, transplanting, gardening basics
Rive News is a research desk that writes plain-English explainers from public sources, with no invented experts or first-hand claims.
Related
- Why seedlings go leggy and how to fix them
- How to start seeds indoors without grow lights
- Why herbs die on windowsills yet thrive outside
- How to protect plants from frost without a greenhouse
Subscribe for one practical gardening explainer each week.
Rive News publishes explainers from public sources; corrections are welcomed and noted on the article.
Related stories
What Is Companion Planting and Does It Work?
Marigolds work as a nematode cover crop, but the basil flavor claim failed repeated tests. An honest evidence review of what companion
Determinate vs. indeterminate tomatoes: growth, pruning, and harvest differences
Determinate tomatoes grow to a set size and ripen all at once, while indeterminate types vine all season. That one difference shapes
How to improve clay soil for gardening
Gypsum will not fix ordinary clay soil, say extension experts. What actually works: 2 to 3 inches of compost, mulch, better drainage,