
How to plant garlic in autumn for a summer harvest
Key takeaways
- Plant garlic cloves in autumn so they get weeks of cold, which builds bigger bulbs.
- Space cloves about 15 cm (6 in) apart with the pointed end up and the tip just under the soil.
- Harvest the following summer when leaves yellow, then dry bulbs for 2 to 4 weeks.
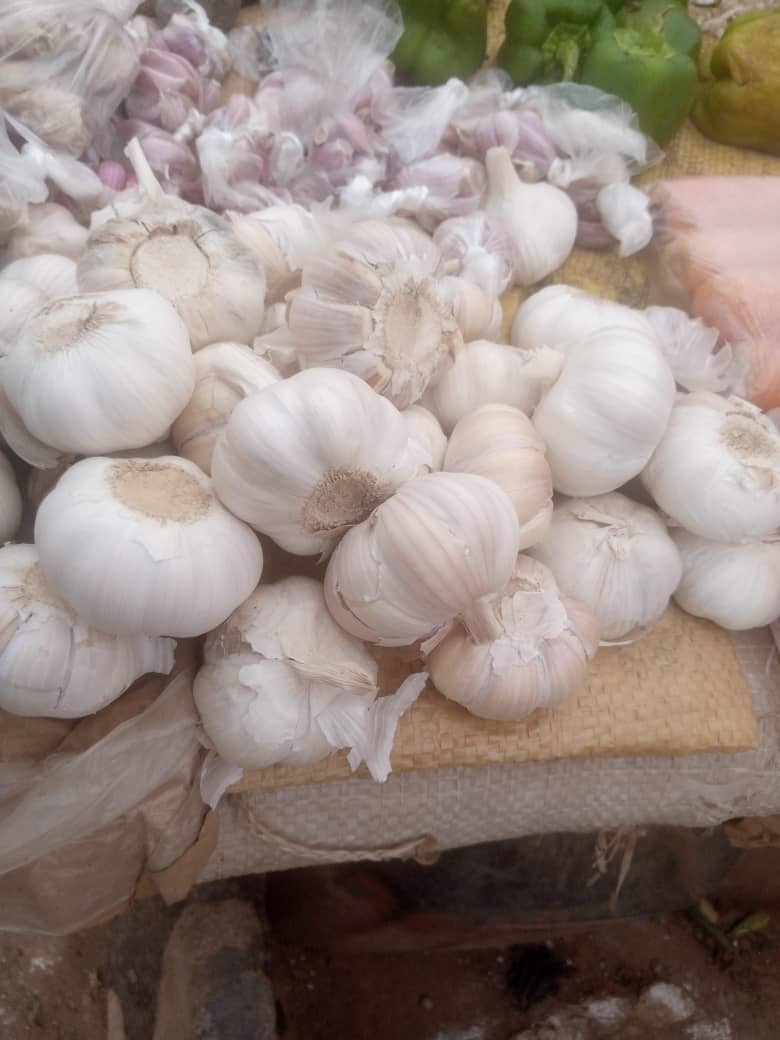
Garlic is one of the few crops you plant in autumn and harvest the following summer. You push single cloves into cool soil in October or November. The cloves grow roots before winter, rest through the cold months, and then surge upward in spring.
By early summer, each clove has grown into a full bulb.
The trick is cold. Garlic needs a spell of cold weather to form a good bulb. The Royal Horticultural Society (RHS) says most varieties need one to two months at 0 to 10 degrees Celsius (32 to 50 degrees Fahrenheit).
Autumn planting delivers that cold naturally. Spring planting can still produce garlic, but the bulbs are often smaller.
This article explains how to plant garlic in autumn for a summer harvest, including timing, soil prep, spacing, mulching, spring care, and curing.
Why autumn planting works
A garlic bulb is a cluster of cloves. Each clove is a starter kit. It holds enough energy to send down roots and push up a shoot.
When you plant in autumn, roots form while the soil is still workable. Then growth pauses over winter. In spring, the plant uses its stored energy and its established roots to grow fast.
The cold period matters more than the calendar date. The RHS notes that garlic usually needs that one to two months at 0 to 10 degrees Celsius for good bulb development. Without enough cold, bulbs may fail to divide into cloves.
That is why gardeners in mild climates sometimes struggle with garlic. They get green tops and small, undivided bulbs.
Autumn planting also fits the garden year. Summer crops finish in September, and garlic fills beds that would otherwise sit empty over winter.
When to plant
Timing depends on where you live. In the United States, Farmers' Almanac advises planting in the first or second week of October across most of the country. The rule is 4 to 6 weeks before the ground freezes hard.
That window lets roots form without encouraging too much top growth.
The RHS gives a similar window for the United Kingdom. Garlic is usually planted from mid-autumn to early winter. Count back 4 to 6 weeks from your average first hard freeze, and plant then.
If you miss the window, do not give up. Some varieties suit late winter or early spring planting. The harvest will be later and the bulbs may be smaller.
But a late planting still beats no planting. Check the variety label before you buy, since some types need more cold than others.
Choose the right garlic
Buy named varieties from a garden center or a seed supplier. The RHS advises against planting supermarket garlic. Supermarket bulbs may suit a different climate and give poor results.
They can also carry diseases into your soil. Seed garlic costs more, but it is grown for planting and labeled by variety.
Two main types exist. Hardneck garlic produces bulbs with fewer, larger cloves and a stronger flavor. It stores well for about four to six months, according to the RHS.
Softneck garlic produces smaller, more tightly packed cloves. It stores longer, potentially up to a year. Hardneck types send up a flower stem called a scape.
Softneck types rarely do.
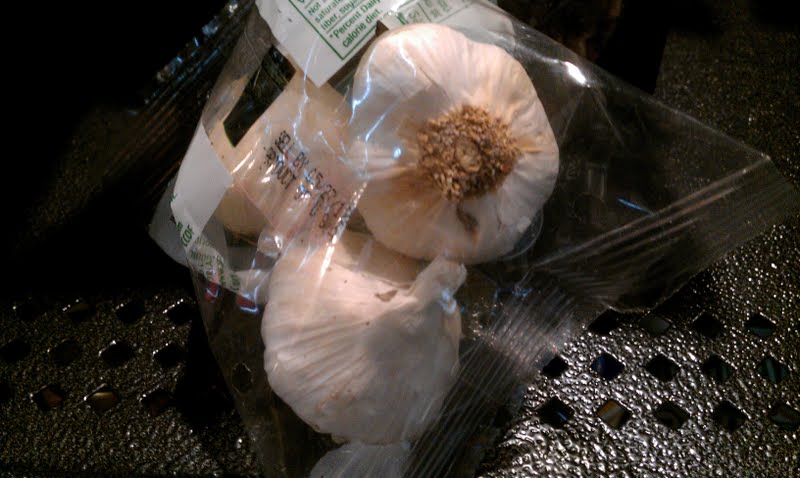
For a first planting, softneck is the forgiving choice. It stores longest, which means your summer harvest can last into the following winter. Hardneck suits cooks who want big cloves and a bonus crop of scapes.
Farmers' Almanac notes that scapes appear in late May or early June on hardneck plants.
Buy the biggest bulbs you can find. Large cloves grow into large bulbs, and small cloves grow into small bulbs.
Prepare the soil
Garlic wants a sunny site with free-draining soil. The RHS warns that wet soil makes garlic prone to disease, especially after autumn planting. If your soil stays wet all winter, start cloves in modules instead of planting straight into the ground.
A module is a small tray of compost cells kept in a cold frame or sheltered spot until spring.
Dig the bed before planting. Remove weeds, then work in organic matter. The RHS suggests about two bucketfuls of well-rotted manure or homemade garden compost per square metre.
Fresh manure is too strong and can burn young roots. Well-rotted manure is dark, crumbly, and smells like soil.
Garlic dislikes very acidic soil. The RHS puts the problem line below pH 6. You can check with a simple pH test kit from a garden center.
Plant the cloves, step by step
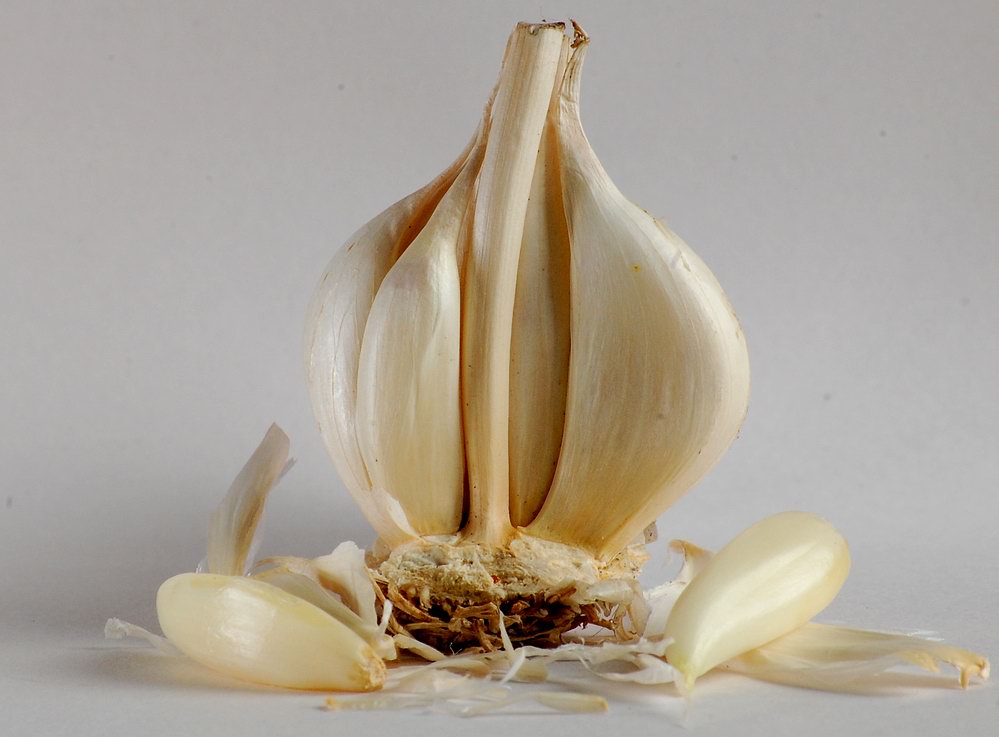
Break each bulb into single cloves on planting day. Farmers' Almanac warns against splitting bulbs early, since cloves dry out fast once separated. Keep the papery skin on each clove.
It protects the clove in the soil. Plant only the fat outer cloves. Use the small inner cloves for cooking.
Follow these steps for ground planting.
- Dig a shallow hole or drill with your finger.
- Set one clove in the hole with the flat end down and the pointed end up.
- Space cloves 15 cm (6 in) apart, following the RHS figure.
- Cover so the tip sits about 2.5 cm (1 in) below the surface.
- Space rows 30 cm (1 ft) apart so you can weed between them.
- Firm the soil gently and water only if the ground is dry.
Farmers' Almanac gives slightly wider spacing for United States gardens: 6 to 8 inches apart and about 2 inches deep. The difference is small. Either figure works.
What matters is that cloves are not crowded and not planted upside down. An upside-down clove still grows, but it wastes energy curling around, and the bulb ends up small.
In containers, use pots at least 25 cm (10 in) deep, per the RHS. Keep the same spacing and depth as in the ground.
If birds pull up fresh cloves, cover the bed with plastic-free netting or horticultural fleece until the cloves root.
Mulch for winter
Mulch is the blanket that carries garlic through winter. After planting, cover the bed with a thick layer of straw, shredded leaves, or grass clippings. Farmers' Almanac advises at least 6 inches of mulch to insulate through winter.
The mulch holds soil warmth, stops rain from compacting the bed, and blocks spring weeds.
Mulch also keeps soil moisture steady. Garlic roots sit near the surface and dry out fast in a windy spring. A mulch layer slows that drying.
In wet climates, keep the mulch lighter so the bed does not stay soggy. In cold, dry climates, pile it on.
Check the mulch in early spring. If it has compacted into a mat that blocks shoots, pull some of it back. Leave a thin layer to suppress weeds and hold moisture.
Spring care: water, weed, and snap the scapes
Garlic needs little care in winter. Once spring arrives, three jobs matter. Water during dry spells, weed often, and remove flower stems on hardneck types.
Water helps bulb size. The RHS advises watering during dry spells in spring and early summer. Stop once bulbs are large and well formed, since extra water then can cause rotting.
Yellowing foliage is the sign that bulbs are reaching maturity. Avoid wetting leaves when you water, because wet leaves invite fungal problems.
Weed by hand. Hoeing near garlic risks slicing shallow roots. Pull weeds while they are small.
A bed that stays clean gets more sun and air, which keeps plants healthy. Garlic also pairs well with other crops in a rotation plan, and it tolerates shade less than many vegetables, so a sunny, open bed stays the best choice.
Snap off scapes as soon as they curl. The RHS explains that removing flower stems sends the plant's energy into swelling the bulb instead of making a flower.
Harvest at the right moment
Autumn-planted garlic is ready from late spring to early summer, according to the RHS. Farmers' Almanac narrows the United States window to July, when the bottom three or four leaves have turned brown. Both guides agree on the signal.
Watch the leaves, not the calendar.
When the bottom leaves brown but five or six green leaves remain, test one bulb. Dig it up with a fork and check the size. If the cloves have divided and the wrapper feels papery, the crop is ready.
Do not pull bulbs by the stem. Pulling bruises the bulb and shortens storage life. Dig with a fork and lift gently.
Do not delay harvest once leaves yellow. The RHS warns that late-lifted bulbs tend to open up and store poorly. A week early is better than a week late.
Cure and store the harvest
Fresh garlic is not ready to store. It needs curing. The RHS advises drying bulbs in a single layer in the sun, or in a dry, well-ventilated shed.
Avoid heat above 30 degrees Celsius (86 degrees Fahrenheit). Initial drying takes two to four weeks, depending on the weather.
Farmers' Almanac describes the same process in plainer terms. Hang whole plants in bunches in a dry, airy spot for two weeks. A barn, garage, or shed works.
Once the necks are stiff and the skins are papery, trim the stem to about an inch above the bulb. Brush off loose dirt. Do not wash the bulbs.
Store cured garlic in a cool, dry place. The RHS gives 5 to 10 degrees Celsius (41 to 50 degrees Fahrenheit). Farmers' Almanac suggests room temperature around 60 to 65 degrees Fahrenheit and warns against the fridge, since refrigerated garlic sprouts faster.
Keep bulbs dry and airy in a mesh bag or an open basket. Softneck bulbs can last up to a year, and hardneck bulbs last four to six months.
Common problems
Garlic is usually trouble-free in good conditions. Rot follows wet soil, so plant in raised beds or modules if your ground stays waterlogged. A bulb that never divides likely missed its cold period, and split bulbs mean harvest came too late.
Rotate beds each year to break disease cycles.
The bottom line
Plant garlic in autumn, give it sun, drainage, and winter cold, and it will repay you with a summer harvest. Space cloves 15 cm apart, point up, tip just under the soil. Mulch thickly, weed in spring, snap the scapes, and harvest when the lower leaves brown.
Cure the bulbs for two to four weeks, then store them cool and dry. One autumn afternoon of planting buys months of garlic.
Tags: gardening, garlic, autumn planting, vegetables
Latest in Gardening
- How to fix tomato leaves that curl
- How to grow carrots in containers without forked roots
- What vegetables grow in shade
- How to protect plants from frost without a greenhouse
Subscribe for one practical gardening tip each week, no spam.
Related stories
What Is Companion Planting and Does It Work?
Marigolds work as a nematode cover crop, but the basil flavor claim failed repeated tests. An honest evidence review of what companion
Determinate vs. indeterminate tomatoes: growth, pruning, and harvest differences
Determinate tomatoes grow to a set size and ripen all at once, while indeterminate types vine all season. That one difference shapes
How to improve clay soil for gardening
Gypsum will not fix ordinary clay soil, say extension experts. What actually works: 2 to 3 inches of compost, mulch, better drainage,