
How to Start a Compost Bin Without Smell
Key takeaways
- A compost bin smells when it runs short of air, browns, or drainage, not because composting itself stinks.
- Use two to three parts browns for every one part greens, and bury food scraps under four to eight inches of browns.
- Turn the pile weekly, keep it as moist as a wrung-out sponge, and leave meat, dairy, and grease out.
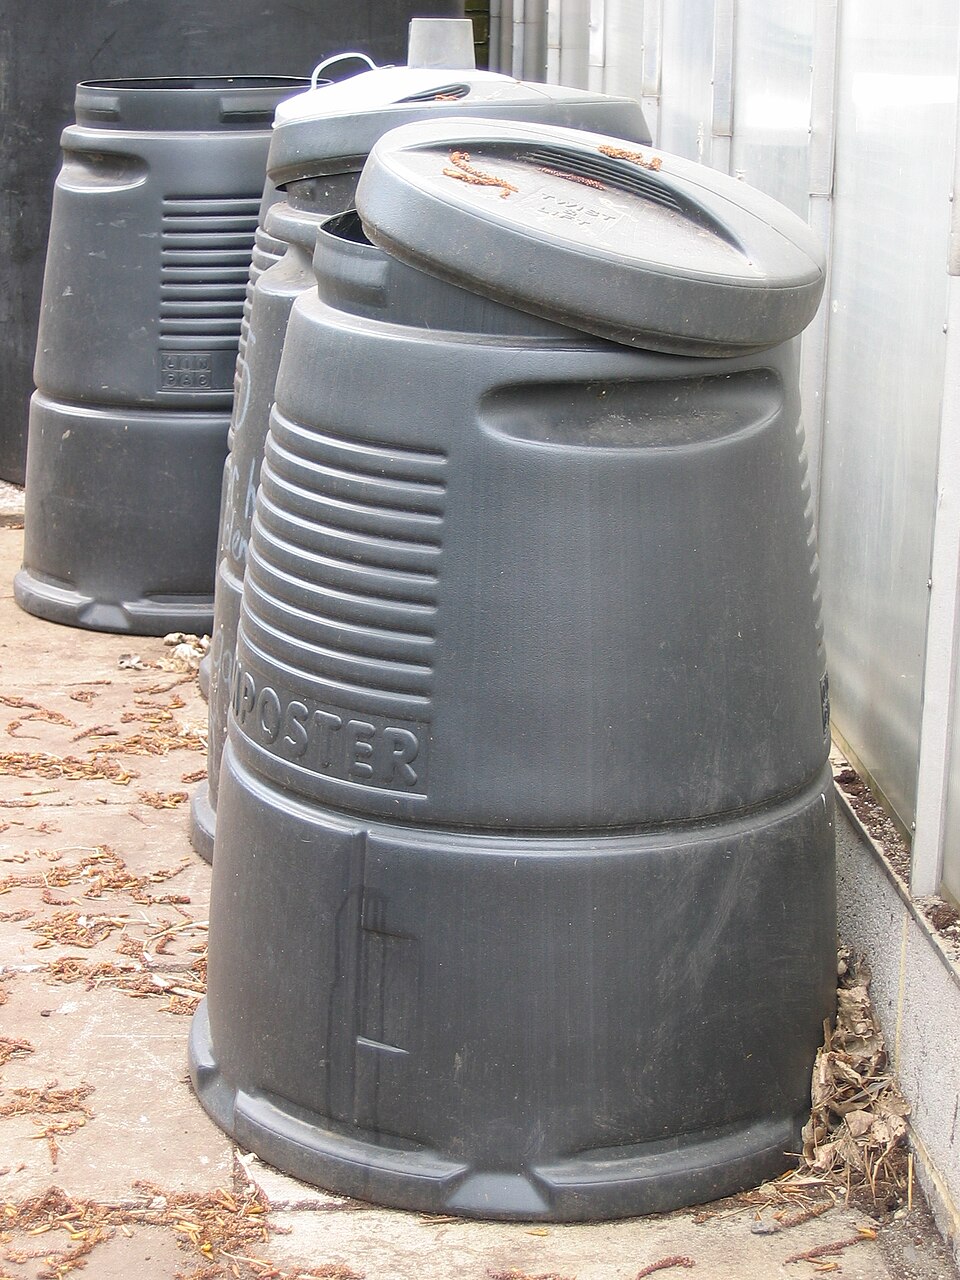
A compost bin turns kitchen scraps and garden waste into dark, crumbly soil food. The process is called aerobic decomposition, which means tiny organisms break down organic material using oxygen. When the bin gets enough air, dry material, and moisture, the finished compost smells like fresh soil.
Smell is a warning light, not a normal part of composting. A sour, rotten-egg, or ammonia smell means the pile has gone airless, too wet, or too rich in nitrogen. The fix is usually simple: add dry browns, turn the pile, and check drainage.
This article explains how to start a compost bin without smell, including what to put in, the browns-greens ratio in plain terms, how to fix a pile that already stinks, and when a worm bin suits a small home.
What goes in a compost bin
Composting needs four ingredients: carbon-rich browns, nitrogen-rich greens, water, and air. The US Environmental Protection Agency (EPA) lists these four as the full recipe for a backyard pile. Microorganisms use carbon and nitrogen to grow, water to digest material, and oxygen to breathe.
Browns are dry and carbon-rich. Dry leaves, shredded uncoated cardboard, shredded newspaper, straw, twigs, and untreated wood chips all count as browns. Greens are moist and nitrogen-rich.
Fruit and vegetable scraps, coffee grounds, fresh grass clippings, and crushed eggshells count as greens.
Some items stay out of a basic home pile. The EPA advises against meat, fish, bones, cheese, dairy, fats, oils, and grease in backyard compost. These foods attract animals, and home piles rarely get hot enough to break them down fully.
Treated or painted wood, diseased plants, pet waste, glossy paper, and produce stickers stay out too.
The browns-greens ratio in plain terms
Think of browns as the dry bedding and greens as the fresh fuel. Too much fuel and too little bedding gives a wet, airless pile that smells. Too much bedding and too little fuel gives a dry pile that sits unchanged for months.
The EPA rule is easy to remember: add two to three times the volume of browns as greens. A bucket of kitchen scraps needs two to three buckets of dry leaves or shredded cardboard. Measure by volume, with a bucket or a scoop, not by weight.
Nobody needs to weigh banana peels.
Penn State Extension educators describe the same idea as layers. In an interview with The Allegheny Front, Master Gardener educator Kinorea Tigri suggested layering about six inches of browns to two to three inches of greens, plus two inches of soil, and repeating. The soil adds microorganisms that start the breakdown.
One habit prevents most smell before it starts. Keep a dry stash of browns beside the bin, in a bag or a lidded tote. Every time you add food scraps, cover them at once.
The EPA advises burying food scraps under four to eight inches of browns. Covered scraps break down faster, smell less, and attract fewer flies.
Choose a bin and a spot
A bin can be as simple as a wire cylinder, a wooden box, or a bought plastic bin with a lid. A tumbler is a drum on a stand that you spin to mix the contents. All of them work if the four ingredients stay in balance.
Pick a spot with good drainage, partial shade, and easy access. The EPA advises a site that is easy to reach all year, with a water source nearby, and not pressed hard against a fence. A bin that is out of sight tends to be forgotten, and a forgotten bin is the one that starts to smell.
Size matters for heat. Penn State Extension educators note that an outdoor pile can be as small as three feet by three feet by three feet. Piles near that size heat up better than small ones.
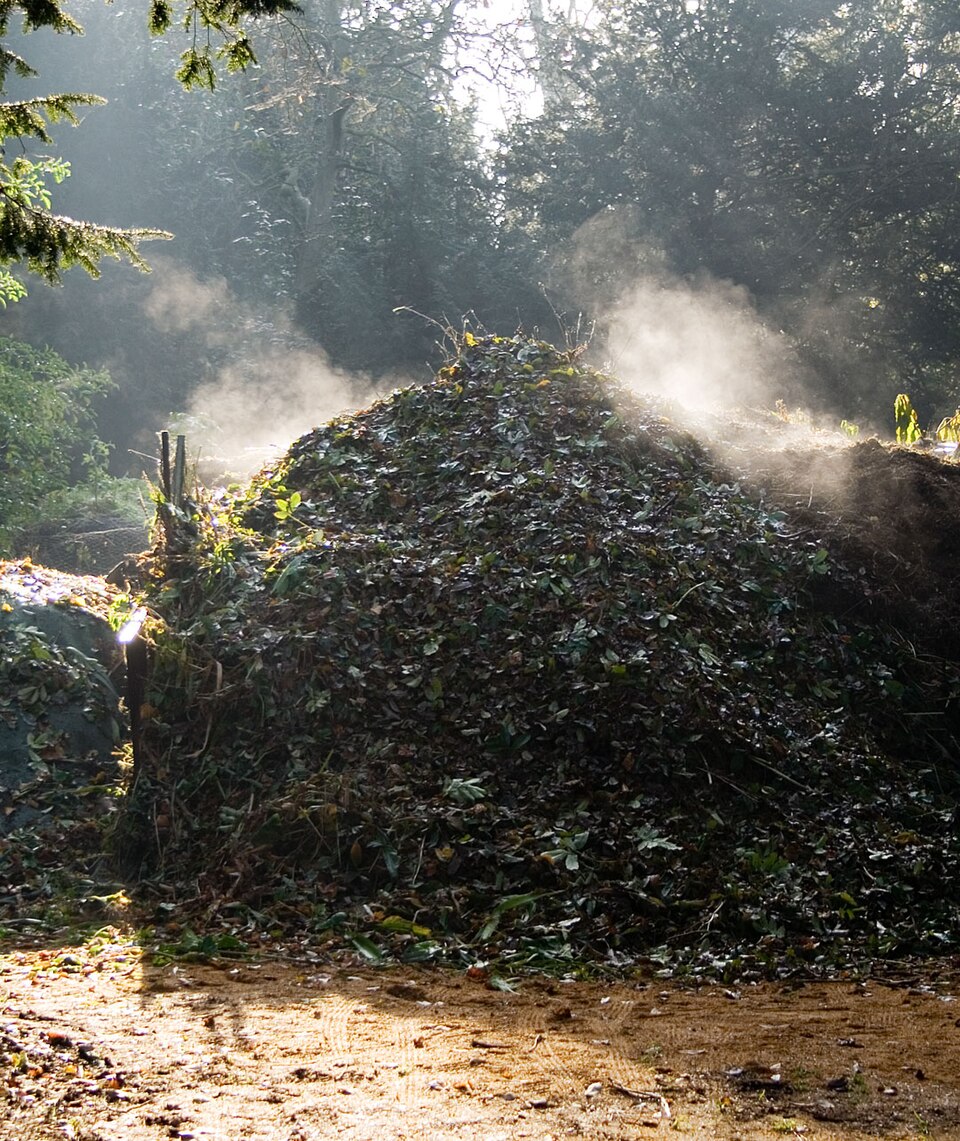
A well-maintained backyard pile can reach 130 to 160 degrees Fahrenheit, according to the EPA, and that heat helps reduce pathogens and weed seeds.
If you use a bin, check the gaps. The EPA advises that no hole or gap be larger than one quarter of an inch if you want to keep rodents out. A tight lid and a floor, or a sheet of hardware cloth under the bin, both help.
Build the pile step by step
Start with a four- to six-inch layer of bulky browns, such as twigs or wood chips. This base layer absorbs extra liquid and lets air move under the pile. Then layer greens and browns the way you would layer a lasagna.
Chop or shred large pieces before adding them. Corn cobs, broccoli stalks, and thick cardboard break down faster in small pieces. A lawn mower run over a pile of dry leaves turns them into ready-made browns.
Moisten dry material as you build. The finished pile should feel like a wrung-out sponge: damp through, but not dripping. Squeeze a handful.
A drop or two of water is right. A stream means the pile is too wet.
Keep the pile healthy
Turning is the main weekly job. Use a garden fork to move the outside material inward and open up air pockets. Penn State Extension educator Kinorea Tigri calls once a week a good starting point for turning, with the exact pace depending on how much you add.
A compost thermometer helps, but your hand and nose work too. A warm centre means microbes are active. A cold pile in warm weather usually means it is too dry or too heavy on browns.
A hot pile that smells of ammonia usually means it is too heavy on greens.
Finished compost takes time. A well-maintained pile is ready in about three to five months, according to the EPA. A pile left untended can take a year.
When the pile stops heating after mixing and no food scraps are visible, let it cure for at least four weeks before using it.
Finished compost looks dark, loose, and crumbly, and it smells like fresh soil. The pile shrinks to about one-third of its original size. Sift out twigs, fruit pits, and eggshells, and toss them into the next pile.
Use the finished compost in beds, pots, and around trees, mixed into the top six to nine inches of soil or spread as mulch.
Fix a smelly pile
First, work out which smell you have. Each smell points to a different cause, and each cause has a different fix.
A rotten-egg smell means the pile lacks air or holds too much water. Turn the pile fully and mix in coarse browns such as dry leaves or wood chips. Check that water is not pooling under the bin, and loosen compacted layers with a fork.
An ammonia smell, sharp like cleaning fluid, means too much nitrogen. The pile has more greens than the microbes can use. Add a thick layer of browns and turn the pile.
Hold off on fresh grass clippings and food scraps until the smell fades.
A sweet, rotting smell with visible food on top means scraps are exposed. Bury every scrap under browns at once. Keep the brown stash beside the bin so covering becomes a habit rather than a chore.
Andy Faust of Penn State Extension put the diagnosis simply in his interview with The Allegheny Front: too many greens in a pile bring odour. He named three common beginner mistakes: an imbalanced ratio of greens and browns, adding the wrong items such as meat or dairy, and skipping turning. Fixing those three solves most smelly piles.
Worm composting for small spaces
A worm bin suits flats, small gardens, and anyone who wants compost indoors. The EPA notes that a properly maintained worm bin should not give off odours or attract pests. The worms do the turning for you.
Start with a bin with a tight-fitting lid, bedding of moist shredded newspaper or cardboard, and red wriggler worms. The EPA advises about one pound of worms, roughly 1,000 individuals, for a home bin. Buy worms from a worm grower rather than digging up garden worms, since only a few species suit bin life.
Feed the worms fruit and vegetable scraps, coffee grounds, and crushed eggshells. Skip citrus, onions, garlic, meat, dairy, and greasy food. Bury each feeding under two inches of bedding.
Worms eat about 25 percent of their body weight each day, according to the EPA, so a pound of worms handles roughly a quarter pound of scraps daily.
Keep the bin between 59 and 77 degrees Fahrenheit. Worms survive from 32 to 95 degrees if they have at least four inches of bedding, but they work fastest in the middle range. Harvest the finished vermicompost after three to six months.
It needs no curing and can go straight onto plants.
Mistakes that cause smell
Adding meat, dairy, or grease is the fastest route to a stinking bin. These items attract rats, flies, and neighbourhood cats, and they rot before microbes can break them down. Leave them out of a basic home pile.
What finished compost should smell like
Finished compost smells like a forest floor after rain: earthy, mild, and clean. If your finished pile still smells sour or sharp, it is not ready. Give it more time, turn it, and let it cure.
Use finished compost as a soil amendment or a mulch.
Compost also keeps waste out of landfill. Food waste in landfill breaks down without oxygen and releases methane, a potent greenhouse gas. Home composting turns that same waste into something a garden can use.
That is the point of the whole exercise: less waste, better soil, and no smell along the way.
Frequently asked questions
Why does my compost bin smell like rotten eggs?
A rotten-egg smell means the pile is airless or too wet. Turn it fully, mix in coarse dry browns, and check drainage. The smell usually fades within a day or two once air returns.
How often should I turn my compost?
Once a week is a good starting point. Turn more often if the pile smells or feels soggy, and less often if it is already hot and breaking down well.
How long until compost is ready?
A well-maintained pile finishes in about three to five months, then needs at least four weeks of curing. An untended pile can take a year.
The bottom line
A compost bin without smell comes down to three habits: cover every scrap with browns, keep the pile damp but not wet, and turn it weekly. Start with two to three parts browns for every part greens, leave meat and dairy out, and let air do the rest. Your pile will reward you with dark, earthy compost and a garden that shows it.
Tags: composting, gardening, soil, food waste
Latest in Gardening
- Grow tomatoes in pots on a balcony
- Why leaves on plants turn yellow
- Grow herbs on a kitchen windowsill
- Keep slugs off vegetables without chemicals
Subscribe for one practical gardening tip each week, no spam.
Related stories
What Is Companion Planting and Does It Work?
Marigolds work as a nematode cover crop, but the basil flavor claim failed repeated tests. An honest evidence review of what companion
Determinate vs. indeterminate tomatoes: growth, pruning, and harvest differences
Determinate tomatoes grow to a set size and ripen all at once, while indeterminate types vine all season. That one difference shapes

How to improve clay soil for gardening
Gypsum will not fix ordinary clay soil, say extension experts. What actually works: 2 to 3 inches of compost, mulch, better drainage,