
Why Does Caulk Pull Away From the Bathtub Over Time?
Key takeaways
- The tub-to-wall joint moves constantly: the tub flexes under weight and materials expand and contract with heat.
- Poor surface prep and moisture under the bead cause adhesion failure, so new caulk peels within months.
- The durable fix is 100% silicone applied while the tub is filled with water, then cured 24 to 48 hours untouched.
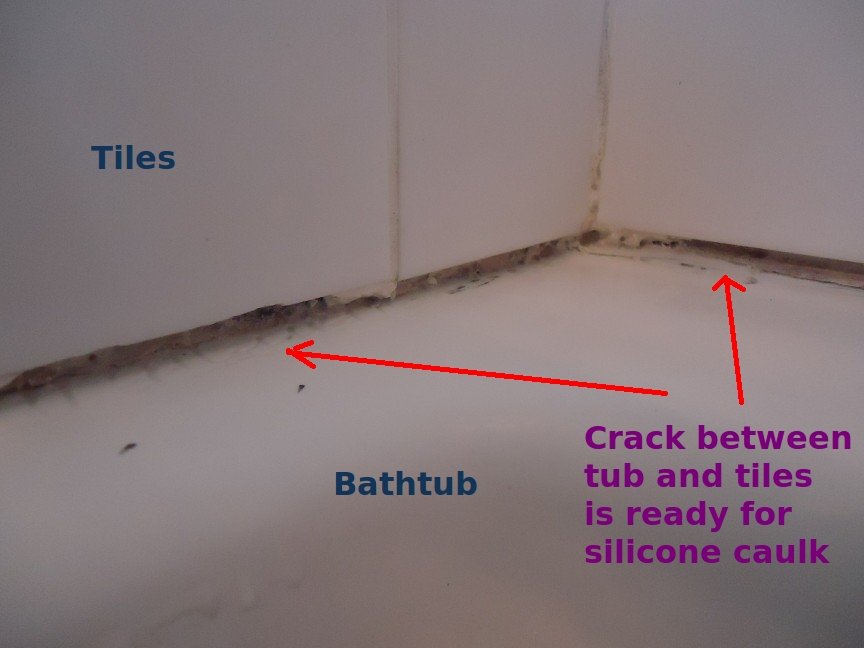
The caulk line around a bathtub looks perfect on day one. Six months or a year later, it is pulling away from the tile on one side, cracking down the middle, or growing dark spots where water has crept underneath.
It feels like the product failed, but the product was usually fine. The joint failed, because a bathtub seam is one of the most punishing places sealant ever has to work.
That seam sits at the junction of two materials that never stop moving relative to each other. This article explains what moves, why the bead gives up, and how to make the next caulking job the last one for a long while.
Why caulk pulls away from the bathtub: the joint never stops moving
The primary reason caulk cracks and pulls away is joint movement that exceeds what the sealant can stretch through. Showers and bathtubs are not static fixtures. They shift constantly through thermal expansion and contraction.
Hot water makes tile, fiberglass, and surrounding materials expand; when they cool, everything contracts again. That daily cycle stresses the caulk joint over and over.
The bigger force is tub flex. Fiberglass and acrylic tubs are not rigid. When a person steps in, or when the tub fills with water, the rim deflects downward slightly, pulling the tub away from the wall.
A typical tub holds 50 to 100 gallons of water, adding 400 to 800 pounds of load. Acrylic and fiberglass tubs can flex as much as a quarter inch at the seam under that weight, according to FixerDaily's caulking guide.
House settling adds a slower, steadier pull. Minor foundation movement and seasonal shifts gradually separate the tile wall from the tub deck. The caulk is engineered to flex with small changes, but every material has a movement rating, and this joint tests it daily.
This is why the bead fails the way it does. Too stiff, and it tears or cracks down the center.
Too weakly bonded, and it peels off one surface. Either way, the failure mode tells you what happened: a crack down the middle means the bead was too thin for the gap or applied to a flexing tub; peeling at one edge means the surface underneath was contaminated.
Bad prep guarantees early failure
Movement gets the blame, but the second most common cause of caulk pulling away is poor adhesion from the start. New caulk applied over a contaminated or improperly prepared surface cannot form a full chemical bond, so it peels within months no matter how good the product is.
The usual contaminants are invisible: soap scum, body oils, residual moisture, and the thin film left behind by old caulk. Applying new caulk over old material guarantees premature failure, because the fresh bead bonds to the old rubbery layer instead of the tile and tub.
Moisture is the worst offender. Silicone caulk will not bond properly to a wet or damp surface, and water interferes with the curing process.
The joint needs to be completely dry, which often means 12 to 24 hours of air drying before application. A hairdryer helps, but patience does more.
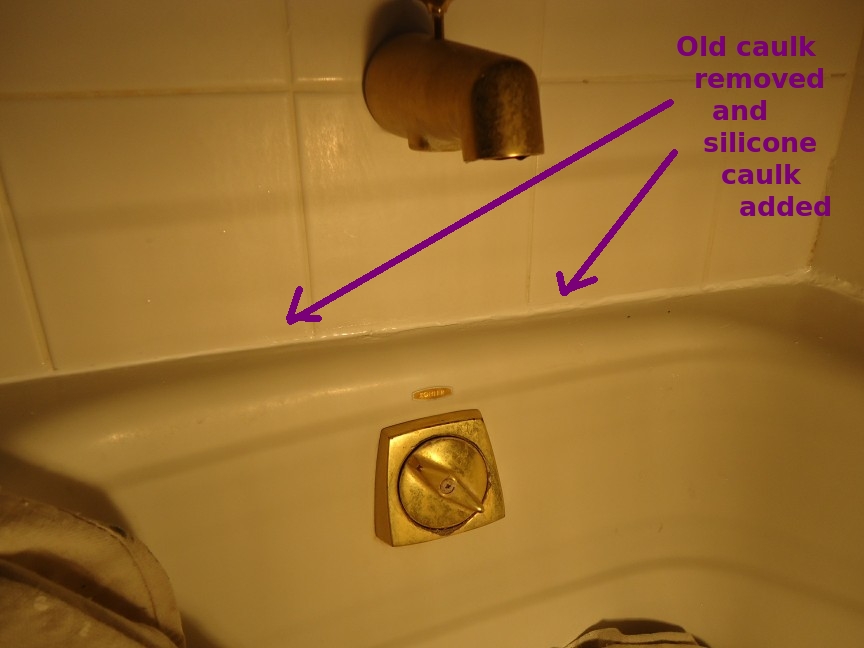
The right prep is unglamorous: remove 100 percent of the old caulk, scrub the joint, wipe it with isopropyl alcohol, and let it dry for at least two hours, longer if the bathroom is humid. For more prep-adjacent fixes, see our guide on choosing the right drill bit for wood, metal, and tile when you need to open up a failed joint.
The wrong product for the job
Not all caulk is built for a bathtub seam. Acrylic caulk, often sold as painter's caulk, is fine for baseboards but wrong for wet, high-movement joints. It shrinks as it dries, becomes rigid, and eventually cracks under the thermal and moisture cycling of a bathroom.
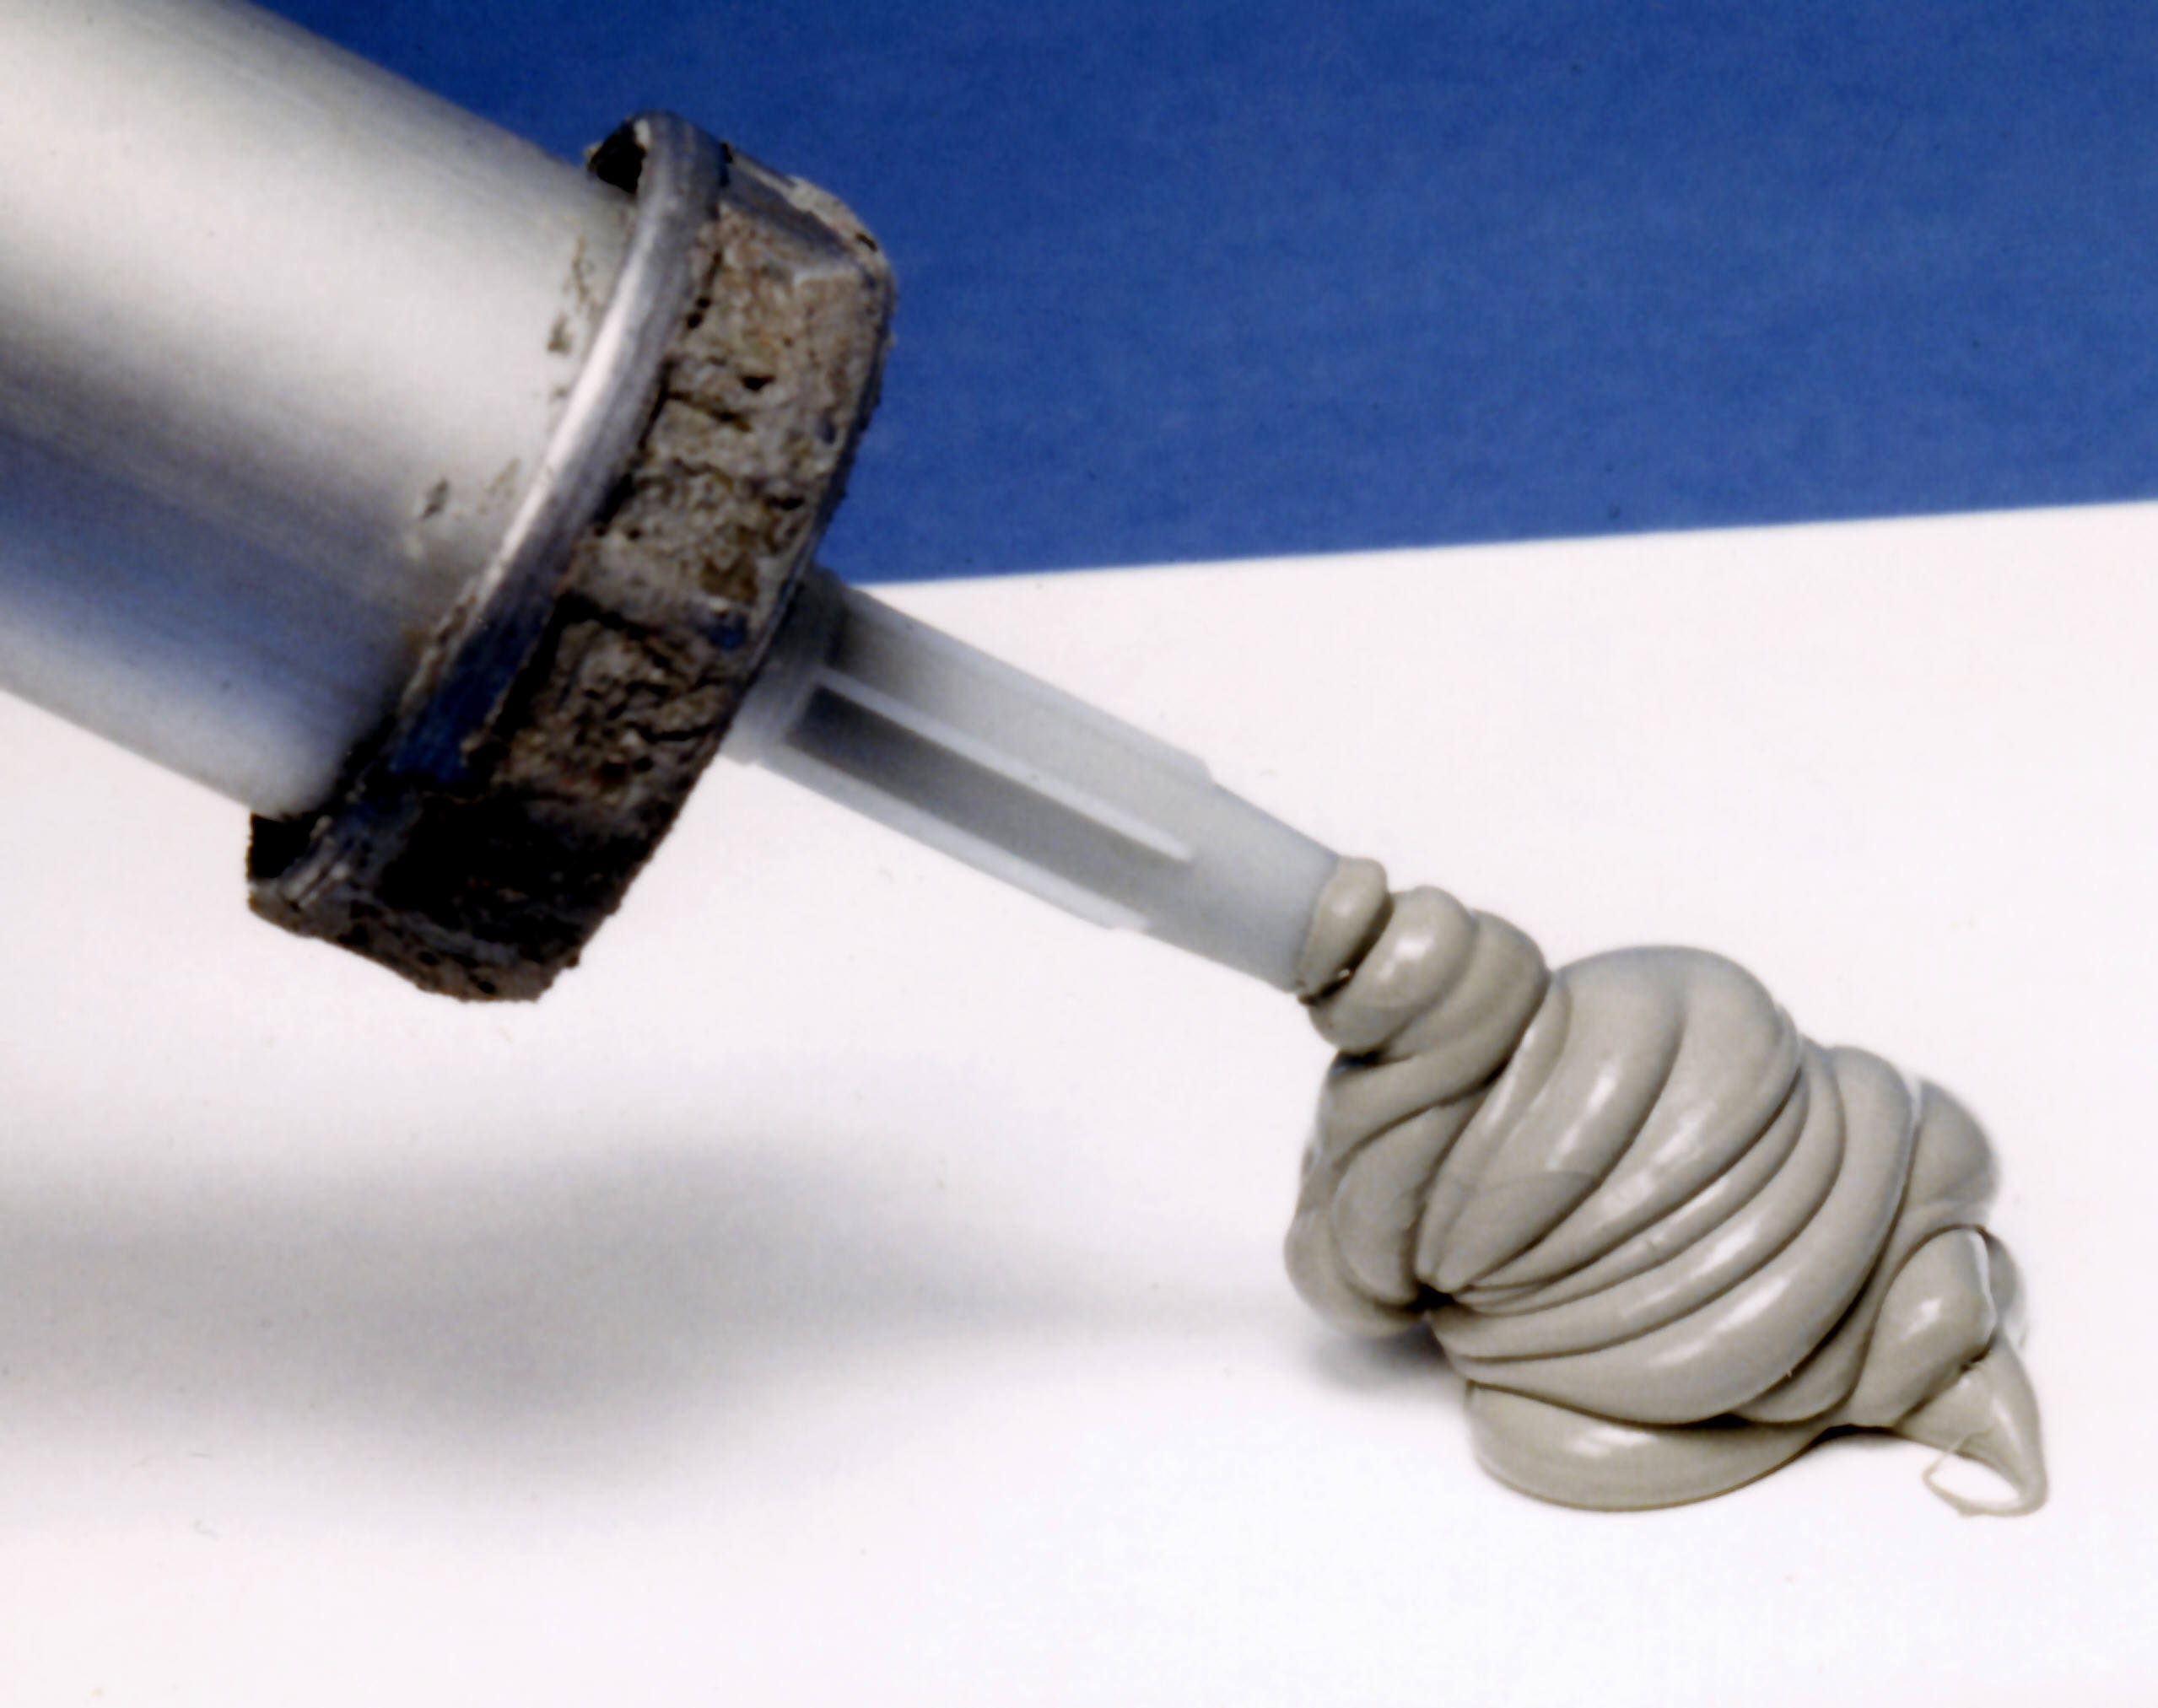
Silicone is the right product. It cures into a flexible rubber gasket, does not shrink as it cures, and is naturally hydrophobic. Quality silicone sealants can handle joint movement of up to 25 percent of the joint width, which covers the flexing and expansion a tub seam produces, according to EngineerFix's guide to shower caulk failure.
The rule from multiple repair guides is blunt: use 100 percent silicone for the tub-to-wall joint, nothing else. If the gap is wider than about three-eighths of an inch, press a foam backer rod into the joint first so the bead has the right depth.
The full-tub trick
The single most effective technique for this joint is counterintuitive: fill the bathtub with water before you caulk. Fill it to just below the overflow drain, or at least three-quarters full, and leave it filled for the entire caulking and curing process.
The logic is mechanical. A full tub forces the deck to deflect downward, opening the joint to its widest position. Caulk applied in that state cures while stretched.
When you drain the tub later, the joint contracts and the caulk compresses slightly instead of being yanked apart. Caulk applied while the tub was empty meets its first real stress the moment someone takes a bath, stretched beyond its limit on day one.
Cast iron and steel tubs barely flex, so you can caulk those empty. Acrylic and fiberglass tubs are the ones that need the full-tub method. If you have ever replaced this caulk three times in three years and watched it crack each time, you probably also have a structural issue, flexing floor joists or ongoing settling, and no bead will outlast that without the structure addressed.
Letting it cure properly
The last failure point is impatience. Silicone needs 24 to 48 hours before it can handle water exposure, and full cure, when the caulk reaches maximum elasticity, takes about 7 days.
Expose it to water early and you trap moisture in uncured pockets that never fully harden. Those pockets become mold breeding grounds.
Run the bathroom exhaust fan during application and for at least 30 minutes after, and verify the fan actually vents outside rather than into the attic. Keep the tub filled for the first 24 hours if you used the full-tub method, then drain it. Do not use the shower for 24 to 48 hours after application.
Mold on the surface of the bead usually means non-silicone caulk or poor ventilation. Mold appearing behind or under the bead means the joint was not dry before application, or the caulk met water before its cure finished.
Why does new caulk peel within months?
Almost always poor prep. The surface was wet, contaminated with soap scum or old caulk film, or the new bead was laid over old material instead of clean tile and tub.
Can I caulk over old caulk to save time?
No. Layering new caulk over old guarantees the new bead bonds to the old one instead of the substrate. Strip the joint completely first.
How long should bathroom caulk last?
A properly prepped 100 percent silicone joint in a bathtub should last years. If yours fails annually, the cause is structural movement, wrong product, or skipped prep, not bad luck.
The bottom line
Caulk pulls away from the bathtub because the joint moves more than most people expect: the tub flexes under hundreds of pounds of water, materials expand and contract daily, and houses settle. The fix is a system, not a product: strip the joint completely, dry it for 12 to 24 hours, use 100 percent silicone, apply it while the tub is filled, and let it cure 24 to 48 hours before water touches it. Do that, and the bead stops pulling away.
Latest in Home
- How to choose the right drill bit for wood, metal, and tile
- How to stop condensation on bedroom windows
- How to silence a squeaky floorboard
- Why pipes bang when you turn off the faucet
Subscribe for one practical home fix in your inbox each week.
Image Credits: Wikimedia Commons / Tomwsulcer, Achim Hering
Related stories
Why Your Faucet Keeps Dripping After You Turn It Off
A dripping faucet is usually a worn washer, O-ring, or cartridge that can no longer seal. One drip per second wastes over 3,000 gallons
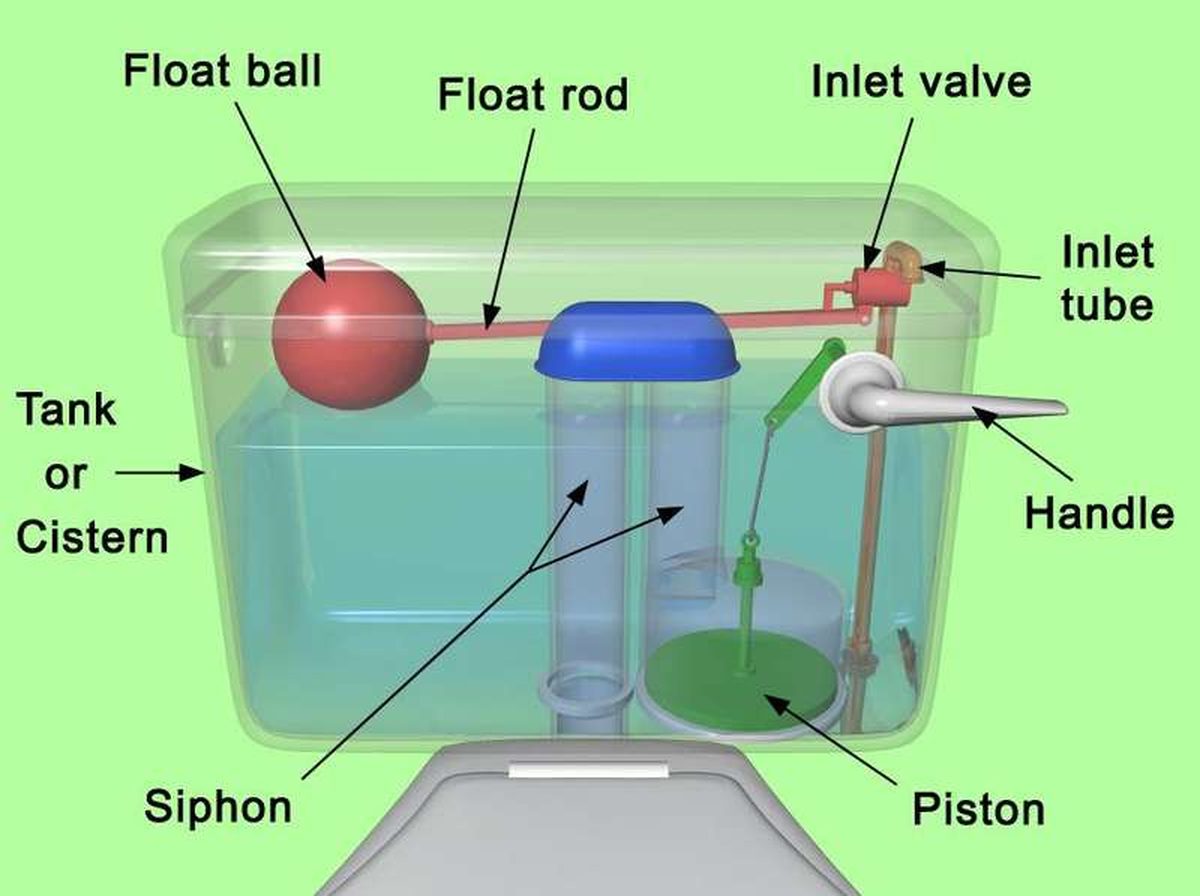
How to fix a running toilet without a plumber in 30 minutes
A running toilet can waste 200 gallons of water a day. Diagnose the flapper, float, or fill valve in two minutes, then fix it yourself

How to hang heavy shelves on drywall safely
Studs first, toggle bolts second, plastic anchors never for heavy loads. Weight ratings, installation steps, and mistakes that bring