
How to Choose the Right Drill Bit for Wood, Metal, and Tile
Key takeaways
- Match the bit to the material first, not the drill, because geometry and cutting edge decide the result.
- Wood wants brad-point or spade bits, hard metal wants cobalt, and tile wants a spear-point or diamond bit with no hammer mode.
- Slow down for hard materials, use cutting fluid on metal, and clamp the workpiece before every hole.
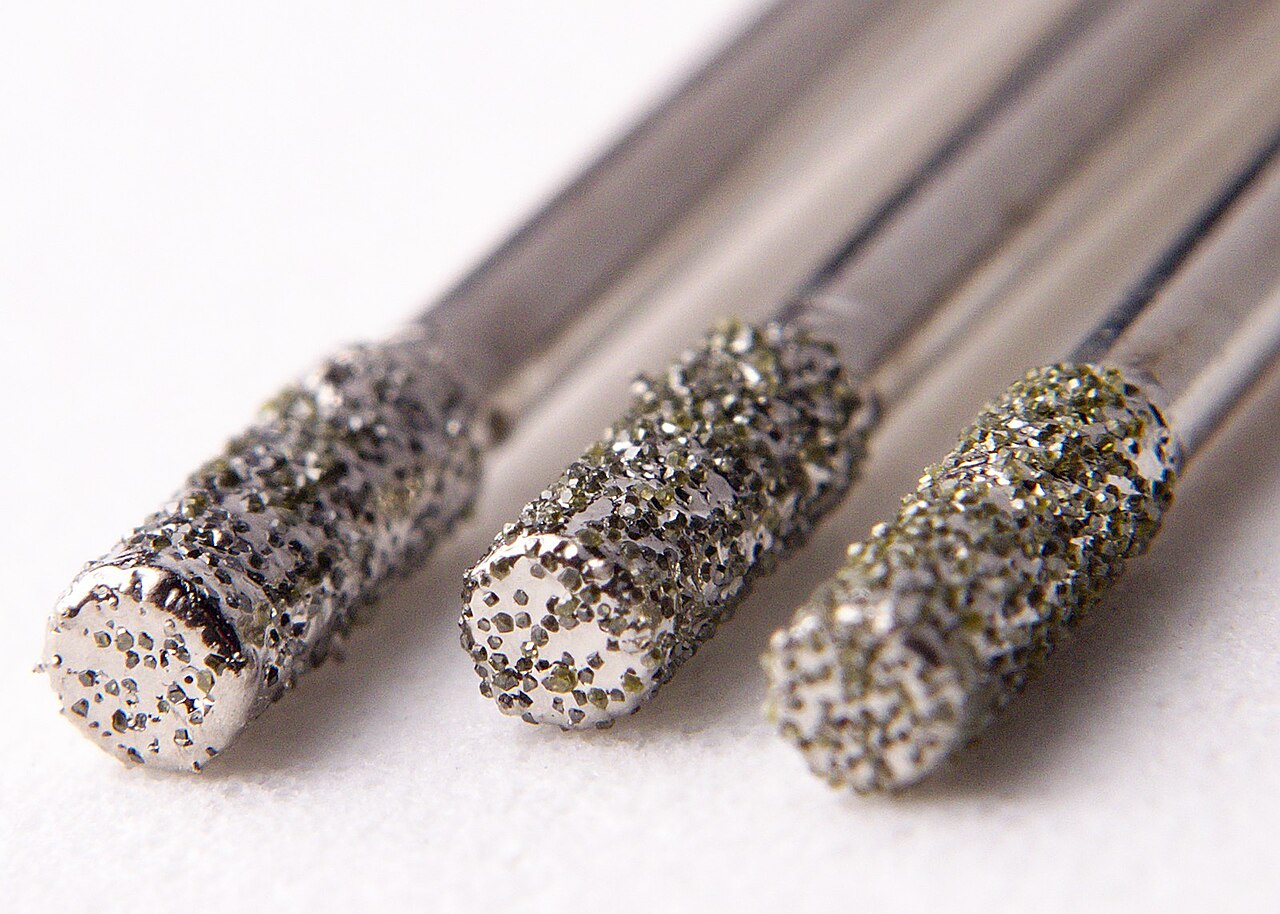
A drill bit is the cutting tool that decides the size and quality of the hole. The drill only spins it. Pick the wrong bit and the hole wanders, the edge chips, the bit overheats, or the workpiece cracks.
This article explains how to choose the right drill bit for wood, metal, and tile, including the bit types for each material, the speed and pressure to use, and the mistakes that ruin most DIY jobs.
Start with the material, not the bit
Every bit choice starts with one question: what are you drilling into? Wood, metal, and tile each need a different cutting action. Wood needs a bit that slices fibers cleanly.
Metal needs a bit that holds its edge under heat. Tile needs a bit that grinds a brittle surface without cracking it.
Bit colour tells you little about the job. As AIMS Industrial notes, the colour of a drill bit reflects its coating, not what it cuts. Tip shape, flute design, and the material of the cutting edge decide the correct use.
Two traits matter most: geometry, the shape of the tip and flutes, and the cutting material, whether the bit is high-speed steel, cobalt alloy, carbide-tipped, or diamond-coated.
Bits for wood: clean holes and fast holes
Wood is fibrous, so it wants to splinter when a bit breaks through the far side. The right wood bit scores or supports the fibers instead of tearing them.
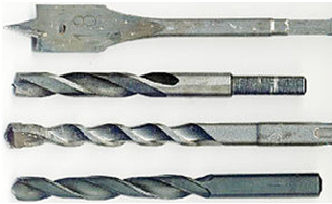
Brad-point bits are the first choice for fine woodwork. They have a sharp center point that locks onto the mark, plus two side spurs that score the circle of the cut. Engineer Fix describes them as the bit for cabinetry and doweling, where a clean entry and exit hole matters.
They also stop the bit from wandering at the start.
Twist bits also cut wood. A standard high-speed steel twist bit works for general holes, but it can splinter the exit side unless you back the piece with scrap wood. Use twist bits for rough work where the hole will stay hidden.
Spade bits are flat, paddle-shaped bits for large holes in a hurry. They cut fast through studs and joists for cable and pipe runs. Their exit holes look rough, so keep them away from visible joinery.
Forstner bits do the opposite job: slow, flat-bottomed, clean-sided holes for hinges and hardware. Auger bits have a screw tip that pulls the bit into thick timber, which suits deep holes in posts and beams.
For most home woodwork, brad-point bits cover precise holes, a spade bit covers large rough holes, and one Forstner bit covers hinge cups.
Bits for metal: heat is the enemy
Drilling metal is a fight against heat. Friction builds fast at the cutting edge, and a hot edge dulls, then smokes, then stops cutting. The bit material and the speed decide whether you win that fight.
Standard high-speed steel (HSS) twist bits suit soft metals like aluminum, brass, and mild steel. The common twist bit has a 118-degree tip angle for general use, according to Engineer Fix. A 135-degree split-point tip starts with less pressure and wanders less on smooth surfaces, which makes it a good pick for sheet metal.
Cobalt bits handle the hard metals. A cobalt bit is an alloy of high-speed steel with 5 to 8 percent cobalt, Engineer Fix reports. That cobalt content raises heat resistance, so the edge survives in stainless steel and hardened bolts where plain HSS glazes over.
AIMS Industrial puts the cobalt grades at M35 with 5 percent cobalt and M42 with 8 percent.
Coatings confuse many buyers. Titanium nitride gives bits a gold colour and a slightly harder surface, but the coating grinds away when you resharpen the bit. Black oxide adds mild corrosion resistance but does not make the bit harder.
Treat coatings as a small bonus, not a substitute for cobalt in hard metal.
Cutting fluid matters as much as the bit. Use a drop of cutting oil on steel and stainless steel to carry heat away and keep the edge sharp. AIMS Industrial lists cutting fluid as essential for stainless steel.
Bits for tile: grind, never hammer
Tile is brittle, so it cracks under impact. Never use hammer mode on ceramic or porcelain tile. AIMS Industrial warns that the percussive action will crack the tile at once.
For glazed ceramic tile, use a carbide spear-point bit in rotation-only mode. Go slow, use very light pressure, and keep the bit cool with water.
Porcelain tile is harder and denser than ceramic. It needs a diamond-coated bit with continuous water cooling, according to the AIMS Industrial guide. The diamond grit grinds through the tile instead of cutting it.
The same rule covers glass and granite: diamond-coated, slow, wet, no hammer.
Tape helps on tile. A strip of masking tape over the mark gives the bit grip and protects the glaze. Start at a slight angle to form a groove, then bring the drill square.
Speed and pressure: the rule that saves bits
The harder the material, the slower the drill should spin. This single rule prevents most burnt bits. Fast speed in hard metal or masonry builds heat that softens the cutting edge.
Wood takes higher speeds. A small bit in softwood can run fast and still cut cleanly. Slow down for large bits such as Forstner bits, or the wood can scorch.
Metal wants slow to medium speed with firm, steady pressure. Stainless steel wants very slow speed with heavy, constant pressure, per the Cordless Drills Now guide. Masonry wants low speed with hammer mode and heavy pressure.
Watch the chips. Long, curling shavings in metal mean the speed and pressure are right. Dust or smoke means you should slow down and add cutting fluid.
Pilot holes help everywhere. Drill a small hole first to guide the larger bit and stop it from wandering. A center punch makes a small divot in metal that seats the bit.
A simple decision path
Work through these steps before you buy or drill.
- Name the material: softwood, hardwood, mild steel, stainless steel, brick, concrete, ceramic tile, or porcelain tile.
- Pick the bit type for that material: brad-point for fine wood, HSS twist for soft metal, cobalt for stainless, carbide masonry for brick and concrete, spear-point or diamond for tile.
- Match the diameter to the screw, anchor, or hardware. For pilot holes, pick a bit the width of the screw shank, not the threads.
- Check the drill mode: standard rotation for wood, metal, and tile; hammer mode only for masonry.
- Set the speed: high for wood, slow for metal and masonry, very slow for porcelain.
- Add fluid or water where the material needs it: cutting oil for steel, water for tile and porcelain.
- Clamp the workpiece, wear eye protection, and drill with steady pressure.
This path also tells you what not to buy. A few good bits in the sizes you actually drill will serve you better than a giant cheap set.
Common mistakes and how to avoid them
Using a wood bit on metal dulls the edge fast and leaves a rough hole. Using a masonry bit on wood gives a poor hole and the wrong cutting action. Using hammer mode on tile cracks the tile.
Each mistake comes from matching the bit to the drill instead of the material.
Side pressure snaps bits. Cobalt and carbide are hard but brittle, so tilting the drill while the bit sits deep in the hole can break it. Keep the drill square to the surface and let the bit do the work.
Dull bits cause most smoking and burning. A blue or black tip means the bit overheated and lost its temper. Replace cheap coated bits instead of sharpening them, since resharpening strips the coating.
Unclamped workpieces are a safety hazard. A spinning bit can grab thin metal and whip it around. Clamp the work and wear eye protection for every drilling job.
What to buy for a basic kit
A home kit needs five groups of bits. First, a set of brad-point bits from 3 mm to 10 mm for wood. Second, a set of HSS twist bits, ideally 135-degree split-point, for soft metal and general holes.
Third, two or three cobalt bits in the sizes you drill most, for stainless and hard steel. Fourth, a set of carbide-tipped masonry bits for brick and concrete. Fifth, one spear-point carbide bit and one diamond-coated bit for tile.
Add a center punch, a bottle of cutting oil, masking tape, clamps, and safety glasses. Those small items cost little and prevent most failures.
Check the shank before you buy. Round shanks fit standard chucks, hex shanks fit quick-release drivers, and SDS shanks fit rotary hammers only.
Frequently asked questions
Can one drill bit handle wood, metal, and tile?
No single bit does all three well. A twist bit cuts wood and soft metal, but it will not drill porcelain tile, and a masonry bit cuts neither wood nor metal cleanly. Buy the bit for each material you plan to drill.
Why does my drill bit smoke?
Smoke means friction is overheating the bit. You are likely spinning too fast, pressing too hard, or using a dull bit. Stop, let the bit cool, slow down, and add cutting fluid for metal or water for tile.
Do I need a hammer drill for brick?
Brick and concrete need hammer action. A standard drill with hammer mode handles holes up to about 8 mm in soft brick, per AIMS Industrial. Larger holes in brick, or any hole in concrete, call for an SDS rotary hammer.
How do I stop a bit from wandering on tile?
Put masking tape over the mark, start the drill slowly at a slight angle, and use a spear-point or diamond bit in rotation-only mode. The tape gives grip, and the pointed tip seats before the bit starts to cut.
Can I resharpen drill bits?
Yes for plain HSS and cobalt bits, with a proper sharpening tool or jig. Coated bits lose their coating at the cutting edge when resharpened. Replace cheap coated bits instead of sharpening them.
The bottom line
Choose the bit from the material, then set the speed, pressure, and drill mode to suit it. Brad-point bits give clean holes in wood, cobalt bits survive stainless steel, carbide masonry bits handle brick and concrete, and spear-point or diamond bits grind through tile without cracking it. Slow down for hard materials, cool the cut, clamp the work, and let the bit cut at its own pace.
Tags: drill bits, DIY, woodworking, home improvement
Latest in Home
- Stop condensation on windows in winter
- Fix a drawer that will not close properly
- Remove old wallpaper with a steamer
- Level a wobbly table with shims
Subscribe for one practical home guide in your inbox each week.
Related stories
Why Your Faucet Keeps Dripping After You Turn It Off
A dripping faucet is usually a worn washer, O-ring, or cartridge that can no longer seal. One drip per second wastes over 3,000 gallons
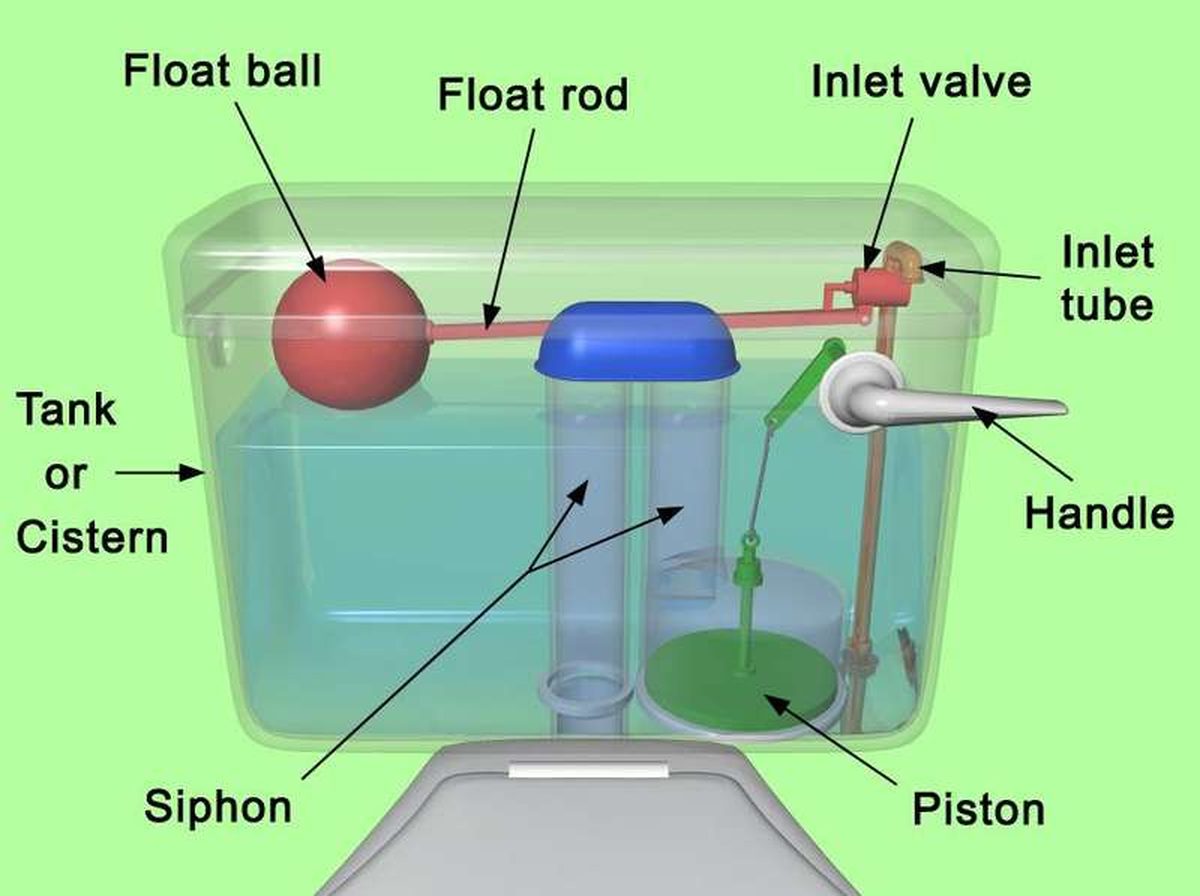
How to fix a running toilet without a plumber in 30 minutes
A running toilet can waste 200 gallons of water a day. Diagnose the flapper, float, or fill valve in two minutes, then fix it yourself
How to hang heavy shelves on drywall safely
Studs first, toggle bolts second, plastic anchors never for heavy loads. Weight ratings, installation steps, and mistakes that bring