
How to remove old wallpaper without a steamer
Key takeaways
- Test a corner first: the way the paper peels decides whether you need water at all.
- Hot water with vinegar or a stripper, soaked for 10 to 15 minutes, strips most paper.
- Work in small sections, scrape with a flat blade, and wash off every trace of paste.
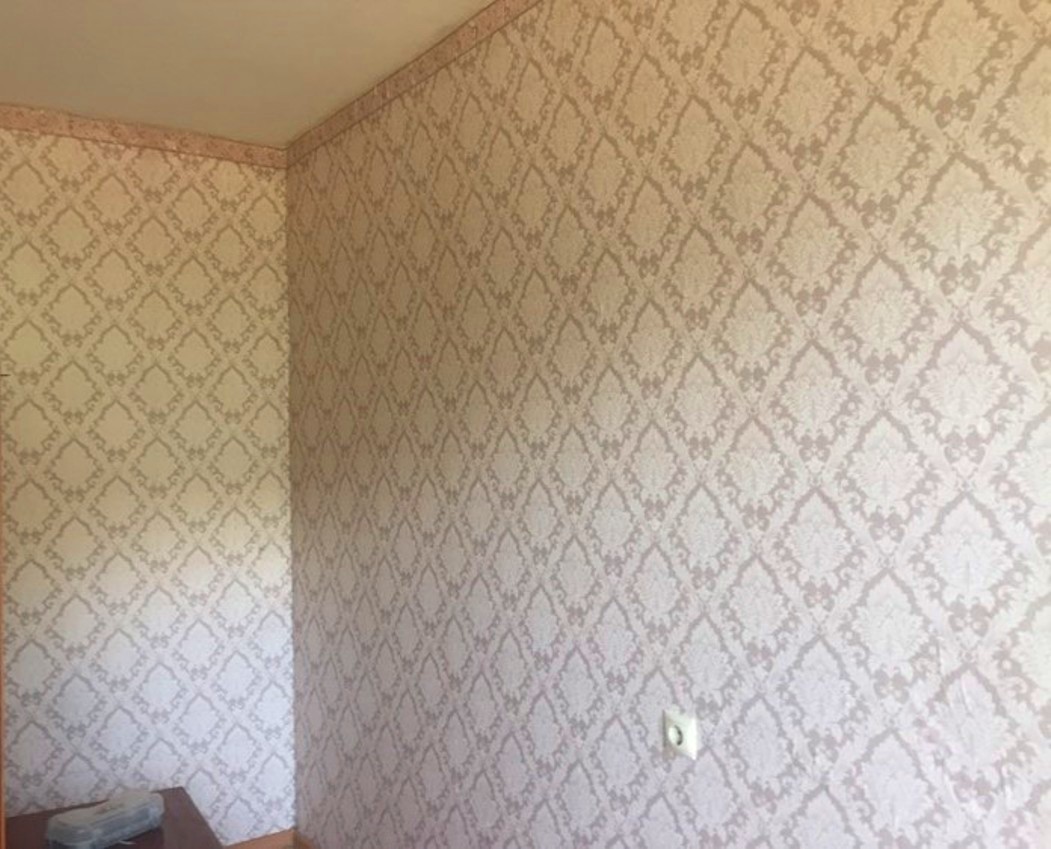
Old wallpaper comes off without a steamer in most rooms. The work is mostly soaking and waiting, not scraping hard, and the gentlest method that works is the right one for your wall.
A steamer is the strongest tool, and it carries the most risk on drywall. MeltFlex puts the order plainly: dry peeling first, hot water with vinegar or a stripper second, steam last. Each step up removes more stubborn paper and puts more water or heat into the wall.
This article explains how to remove old wallpaper without a steamer, including how to test your paper type, which soak-and-scrape method fits each type, and how to finish the wall so paint or new paper holds.
Test the paper before you buy anything
Start in a hidden corner, behind furniture if you can. Slide a putty knife under a corner and pull slowly, close to parallel with the wall. What happens next tells you the type, and the type decides the method.
If the whole sheet comes off and the wall looks clean, you have strippable paper. Keep peeling dry. If a thin top layer peels but leaves plain paper stuck to the wall, you have peelable paper: peel all the faces dry first, then soak the backing.
If the paper tears into small strips, spray one square foot with hot water and watch for a minute. Paper that darkens and soaks the water up is traditional paper, and it needs no scoring. Water that beads and runs off means vinyl or painted-over paper, which needs light scoring so liquid can reach the paste.
Check the wall where a patch comes clean. A hard, smooth, cold surface that sounds solid when knocked is plaster, which tolerates water well. A brown or grey surface with a fuzzy face is drywall, which needs less water and a lighter hand.
Gather the tools and prep the room
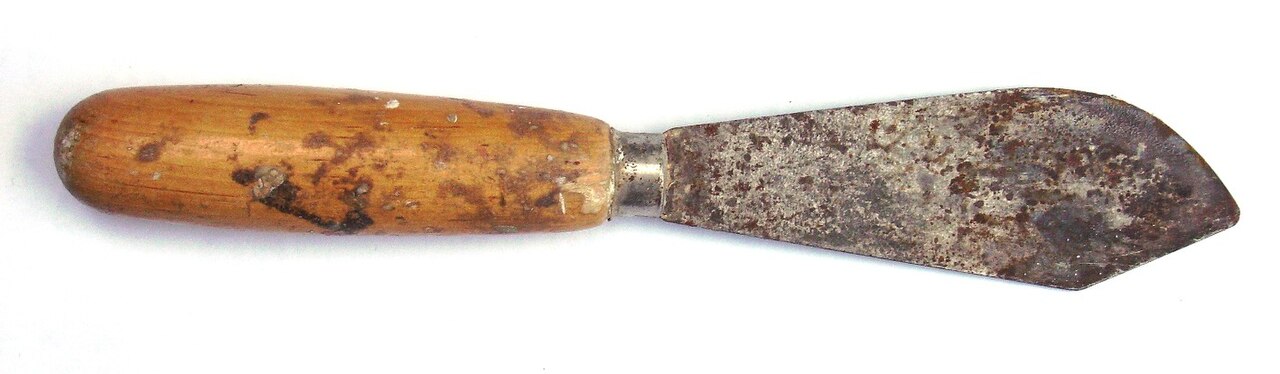
You need a 3 or 4 inch putty knife, a broad scraper, a spray bottle or pump garden sprayer, a bucket, sponges, and old towels. A scoring tool is only needed for vinyl or painted paper. MeltFlex lists gloves, safety glasses, plastic drop cloth, and painter's tape as standard kit.
Protect the room before you wet anything. Move furniture to the centre and cover it with plastic sheeting. Tape plastic along the baseboard and lay old towels on top to catch drips.
Hovia advises covering sockets and switches, and turning off power to the room while you wet the walls.
Clear the wall fully. Remove outlet and switch cover plates, and tape over the openings. Take down shelves and brackets, since paper tears often start around screw holes.
Work by daylight or a battery lamp while the power is off.
Two safety checks matter in older homes. The EPA advises homeowners to assume paint in pre-1978 homes contains lead or to have it tested, and to keep old paint wet rather than sanding it. Bob Vila warns that wallpaper and adhesives made before 1980 may contain asbestos, above all with a vinyl finish, so a decades-old vinyl paper is worth having tested before stripping.
Method 1: dry peeling
Dry peeling fits strippable and peel-and-stick papers. Start at a corner and pull slowly at a low angle, close to parallel with the wall. Pulling straight out toward you is what lifts paint.
If a panel fights back, warm the adhesive with a hair dryer on a low or medium setting for about half a minute and keep going. Wash any sticky residue off with warm soapy water once all the panels are down.
Stop dry peeling if the paper shreds and tears. Shredding means the method is causing more harm than good, and the paper needs a wet method instead. Forcing dry paper off is how walls get gouged.
Method 2: hot water and vinegar
Hot water and vinegar is the workhorse method for traditional paper, peelable backing, and scored vinyl. This Old House paint expert Mauro Henrique uses a 1:1 mix of hot water and white vinegar in a spray bottle, left for 10 to 15 minutes before scraping from the top corner down, as MeltFlex reports.
Heat matters as much as vinegar. MeltFlex quotes the explanation: hot water loosens the adhesive, and the acid from the vinegar helps dissolve it. Refill with hot water often, since a cool mix soaks in far more slowly.
The 98905 homemade remover guide gives the same recipe in plain amounts: about 8 ounces of distilled white vinegar and 8 ounces of hot water, stirred in a bucket. Apply it with a spray bottle, roller, or sponge, let it soak for 10 to 15 minutes, then scrape with a nylon scraper, starting small and working outward.
Work one section at a time, about 3 feet wide and floor to ceiling. Soak it well, wait, then soak it again. MeltFlex stresses that the second coat is the one most people skip and the one that makes the paper slide off.
While one section soaks, start soaking the next.
Method 3: fabric softener and hot water
Fabric softener is the best-known household trick, and it is worth understanding honestly. The recipes online disagree: House Digest mixes one part fabric softener with three parts warm water, while Hovia mixes one part softener with one part water. MeltFlex notes that no manufacturer publishes a ratio for it, which suggests the hot water is doing most of the work.
Use it as a soaking aid, not a miracle mix. Score non-porous paper first, then spray the mixture generously. House Digest advises a 15-minute soak, then lifting the paper from the edges with a putty knife.
Reapply on stubborn spots rather than forcing them. Once the paper is off, clean the walls with warm water and mild soap, and let them dry before painting or papering. Scrape off the glue underneath as well.
Method 4: a gel or enzyme stripper
A commercial stripper is the next step when water alone leaves paper stuck. MeltFlex cites the Zinsser DIF data sheet: mix a 22 ounce bottle of concentrate into 2 gallons of warm water, apply with a garden sprayer, sponge, or roller, wait 15 minutes, repeat the application, then scrape.
Hovia describes the gel version for stubborn paper. Work in sections of about 3 feet by 3 feet, apply the solution, and let it soak for 20 to 30 minutes. Slip the putty knife under a seam and remove the loosened paper, coating the next section while you work.
Wear chemical-resistant gloves and safety goggles with a stripper, and keep the room ventilated. MeltFlex notes the data sheet also calls for a NIOSH-approved respirator when spraying, which is worth taking seriously in a small bathroom.
How to scrape without gouging the wall
Scrape from the bottom up with the blade almost flat against the wall. A steep blade digs in, while a flat blade slides under the paper and lifts it. Hovia warns against pressing hard with a scoring tool: deep scoring marks the wall underneath.
If a patch resists, rewet it and move on. Come back in five minutes rather than digging at a dry spot. Patience is the tool that protects drywall, and a second soak costs minutes while a gouge costs an hour of patching.
On unprimed drywall, use as little water as possible and skip the steamer, since steam softens the drywall face along with the paste. If the drywall paper tears, let the wall dry fully before sealing and patching.
Wash off the paste, then let the wall dry
Paste left under new paint is a common cause of cracking, according to MeltFlex. Wash the wall with clean water and a sponge once the paper is off, and rinse before the paste dries.
Check for residue by feel. A slick or slimy patch still holds paste, so wash those spots again, since primer and paint will not bond well over paste.
Let the wall dry for a full day before judging the surface. MeltFlex notes that drywall can look fine wet and show bubbles once it dries. Only then should you patch gouges, sand lightly, and prime.
A room of wallpaper can take about a day, according to Hovia. The time depends on the paper type, the wall underneath, and how many layers are present.
Frequently asked questions
Can I remove wallpaper with only hot water?
Yes, for traditional paper that soaks water up. Hot water alone softens most paste, and vinegar or a stripper speeds the job. Vinyl and painted paper still need scoring first, since water beads off their surface until the face is broken.
What ratio of fabric softener to water works?
Published recipes disagree: House Digest uses one part softener to three parts warm water, and Hovia uses equal parts softener and water. Both soak for about 15 minutes. Treat the softener as a soaking aid and test it on one patch first.
Will removing wallpaper damage drywall?
It can, if the work is rushed. Oversaturating drywall softens its paper face, and a steep scraper angle gouges it. Use little water, small sections, a flat blade, and no steamer.
Torn spots should dry fully, then be sealed and patched.
How do I get wallpaper glue off the wall?
Wash the wall with clean water and a sponge while the paste is still damp, then rinse. A slick or slimy feel means paste is still there, so wash again.
Do I need to remove wallpaper before painting?
Yes, in nearly every case. Painting over wallpaper leaves the seams visible as raised lines, and the paper can bubble or peel under the new paint. Hovia notes that removing the paper first is the best way to make a paint job last.
Once the wall is stripped, washed, and primed, the next finish has a sound base, as with how to store paint so it stays usable for years.
The bottom line
Removing old wallpaper without a steamer comes down to matching the method to the paper: peel dry when it releases, soak with hot water and vinegar when it does not, and bring in a stripper for the stubborn patches. Work in small sections, keep the blade flat, and wash off the paste. The wall underneath will thank you with a smooth finish.
Tags: home improvement, wallpaper, DIY, renovation
Latest in Home
- How to stop condensation on windows in winter
- How to choose the right drill bit for wood, metal, and tile
- How to clean grout on tiles without harsh chemicals
- How to store paint so it stays usable for years
Subscribe to the Rive News newsletter for one practical home DIY explainer each week.
Related stories
Why Your Faucet Keeps Dripping After You Turn It Off
A dripping faucet is usually a worn washer, O-ring, or cartridge that can no longer seal. One drip per second wastes over 3,000 gallons
How to fix a running toilet without a plumber in 30 minutes
A running toilet can waste 200 gallons of water a day. Diagnose the flapper, float, or fill valve in two minutes, then fix it yourself
How to hang heavy shelves on drywall safely
Studs first, toggle bolts second, plastic anchors never for heavy loads. Weight ratings, installation steps, and mistakes that bring