
How to Silence a Squeaky Floorboard Without Lifting the Floor
Key takeaways
- A squeak is friction: two pieces of wood move against each other when weight shifts.
- Finding the exact spot matters more than the fix, since each cause needs a different repair.
- Most squeaks are a nuisance, not damage, but sagging or bouncing floors deserve a professional look.
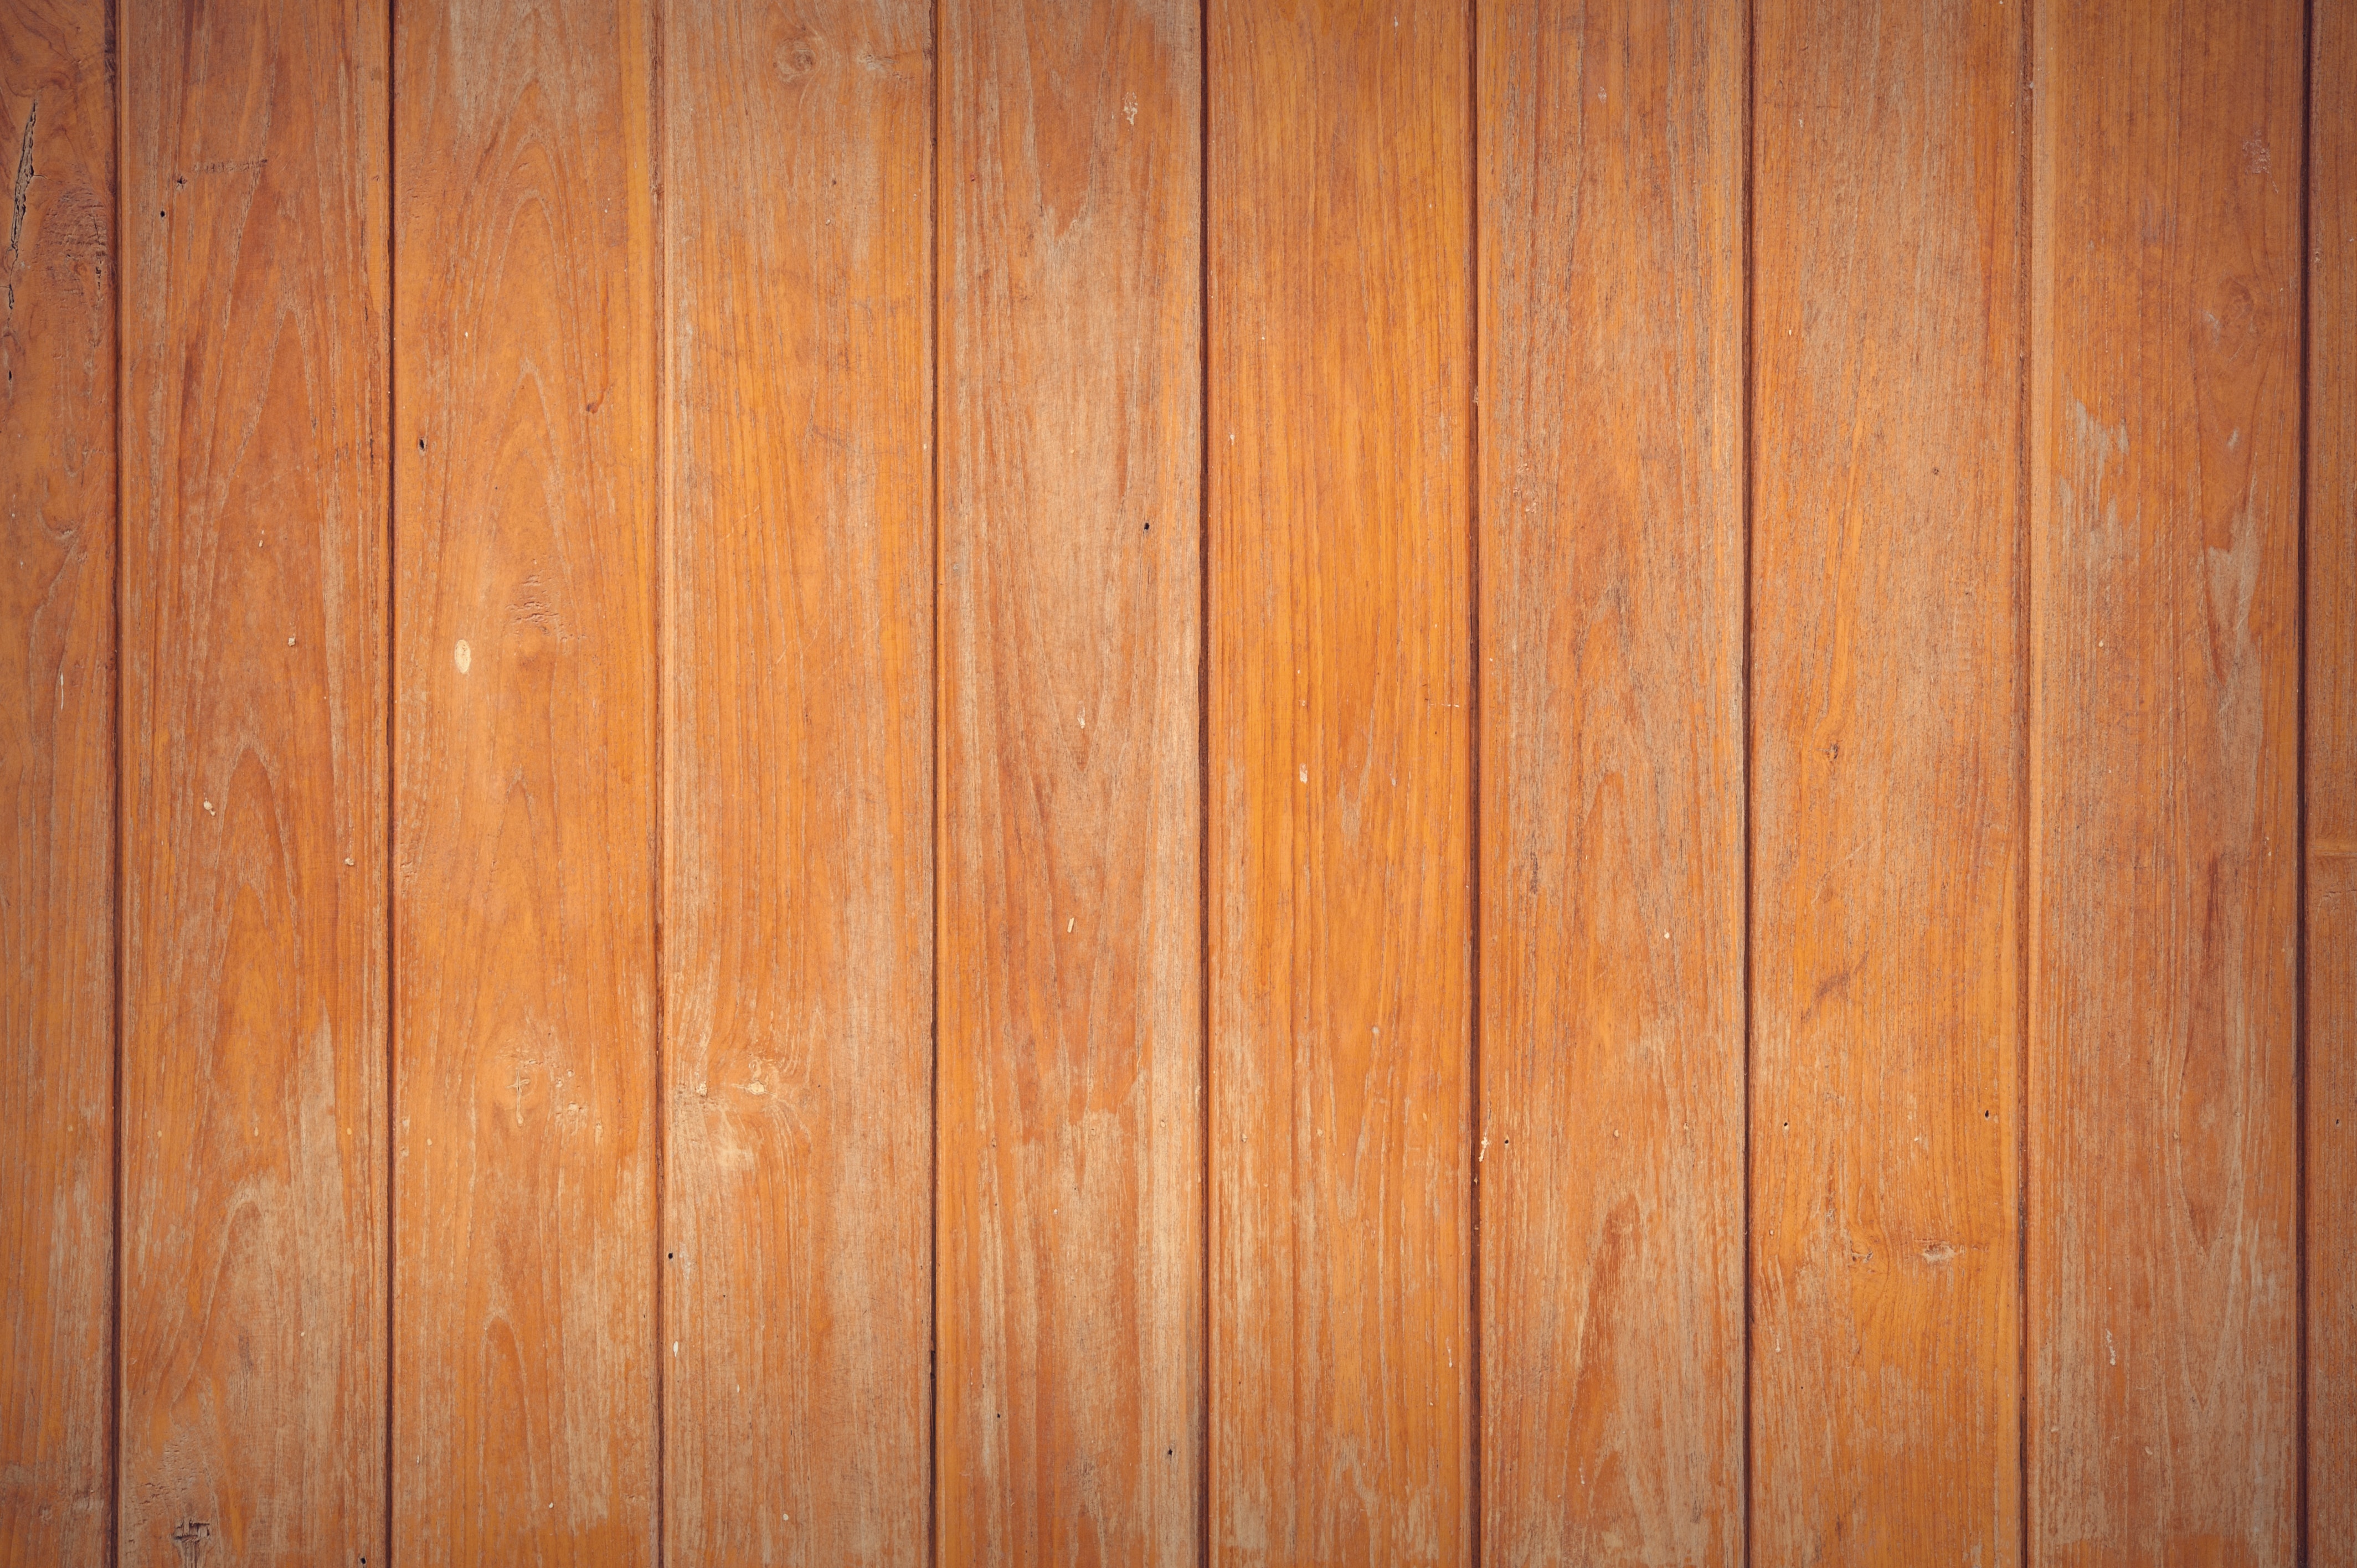
A squeaky floorboard is a small sound with a simple cause. Two pieces of wood rub together when someone steps on them, and the friction makes the noise. The boards may rub against each other, against the subfloor below, or against the nail that holds them down.
This article explains how to silence a squeaky floorboard, including why floors squeak, how to find the exact spot, fixes from below the floor, fixes from above the floor, and when a squeak points to a bigger problem.
Why floorboards squeak
Wood moves with the seasons, and that movement is the starting point for most squeaks. Boards absorb moisture and swell in humid months, then dry and shrink when indoor air turns dry. That cycle of expansion and contraction works on the nails and screws that hold the floor tight.
Over time, a fastener loosens or the wood shrinks away from it. A small gap opens between the subfloor and the joist below, or between two neighboring boards. When a foot lands on that spot, the board drops a tiny distance and rubs as it moves.
The result is the familiar creak.
Settling adds another cause. As a house settles, floor parts shift slightly against each other. Joints that were once snug develop a little play.
The movement is often tiny, sometimes less than a millimetre, yet it is enough to make noise under weight.
A squeak on its own rarely means the floor is failing. JB Sassano, president of home repair franchise Mr Handyman, told Realtor that squeaks are more about driving you crazy than anything. He added that a floor that bows or bends would be a more serious issue.
That distinction matters, and the last section of this article covers it in full.
Find the exact spot first
Guessing wastes time and puts holes in the wrong place. The fix starts with locating the precise board and the precise gap. Every repair below works best when it targets the true source of the movement.
The standard method needs two people. One person walks slowly across the noisy area while the other listens from below, in a basement or crawl space, if access exists. The person below watches for the gap that opens and closes as weight passes over it.
Marking the spot with painter's tape keeps it visible after the walking stops.
When there is no access from below, walk the floor alone and listen closely. Step on one small area at a time, shifting your weight from heel to toe. Mark each noisy point with tape.
A squeak that moves when you step a few inches sideways usually means two boards rubbing, while a squeak fixed to one spot often points to a loose board over a joist.
Check the edges too. A squeak near a wall can come from a board that ends without support on a joist. That case needs a support fix, not a fastener fix.
Lifting the board and screwing a 25mm by 50mm batten to the side of the joist gives the board end something solid to rest on, according to a repair guide by Julia Gray.
Fix it from below
Access from below gives the cleanest repair because nothing shows on the finished floor. The work happens at the joint where the subfloor meets the joist. Three methods cover most cases, and the choice depends on the size of the gap.
A shim fills a small gap. Coat a thin tapered shim with carpenter's glue or construction adhesive, then tap it gently into the void between the joist and the subfloor. Stop as soon as it makes firm contact.
Driving it too far can lift the floor above and create a hump, which trades one problem for another.
Construction adhesive fills a long gap. When the void runs along the length of a joist, a caulking gun applies a bead of adhesive between the subfloor and the joist. Once the glue hardens, the two parts move as one piece and the rubbing stops.
Realtor notes that a full-length gap responds well to this method.
A screw from below pulls the parts tight. Drive a short wood screw up through the bottom of the subfloor into the base of the finished floor. Go slowly and stop well short of the finished surface.
A screw that breaks through the top ruins the floor, so measure the total thickness before drilling and choose a screw shorter than that depth.
Blocking stiffens a weak section. This method installs a short piece of framing lumber between two joists, glued and screwed to both. It suits floors where the joist itself twists or the span feels bouncy.
Blocking is more work than a shim, but it spreads the load and quiets a wider area.
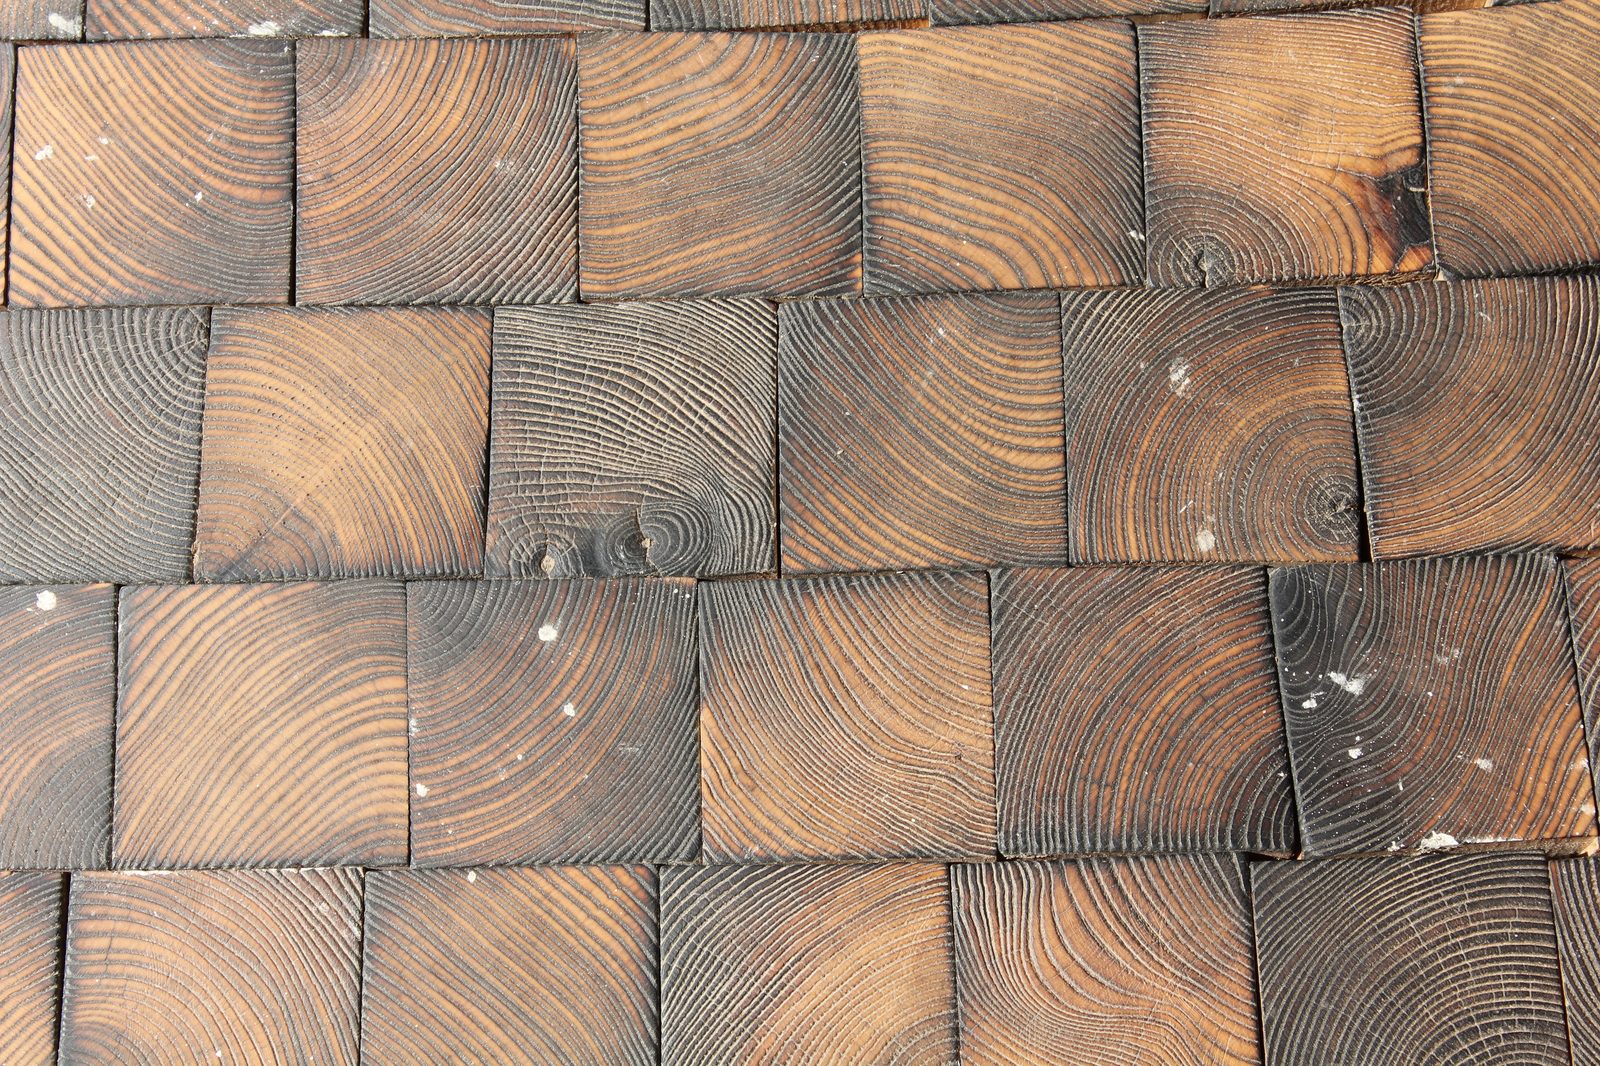
Fix it from above
Many floors sit over a finished ceiling or a concrete slab, so below is not an option. Repairs from above still work, and they range from a five-minute powder trick to a purpose-made screw kit. Start with the lightest fix that fits the cause.
Dry lubricant suits board-to-board friction. Sprinkle talcum powder or powdered graphite into the seam between the squeaking boards. Lay a cloth over the area and walk on it to work the powder down into the joint.
The powder coats the rubbing surfaces so the wood shifts quietly. Wipe away the excess when the squeak fades.
Break-off screw kits suit a loose board over a joist. These kits drive a scored screw through the floor and subfloor into the joist using a small jig. When the screw is fully set, the head snaps off just below the surface.
The hole left behind takes wood filler matched to the floor color. The repair ends up nearly invisible.
Ring-shank nails suit seams between rubbing parts. These nails carry small rings that resist backing out over time. Drive two nails at opposite 45-degree angles into the joist, then fill the holes with wood filler.
A stud finder locates the joist so the nails land in solid wood instead of empty subfloor.
Carpeted floors need a different touch. A wallboard screw can go straight through the carpet and pad into the joist, with the head countersunk into the subfloor. The carpet pile hides the entry point, though a quick comb of the fibers helps it blend in.
Specialized kits for carpeted floors use the same break-off idea, so the repair leaves no visible screw head.
Safety comes before any screw or nail. Never drive a fastener into a floorboard without knowing what sits underneath. Pipes and cables often run under floors, and a screw through either one turns a noise complaint into a leak or a shock risk.
A cable and pipe detector helps, but lifting the board to look is the surest check, as Gray advises in her guide.
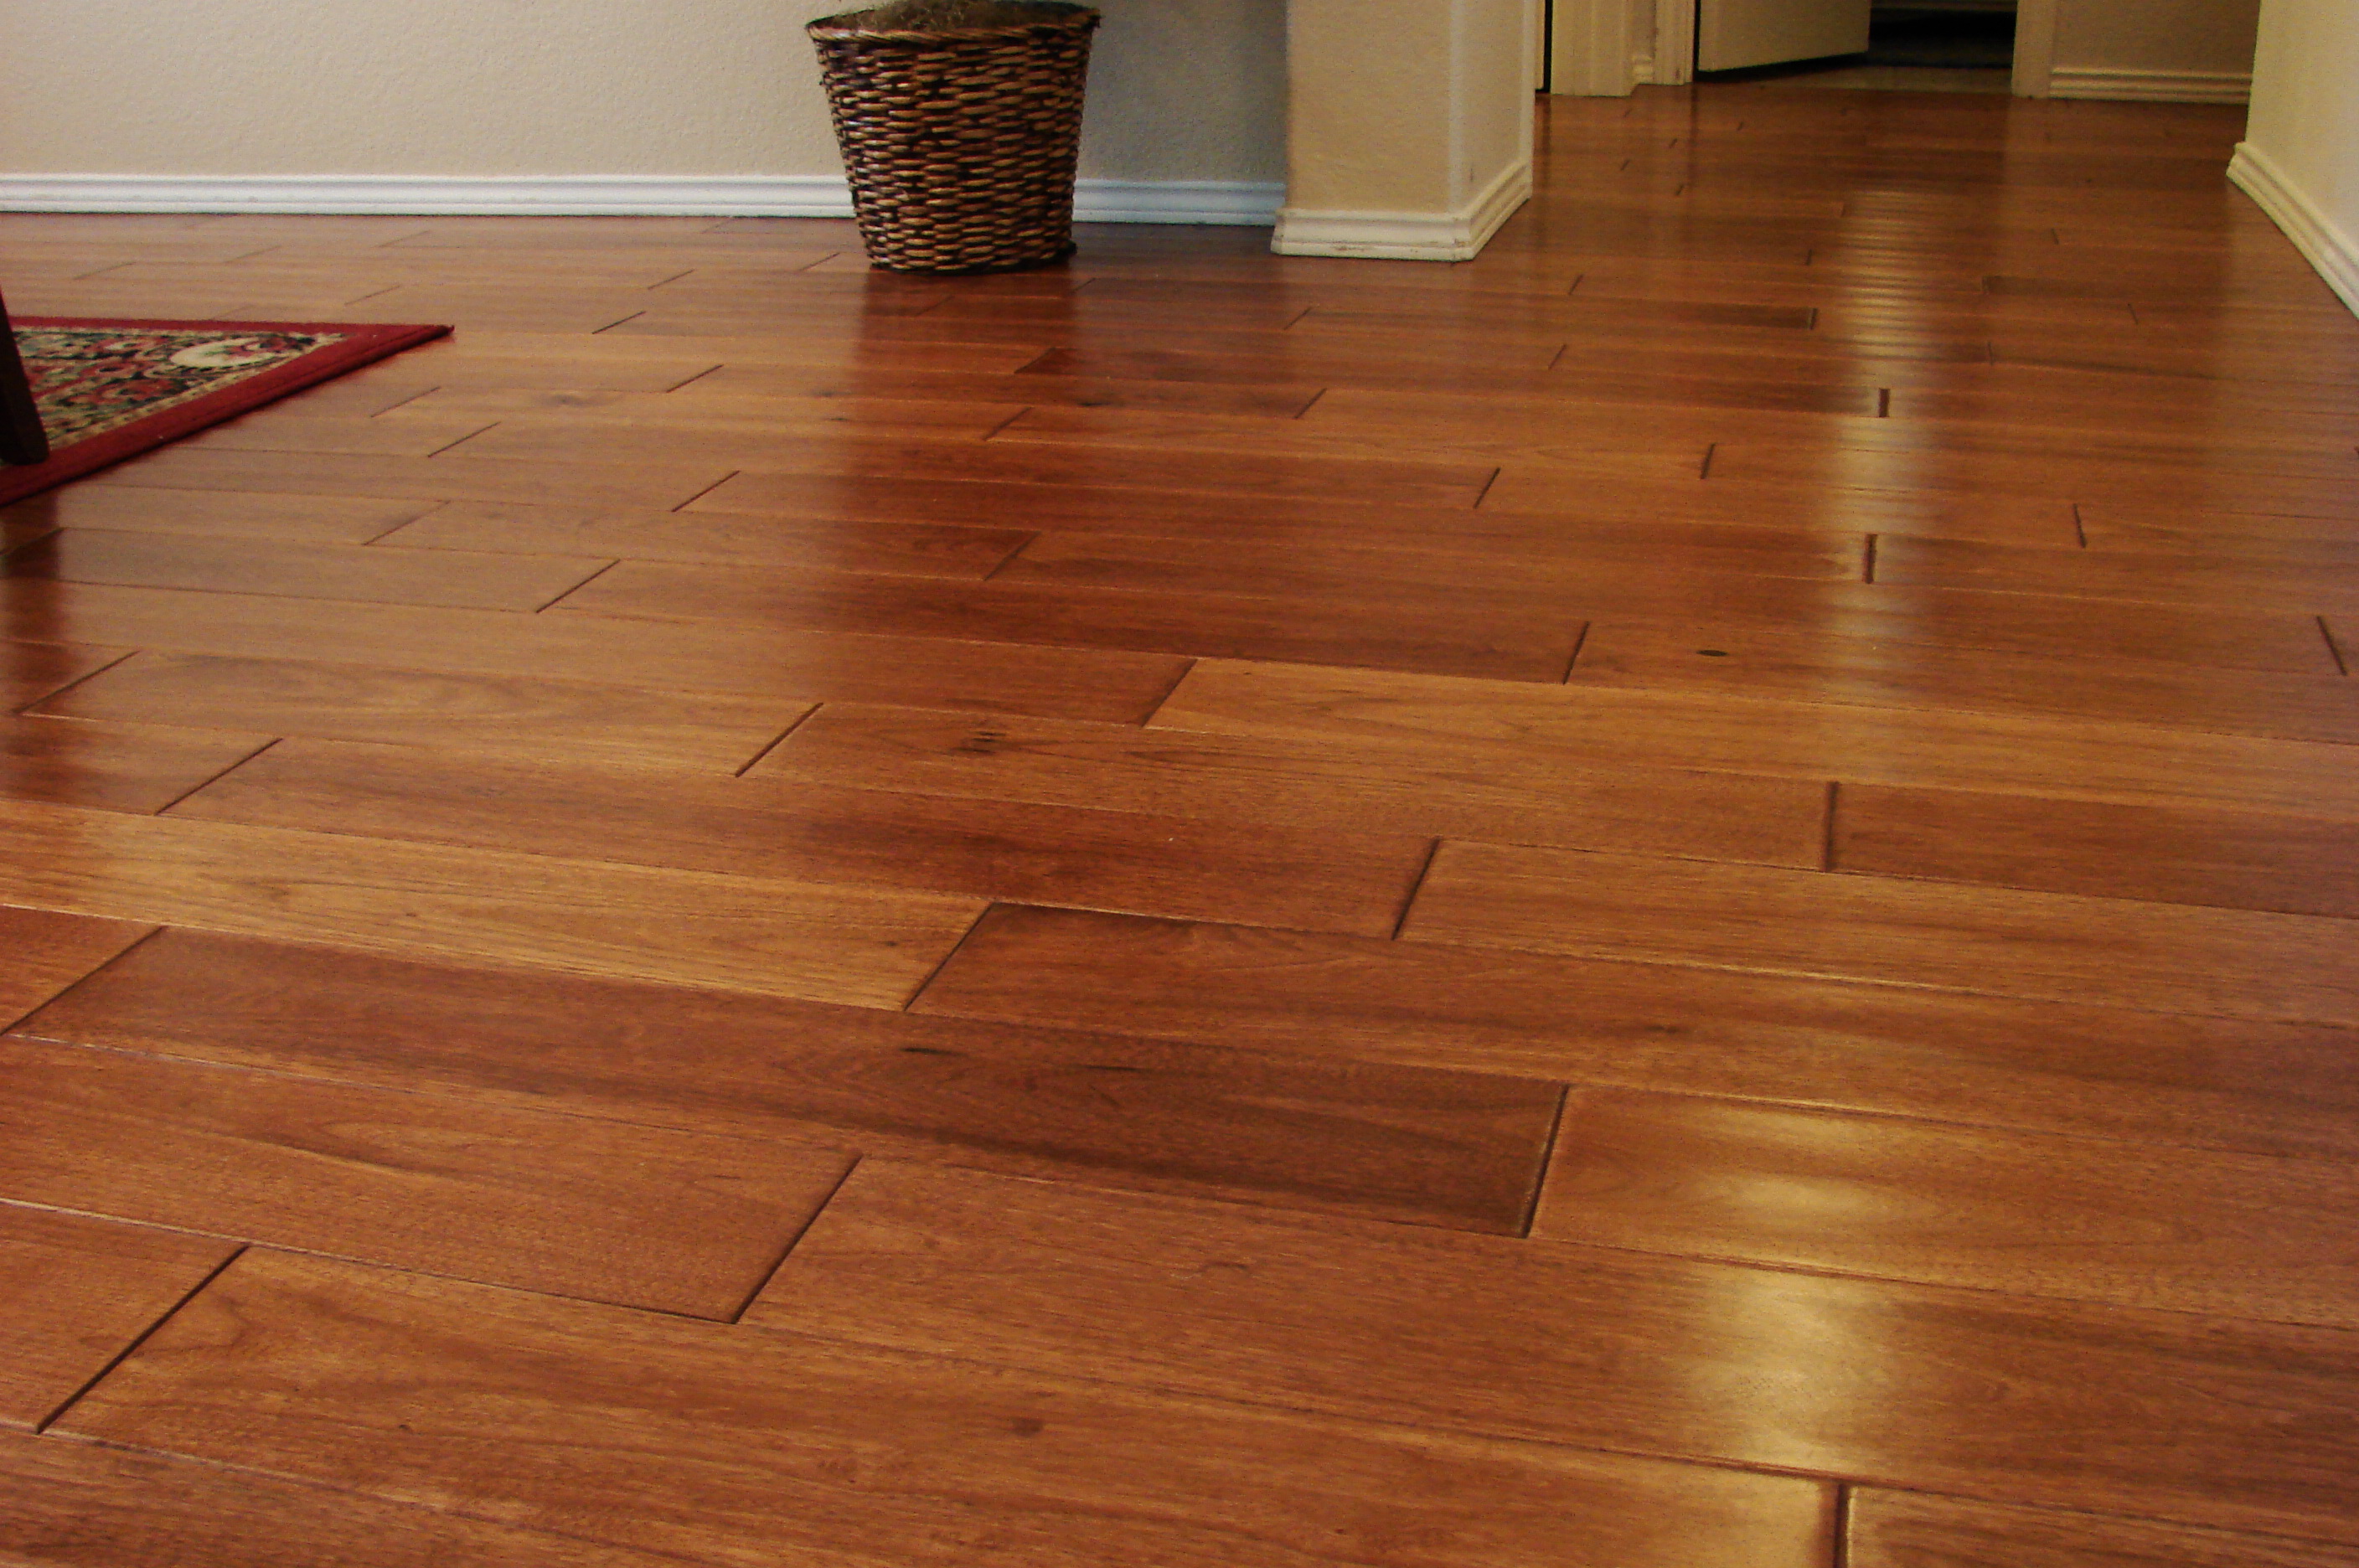
When a squeak means something bigger
Most squeaks are harmless noise, yet a few patterns deserve a professional assessment. The warning signs are about shape and spread rather than sound alone. A single squeak in a hallway is one thing, while a floor that sags across a whole room is another.
Watch for bounce and sag. A floor that dips visibly underfoot or bounces when someone walks across it may have joists spaced too far apart, joists that are undersized for the span, or settlement in the foundation. Shims and screws cannot correct that kind of movement, and they may hide a problem that needs a structural answer.
Watch for squeaks that return fast. A repair that holds for a week and then fails can mean the joist itself is cracked, split, or badly warped. Cracked joists flex under load no matter how tight the fasteners are.
Long, deep cracks in joists and uneven floors near bearing walls belong on a structural engineer's list.
Watch for moisture damage. Soft boards, dark stains, or a musty smell near the squeak point to water. Fixing the squeak without fixing the leak leaves the rot in place.
Dry the area, find the water source, and repair the damaged wood before silencing anything.
When any of these signs appear, call a licensed contractor or a structural engineer. They can check load bearing, joist condition, and moisture, then recommend a repair that holds. A pro visit costs more than a box of screws, but it answers the question a powder or shim cannot.
Frequently asked questions
Can I fix a squeaky floor without lifting any boards?
Yes, in most cases. Powder handles board-to-board friction, break-off screws pull a loose board tight from above, and shims or adhesive work from below. Lifting a board becomes necessary only when the board end lacks support or when pipes and cables must be checked by eye.
Why does my floor squeak more in winter?
Dry indoor air shrinks wood, which opens small gaps at joints and around fasteners. Those gaps let boards move and rub. The squeak often fades when humidity rises again, which is why a winter squeak does not always need a repair.
Will talcum powder damage my hardwood floor?
No, when used with care. The powder sits in the seam and acts as a dry lubricant. Wipe the excess off the surface so it does not dull the finish.
Powder is a light fix, so a deep structural squeak may need screws or adhesive instead.
Should I use nails or screws for a squeak?
Screws usually hold better because their threads grip the wood and resist working loose. Ring-shank nails also resist backing out. Plain smooth nails are the weakest choice, since the same seasonal movement that caused the squeak can work them loose again.
The bottom line
A squeaky floorboard is wood moving where it should sit still. Find the exact spot, match the fix to the gap, and start with the lightest repair that fits. Powder quiets rubbing boards, shims and adhesive close gaps from below, and break-off screws pull loose boards tight from above.
When the floor sags, bounces, or keeps squeaking after repair, bring in a professional. The quiet floor that follows is worth the careful diagnosis.
Tags: floor repair, squeaky floor, DIY home repair, wood floors
Latest in Home
- Fix a Door That Sticks in Summer
- Fix a Dripping Shower Head
- Why Paint Peels Off Bathroom Walls
- The Right Way to Caulk a Bathtub
Subscribe for one practical home repair guide each week.
Related stories
Why Your Faucet Keeps Dripping After You Turn It Off
A dripping faucet is usually a worn washer, O-ring, or cartridge that can no longer seal. One drip per second wastes over 3,000 gallons
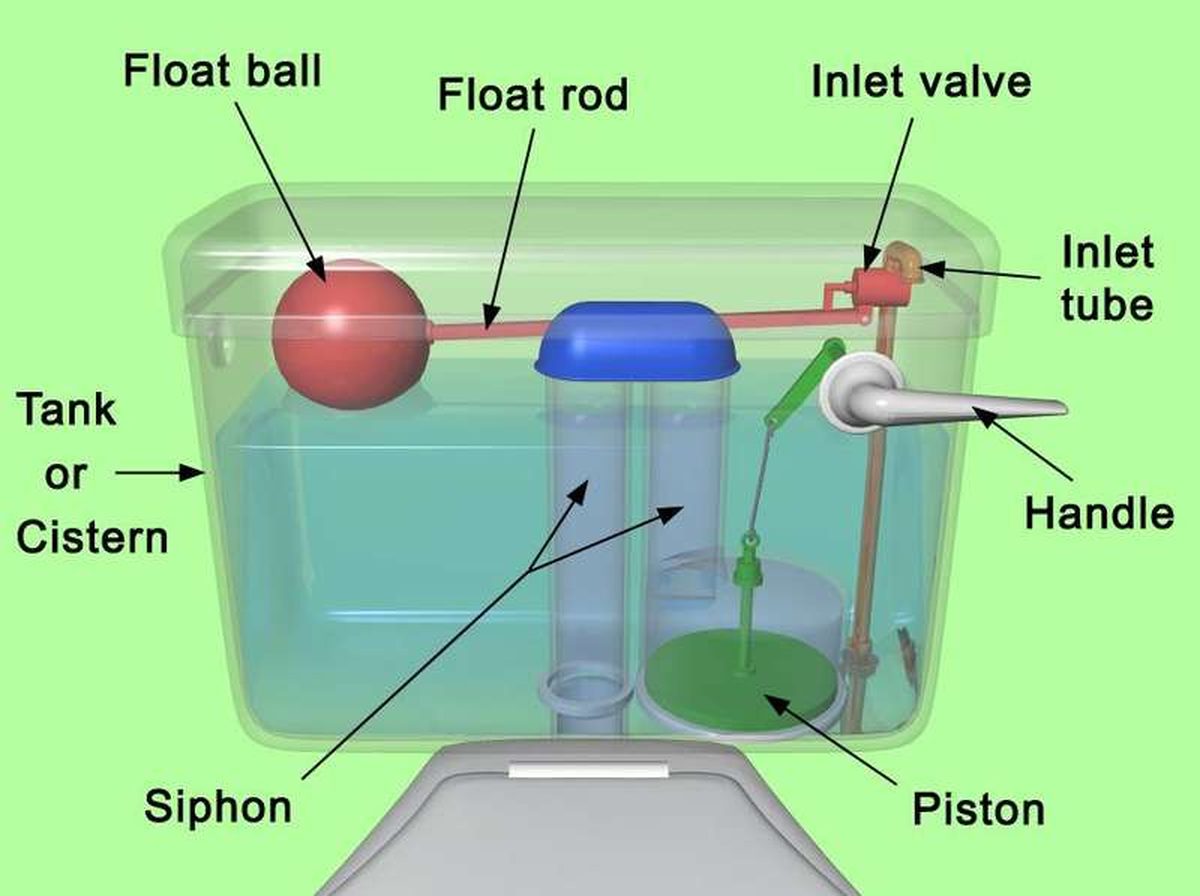
How to fix a running toilet without a plumber in 30 minutes
A running toilet can waste 200 gallons of water a day. Diagnose the flapper, float, or fill valve in two minutes, then fix it yourself
How to hang heavy shelves on drywall safely
Studs first, toggle bolts second, plastic anchors never for heavy loads. Weight ratings, installation steps, and mistakes that bring