
How to Fix a Dripping Shower Head in Under 30 Minutes
Key takeaways
- Most shower head drips come from three causes: a bad thread seal, a worn washer, or mineral buildup.
- A 60-second test with a dry towel and a flashlight pinpoints where the drip starts.
- A drip that never slows down usually points to the shower valve, not the head.
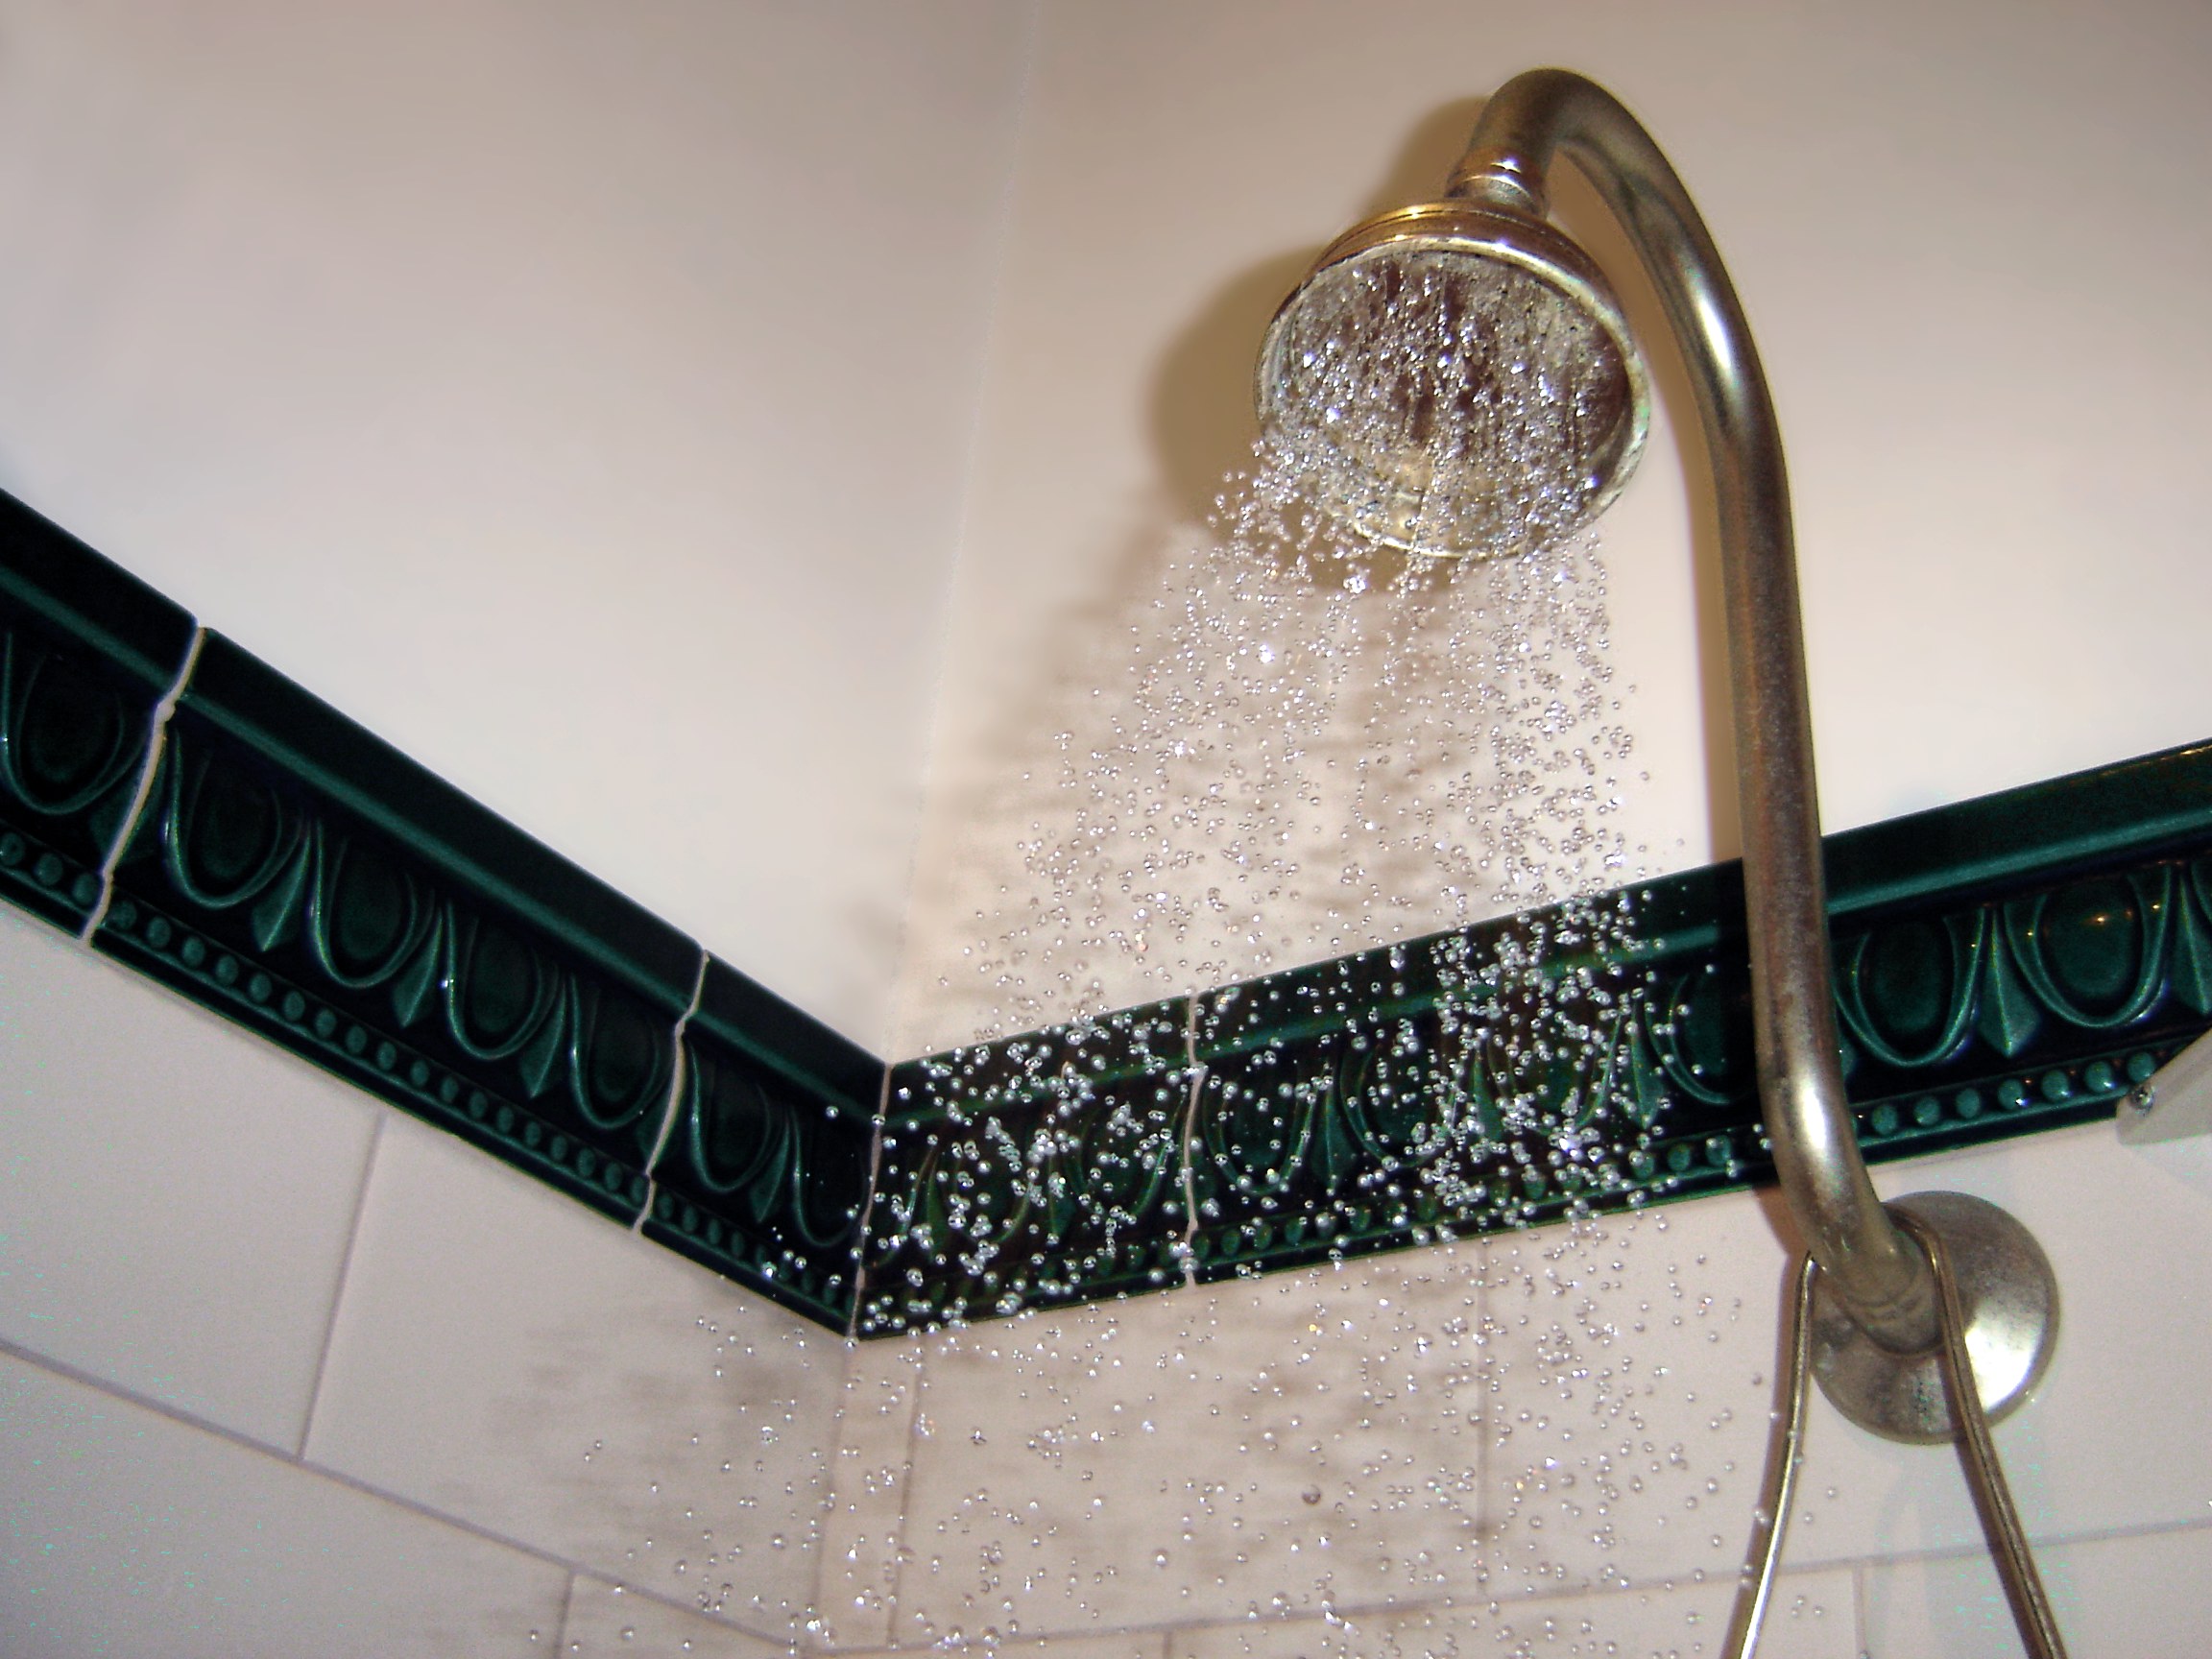
A dripping shower head is a small leak with an outsized ability to annoy. It taps through the night, stains tile over time, and wastes water around the clock. The good news is that most drips come from a short list of causes, and most fixes need only basic tools.
This article explains how to fix a dripping shower head, including how to find where the drip starts, what tools to gather, and the step-by-step repair for each common cause. It also covers how to tell when the real problem sits behind the wall in the shower valve.
What causes a shower head to drip?
Three causes explain most drips. The first is a bad seal where the shower head screws onto the shower arm, the short pipe that comes out of the wall. The second is a worn rubber washer or O-ring at a joint.
The third is mineral buildup inside the head.
Thread seals fail when the PTFE tape is missing, too thin, wrapped the wrong way, or layered over old tape and grit. PTFE tape, often called Teflon tape, fills the tiny gaps between metal threads. Without a clean wrap, water finds a path out and beads at the connection.
Washers and O-rings fail more slowly. These small rubber parts sit inside fittings and at swivel joints, where they press flat to hold back water. Hot water and chlorine dry rubber out over time.
Once a washer cracks, flattens, or hardens, the seal gives way and the joint weeps.
Mineral buildup works differently. In hard water areas, calcium collects inside the head and around the spray nozzles. A blocked nozzle changes how water flows through the head.
Pressure can then push water backward through joints, or trapped water can drain out slowly after shutoff.
A persistent drip is worth fixing promptly. The United States Environmental Protection Agency notes that household leaks waste nearly 1 trillion gallons of water per year across the country, and simple fixes cut that waste in a real way, according to FixHome Guides, which cites EPA WaterSense data.
How to tell where the drip comes from
Diagnosis comes before repair. Guessing leads to replacing parts that were fine while the real cause keeps dripping. A simple test takes about a minute.
Start by drying the whole area with a towel. Turn the shower on for 10 seconds, then turn it off. Watch with a flashlight for 60 seconds and note the first place water appears, a method FixHome Guides recommends for beginners.
Each drip location points to a different cause. Water beading at the threaded connection points to the thread seal. A drip at the pivot behind the head, the swivel ball, points to a worn washer or O-ring.
Drips from the spray face, paired with an uneven spray pattern, point to mineral buildup or debris.
One more check matters. Watch whether the drip slows down and stops. A short drain-down after shutoff is normal, since water held in the pipe and the head needs somewhere to go.
A drip that keeps going at a steady pace for a long time suggests something else, and that something is usually the valve.
If you are renting, this diagnosis still helps. A head-level fix is often a reversible job you can do yourself. A valve problem is usually a landlord or maintenance request, since it sits behind the wall.
What you need before you start
Most shower head repairs need only a small kit. Gather everything before you begin so you are not hunting for parts with the water off.
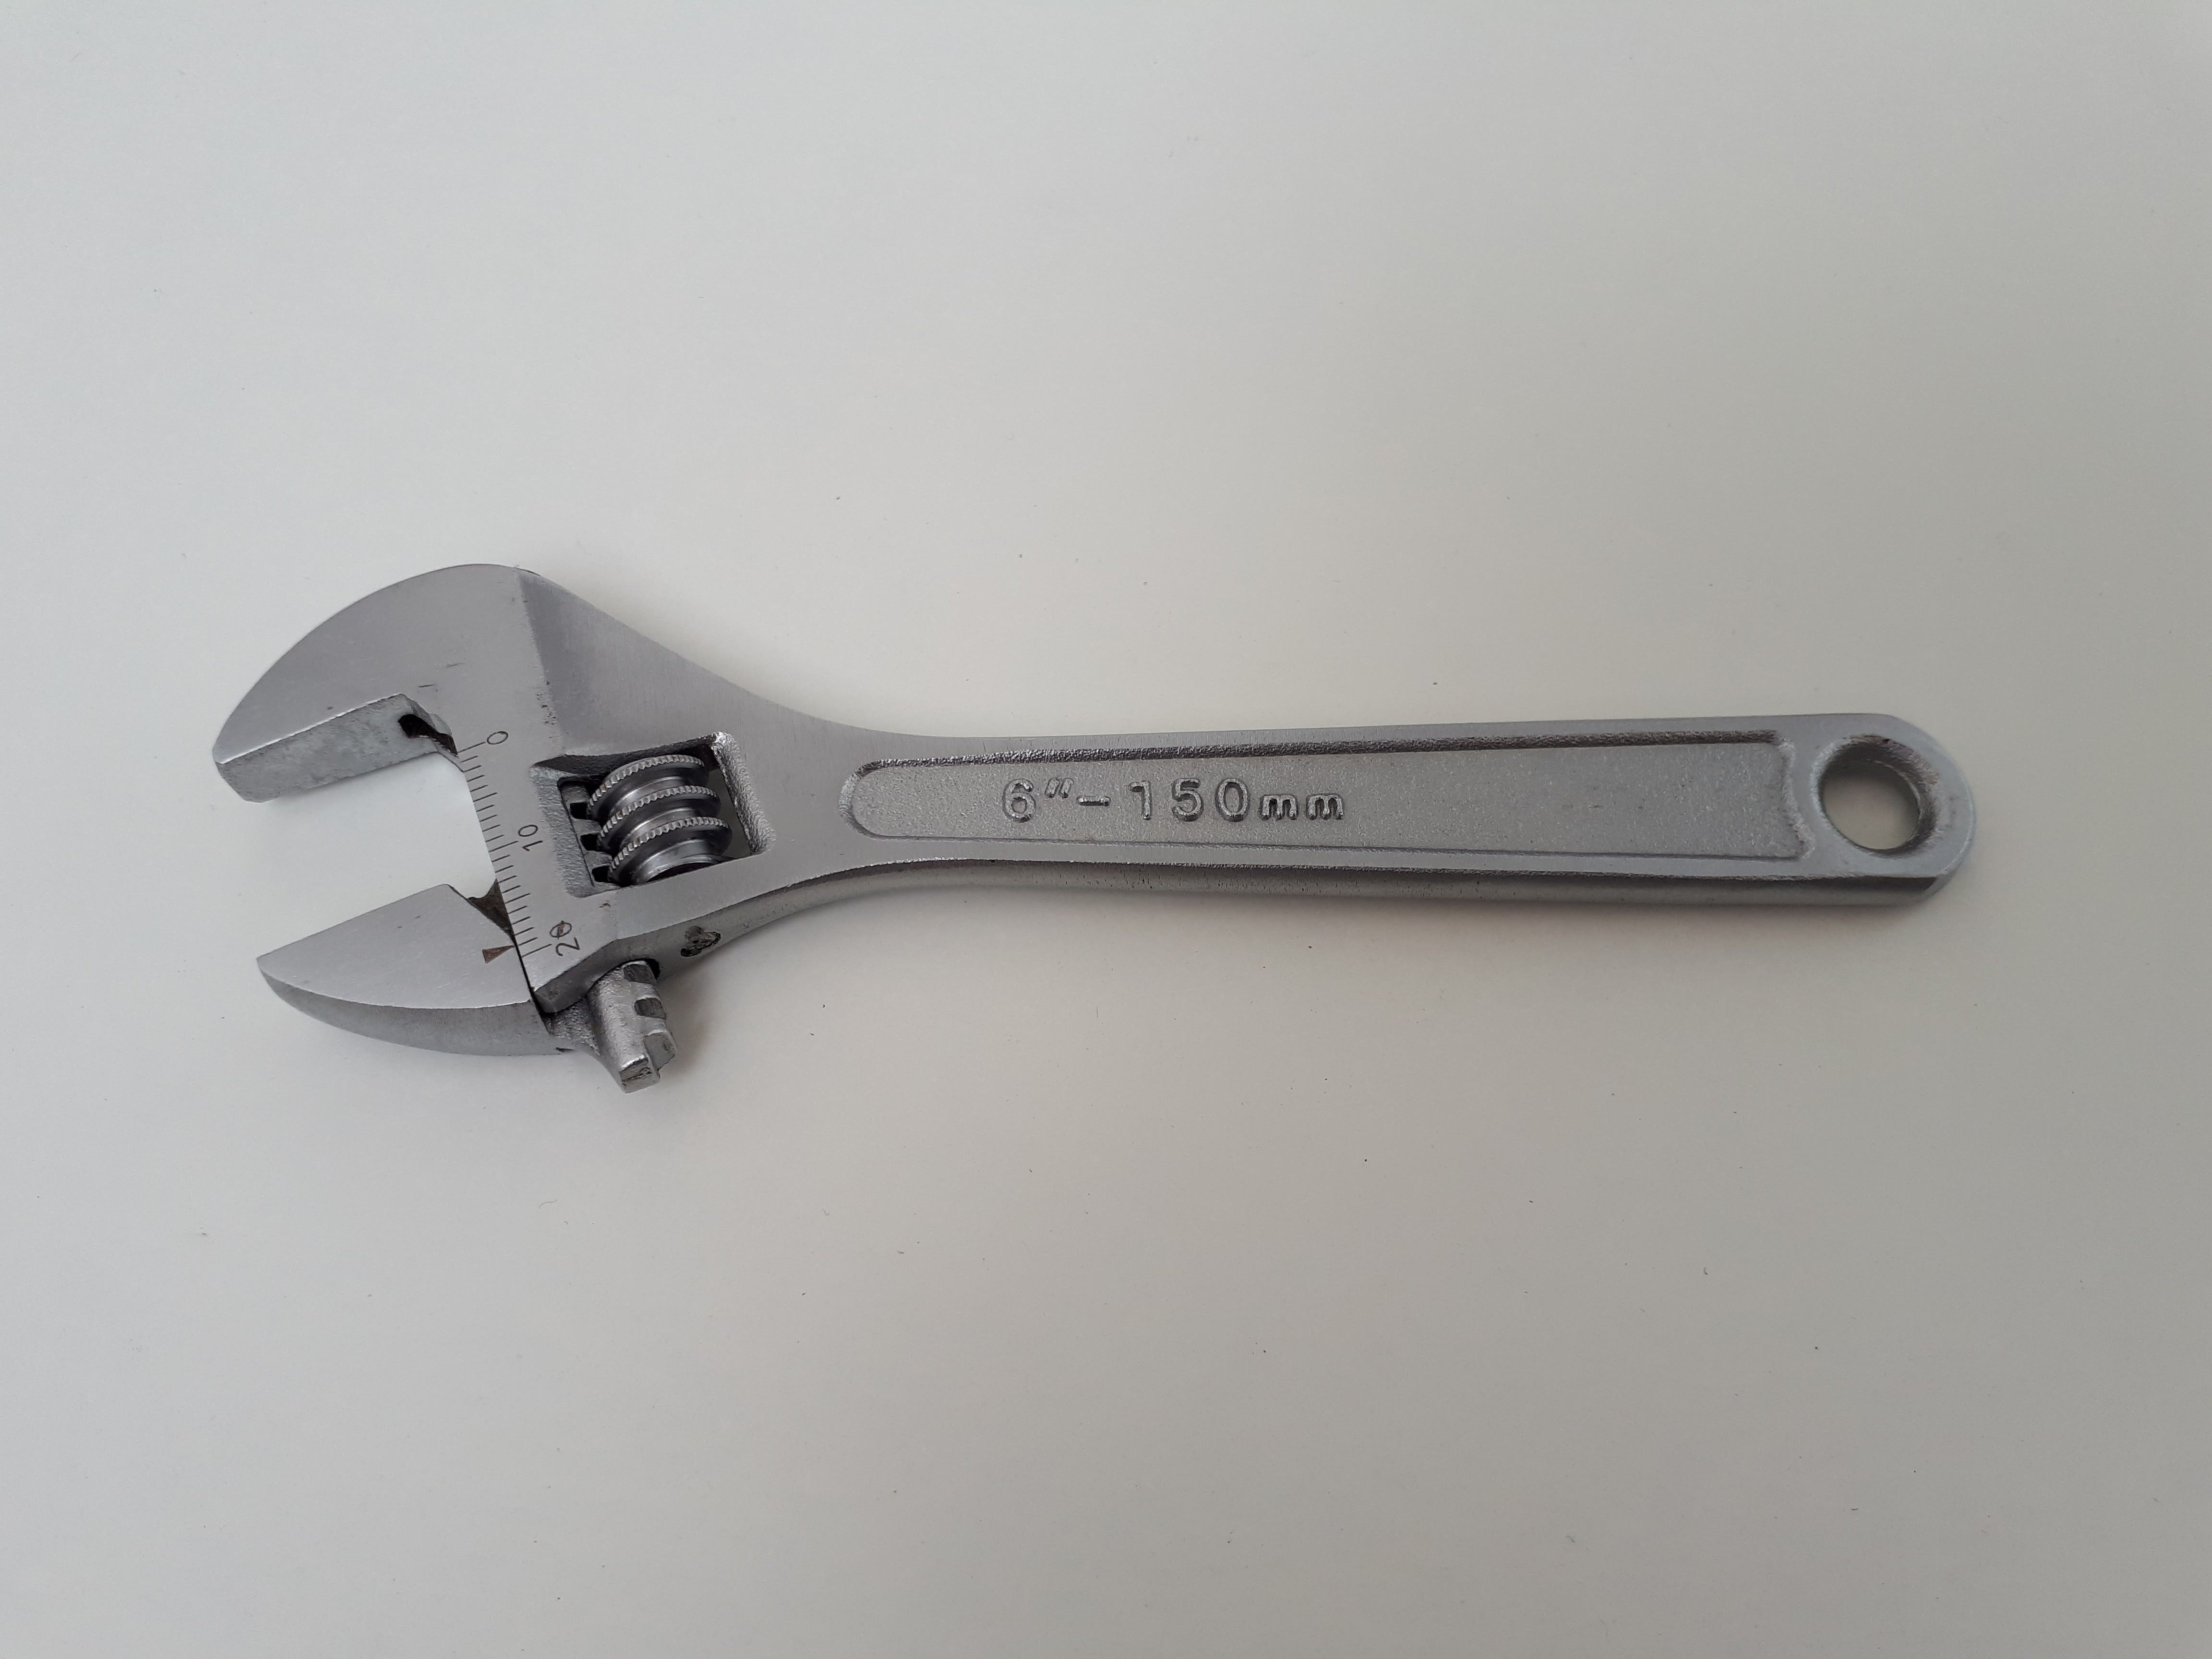
You need an adjustable wrench, a soft cloth or rag, replacement washers or O-rings, PTFE tape, white vinegar, an old toothbrush, and a bowl or bucket. An assorted washer pack from a hardware store covers most sizes and costs little.
Protect the finish on your fixtures. Metal wrench jaws scratch chrome and brushed coatings fast. Wrap the jaws in a cloth or tape before they touch the fitting.
The same care applies to any bathroom repair where a slipped tool can mark a surface.
Shut off the water to the shower before you open anything. Use the bathroom shutoff valve if your shower has one, or the main house valve if it does not. Stuff a cloth in the drain so small screws cannot vanish down it.
How to fix a dripping shower head step by step
Work through these steps in order. Most homeowners finish in under 30 minutes, according to RooterPLUS.
1. Remove the shower head
Grip the head where it meets the arm and twist counterclockwise. If mineral scale has seized the threads, use taped pliers for extra leverage. Set the head in a bucket so it does not scratch the tub or tile.
2. Clean the threads and check the washer
Wipe the shower arm threads clean. Remove every scrap of old tape, grit, and corrosion. A clean thread is what lets the new tape seal.
Look inside the head fitting for the rubber washer. If it looks cracked, flattened, or hardened, replace it. Take the old washer to the hardware store and match the size exactly.
Press the new washer firmly into place.
3. Soak away mineral scale
Fill a bowl with equal parts white vinegar and hot water. Submerge the metal parts for 30 to 60 minutes, then scrub with an old toothbrush to knock away loosened calcium. Rinse well so no vinegar smell lingers.
For a head you would rather not remove, a vinegar-filled bag tied over the head works as a substitute. Do not mix vinegar with other cleaners. Vinegar alone does the job.
4. Re-tape and reinstall
Wrap fresh PTFE tape clockwise around the shower arm threads. Two turns are plenty, according to RooterPLUS. Wrapping clockwise matters because the tape then tightens as you screw the head on instead of bunching up.
Thread the head on by hand until snug. Then give it an eighth turn with your taped wrench. Stop there.
Over-tightening cracks washers and damages threads, which creates the very leak you are trying to fix.
5. Test the repair
Turn the water back on. Run the shower briefly, then turn it off and watch. If the head stays dry after a minute, the repair worked.
If it still drips steadily, recheck the seals or the cartridge seating.
When the drip is the valve, not the head
Some drips survive a perfect head repair. When that happens, the leak is usually upstream in the shower valve. A worn cartridge or valve seat lets water pass even when the handle reads off, and that water exits at the shower head, which makes the head look guilty.
Three clues point to the valve. The dripping continues without slowing down over a long stretch. The dripping happens with any shower head you install.
The tub spout also drips, if you have a tub and shower combination.
Valve work is more involved than a head fix. It means removing the faucet handle and trim plate, pulling a retaining clip, and sliding out the cartridge with pliers. The part number is often stamped on the plastic, and matching it matters because cartridges vary by brand and model.
Homeowners with some plumbing confidence can take this on. Renters should report it instead.
Mistakes that cause repeat leaks
Most repeat drips trace back to avoidable errors. The most common is over-tightening the head and cracking a washer or damaging the threads. Hand-tight plus a small snug turn is enough.
Wrapping PTFE tape the wrong direction is another classic. Tape wrapped counterclockwise bunches as the head screws on and never seals. Leaving old tape behind has the same effect, since new tape cannot seal over lumps of old tape and grit.
Using bare pliers on finished metal damages the coating and can start corrosion at the scratch. A cloth barrier takes seconds and saves the finish. The same habit helps with any squeaky floorboard or sticking door fix where a slipped tool leaves a mark.
Skipping the diagnosis step causes its own kind of repeat leak. If you replace the washer when the thread seal was the problem, the drip comes back.
How to keep the drip from coming back
A little maintenance goes a long way. A short vinegar soak each month keeps mineral scale soft enough to wipe away. Do not crank the handle hard when you shut the shower off, since force wears seals faster than time alone.
Replace washers about once a year as cheap insurance. In older homes, a sediment filter on the line can help, since sand in the water grinds washers down. These habits cost little and keep the shower quiet.
Frequently asked questions
Why does my shower head drip for a few minutes after I turn it off?
Some drip-down is normal. Water held in the pipe and the head drains out by gravity after shutoff. If it stops after a short time, it is often not a defect.
If it drips for hours at a steady pace, suspect a valve or cartridge issue.
Can I fix a dripping shower head without replacing it?
Yes, in most cases. Most drips come from a poor thread seal, a worn washer, or mineral buildup. Reapplying PTFE tape, swapping the rubber seal, or a vinegar soak and scrub fixes each one without a new head.
Is fixing a dripping shower head renter-safe?
Re-taping threads and replacing a washer are usually renter-safe because both are reversible and do not modify plumbing behind the wall. If the valve is leaking, contact your landlord. A valve repair is not a renter job.
Can hard water cause a shower head to drip?
Yes. Hard water minerals clog nozzles and internal screens, which creates irregular flow and lingering drips. Cleaning with vinegar often helps.
A monthly soak keeps the buildup from returning.
The bottom line
A dripping shower head is usually a small problem with a small fix. Diagnose first with the 60-second test, then match the repair to the cause: fresh tape for a thread leak, a new washer for a joint drip, and a vinegar soak for mineral buildup.
Tags: shower head, plumbing, DIY repair, home maintenance
Latest in Home
- How a sticking door loosens up in summer heat
- How to silence a squeaky floorboard
- How to caulk a bathtub so the seal lasts
- Is a buzzing light switch dangerous?
Subscribe to the Rive News newsletter for one practical home fix each week.
Related stories
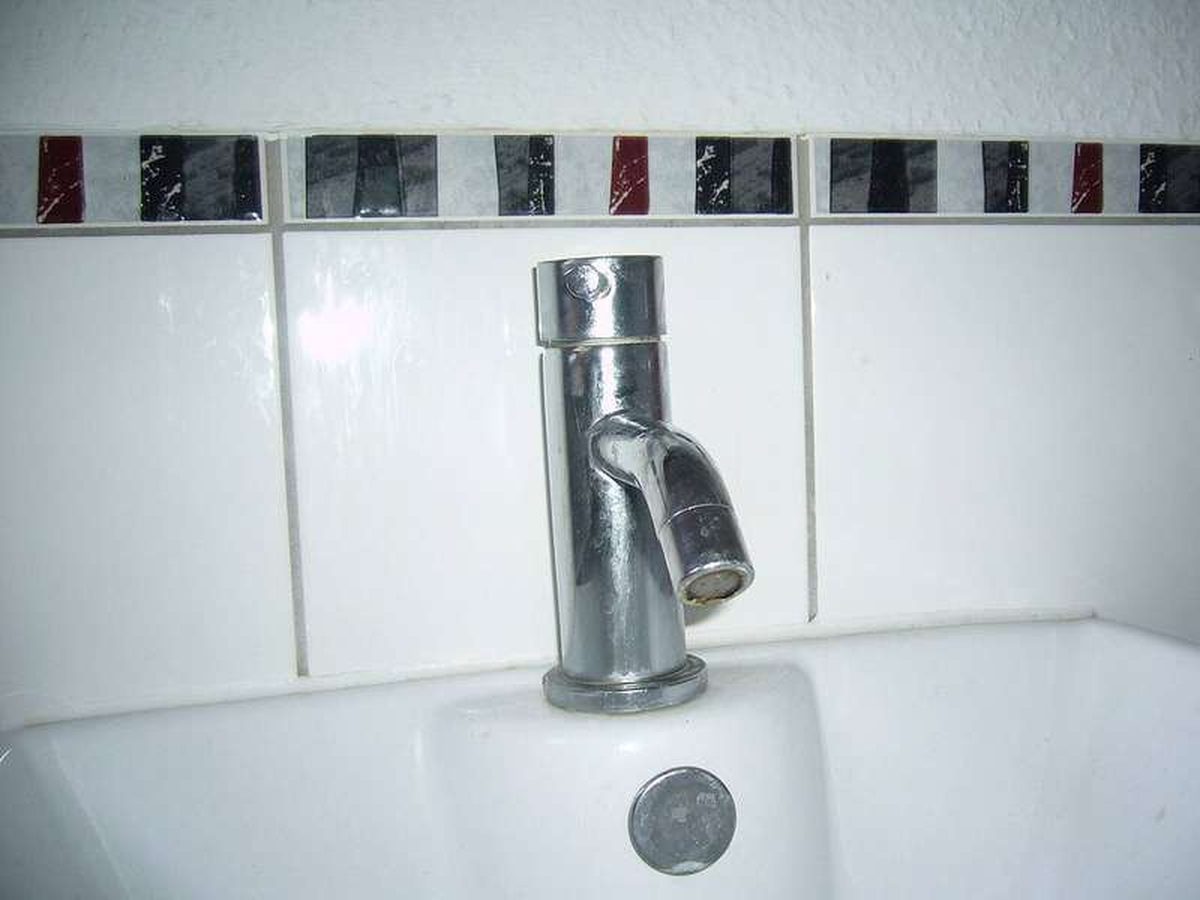
Why Your Faucet Keeps Dripping After You Turn It Off
A dripping faucet is usually a worn washer, O-ring, or cartridge that can no longer seal. One drip per second wastes over 3,000 gallons
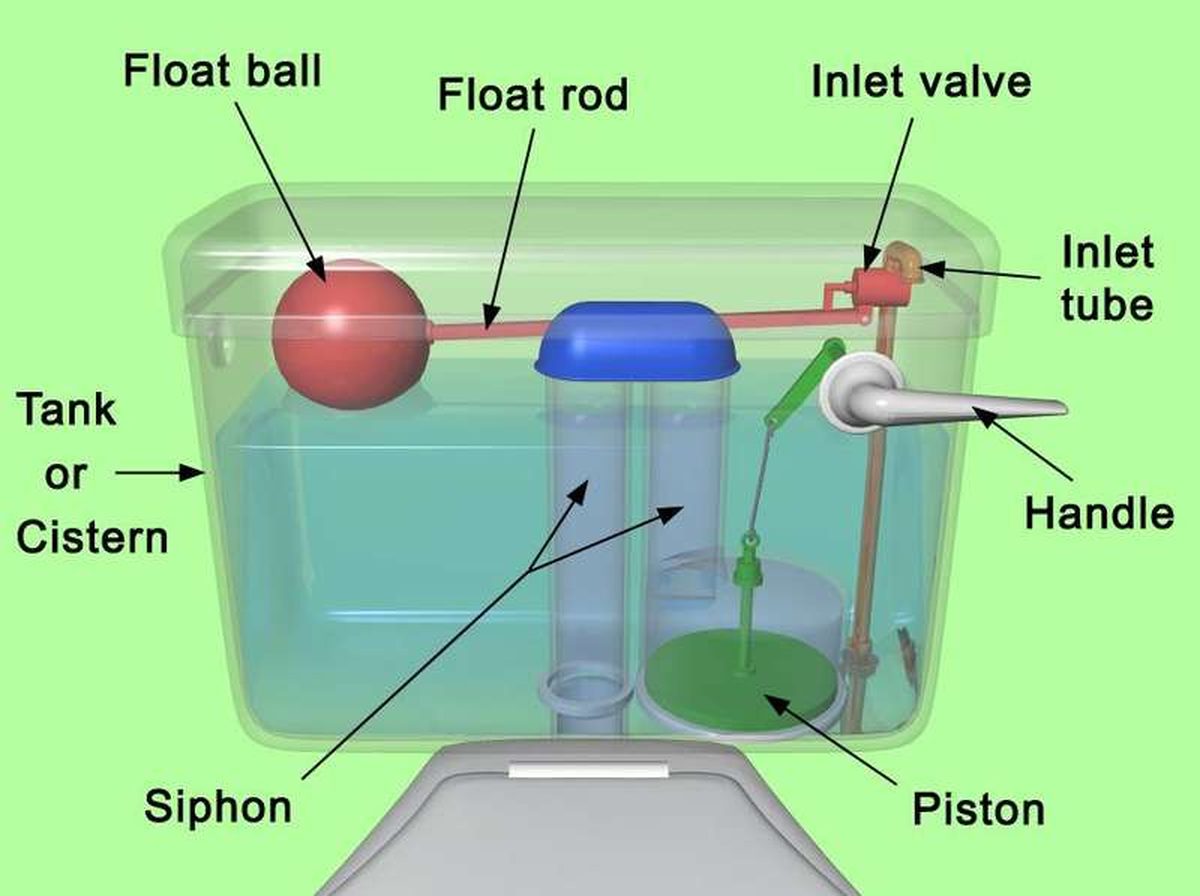
How to fix a running toilet without a plumber in 30 minutes
A running toilet can waste 200 gallons of water a day. Diagnose the flapper, float, or fill valve in two minutes, then fix it yourself
How to hang heavy shelves on drywall safely
Studs first, toggle bolts second, plastic anchors never for heavy loads. Weight ratings, installation steps, and mistakes that bring