
How to Remove Stripped Screws Without Special Tools
Key takeaways
- A stripped screw is a worn drive recess, not a broken screw. The fix is to restore grip, not to force the same slipping driver harder.
- Start with a rubber band or steel wool, then try a different driver, then grip the head with pliers before any drilling.
- Slow turns and firm downward pressure win. Fast spinning only shreds the rubber and wears the head further.
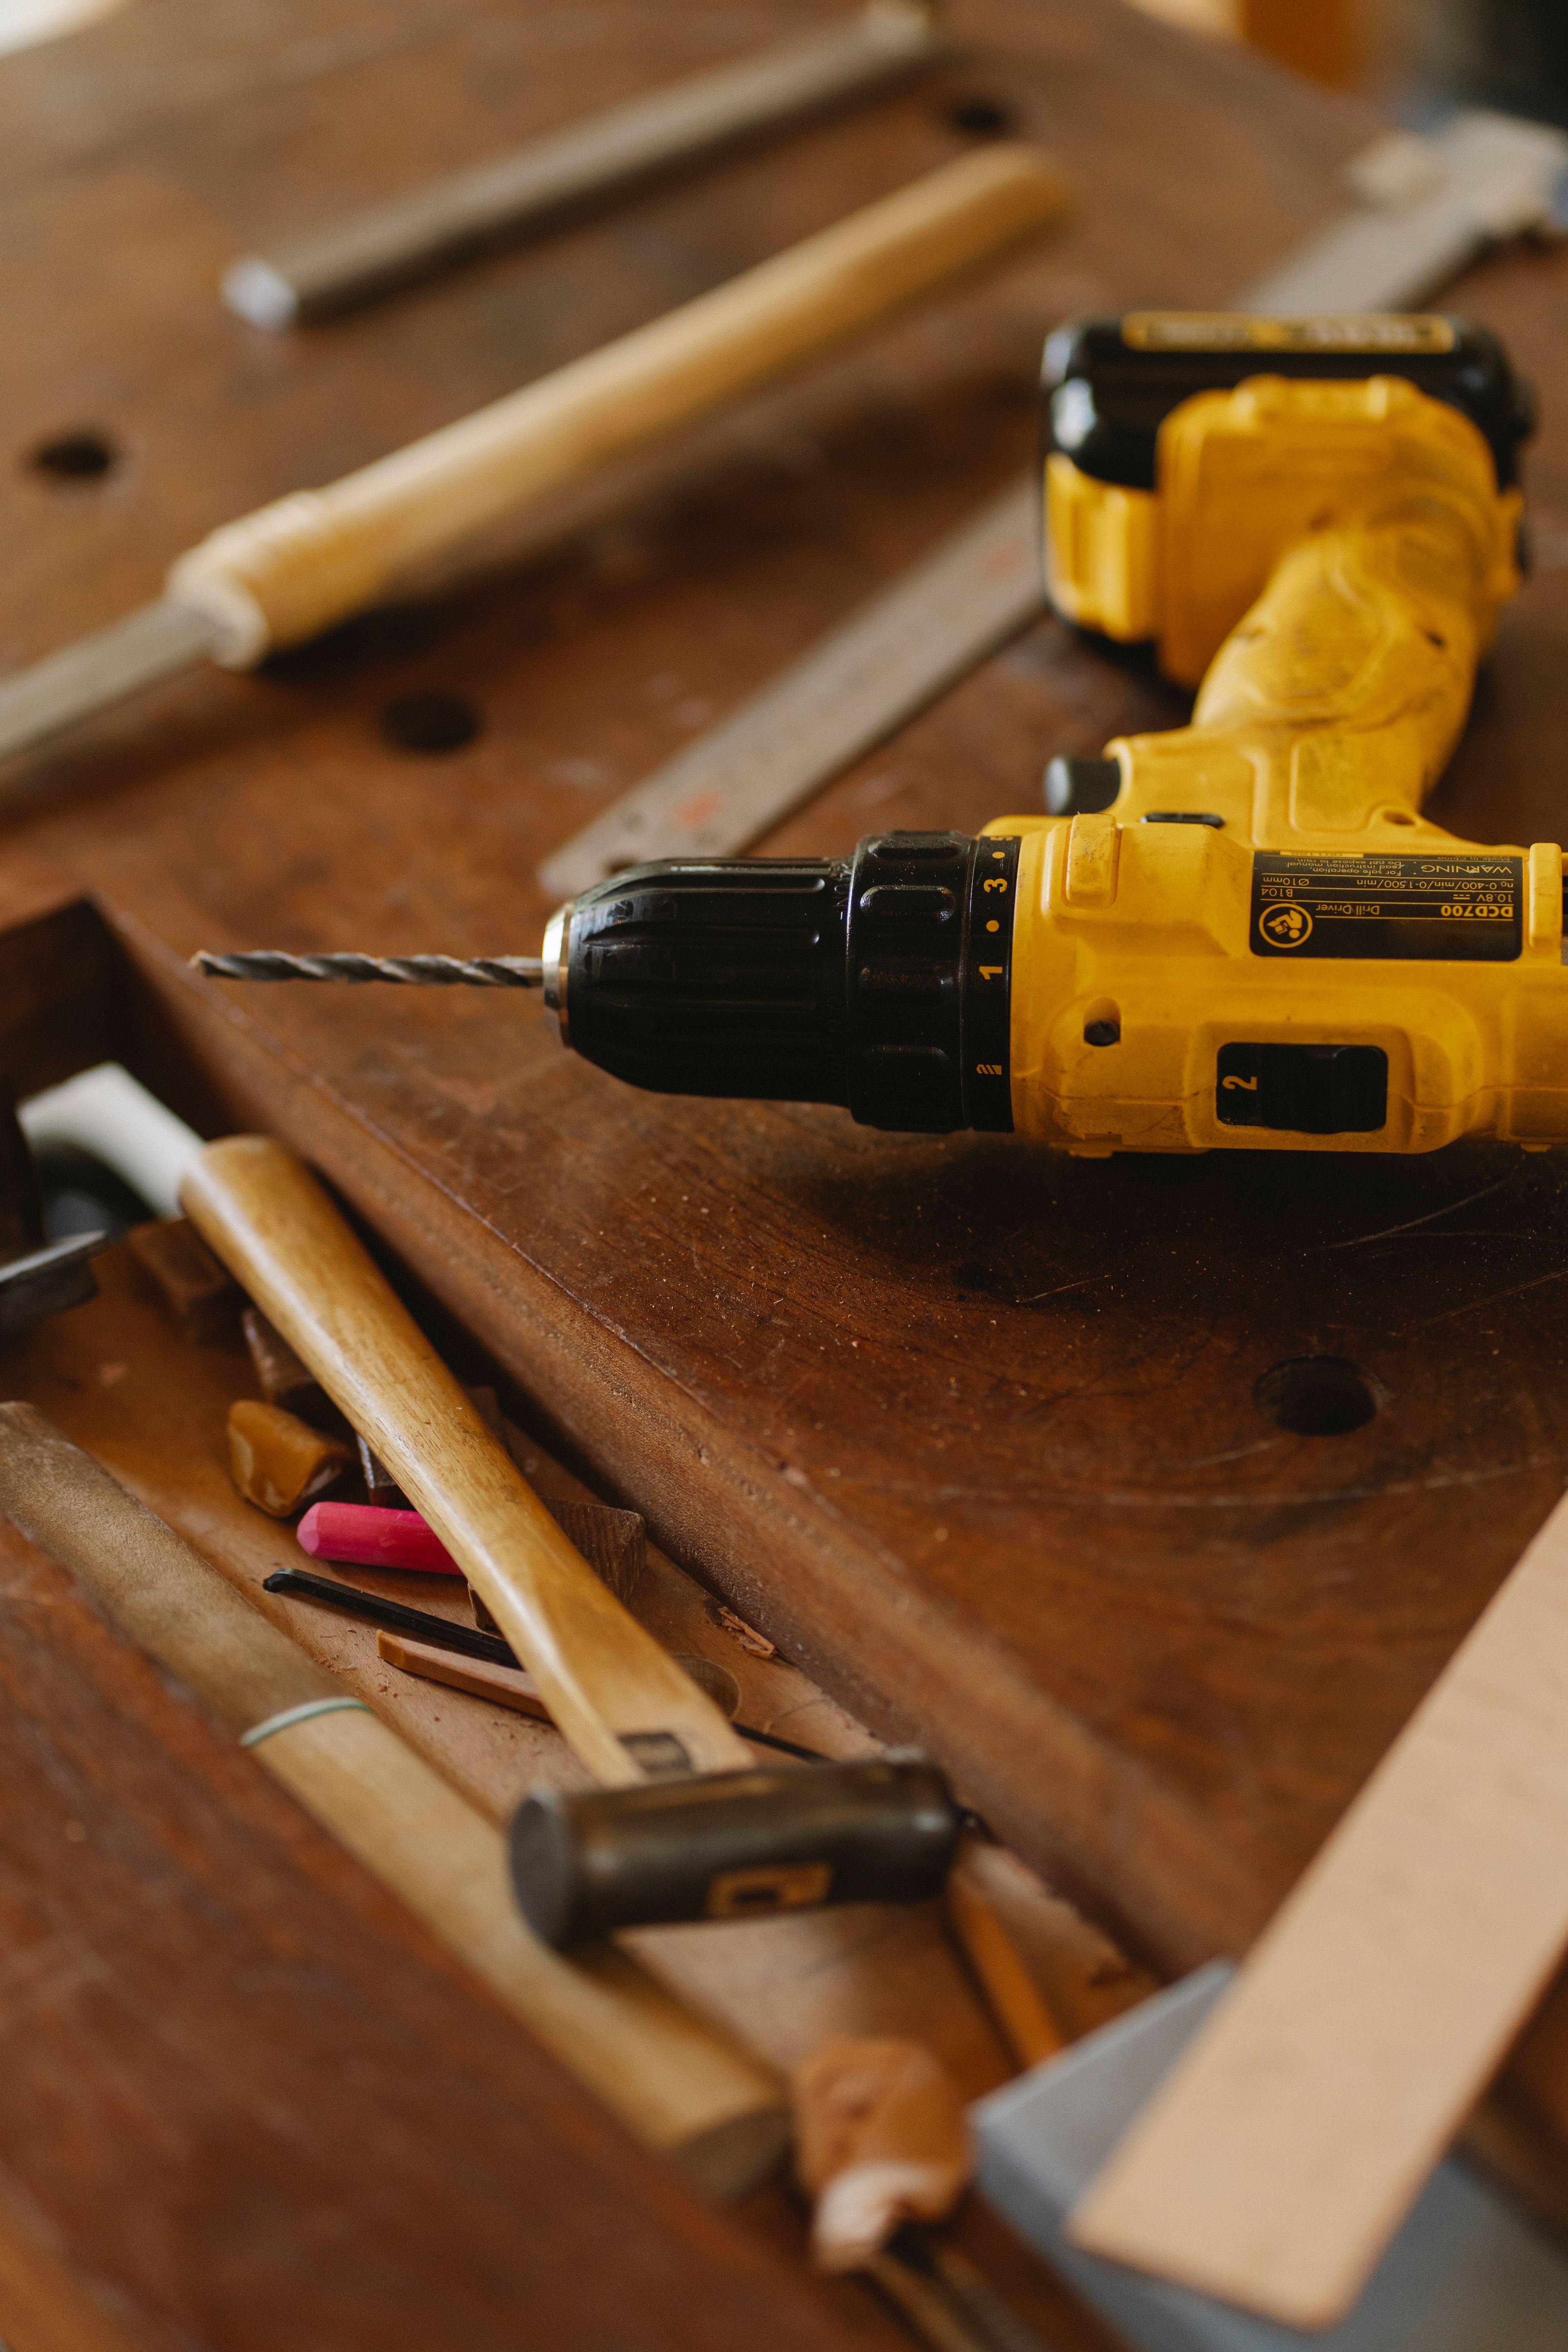
A stripped screw is one of the most annoying small failures in home repair. The driver spins, the screw stays put, and every extra turn makes the head worse. The good news is that the screw itself is usually fine.
Only the shaped recess in the head is worn.
This article explains why screws strip, then works through the household methods in the order worth trying them. Each method uses things most homes already hold: a rubber band, steel wool, a different screwdriver, or a pair of pliers.
Why a screw strips
A screw turns because the driver grips the recess in its head and transfers torque. A Phillips head has a cross-shaped recess. A flathead has a single slot.
When the driver fits well, the walls of the recess carry the turning force.
Stripping happens when that fit fails. The usual causes are the wrong size or type of driver, too much torque, or a soft metal screw. The driver climbs out of the recess under load, a behavior called cam-out, and each slip grinds the walls a little smoother.
Once the walls are rounded, the driver has nothing left to catch.
The fix follows from the cause. You do not need more force. You need a new way to grip what is left of the head.
Work from the gentlest method upward, and stop as soon as one method starts turning the screw.
Method 1: rubber band for grip
Lay a wide rubber band flat over the stripped screw head so it covers the whole recess. Press the screwdriver straight down through the rubber band into what is left of the head, then turn slowly with firm downward pressure.
The rubber fills the gaps where the metal has worn away. It molds into the damaged recess and gives the driver something to bite. This works best on lightly stripped screws in softwood, drywall, or plastic.
If the screw is set in hardwood or metal, or the head is fully rounded, the band may tear before the screw moves. It still costs nothing to try first.
Speed is the difference between success and a shredded band. Turn slowly and keep the pressure straight down. If you spin fast, the driver chews through the rubber before the screw budges.
The Art of Manliness guide makes the same point: go as slow as possible, or you will just chew up the rubber band.
Method 2: steel wool or abrasive sponge
If a rubber band fails, pack a small wad of steel wool into the recess. The fine, sharp metal filaments bite into the screw head and the driver at the same time. That metallic friction is often enough to break the grip holding the screw in place.
Coarser grades of steel wool work best, because the thicker filaments catch more firmly. The green abrasive side of a kitchen sponge works on the same principle, as does a small square of aluminum foil pressed into the recess. Each of these materials adds friction where the metal alone no longer grips.
Keep the same discipline as with the rubber band. Press down hard, turn slowly, and let the friction material do the work. Constant downward force keeps the driver seated in the recess instead of climbing out under the turning load.
Method 3: a different driver
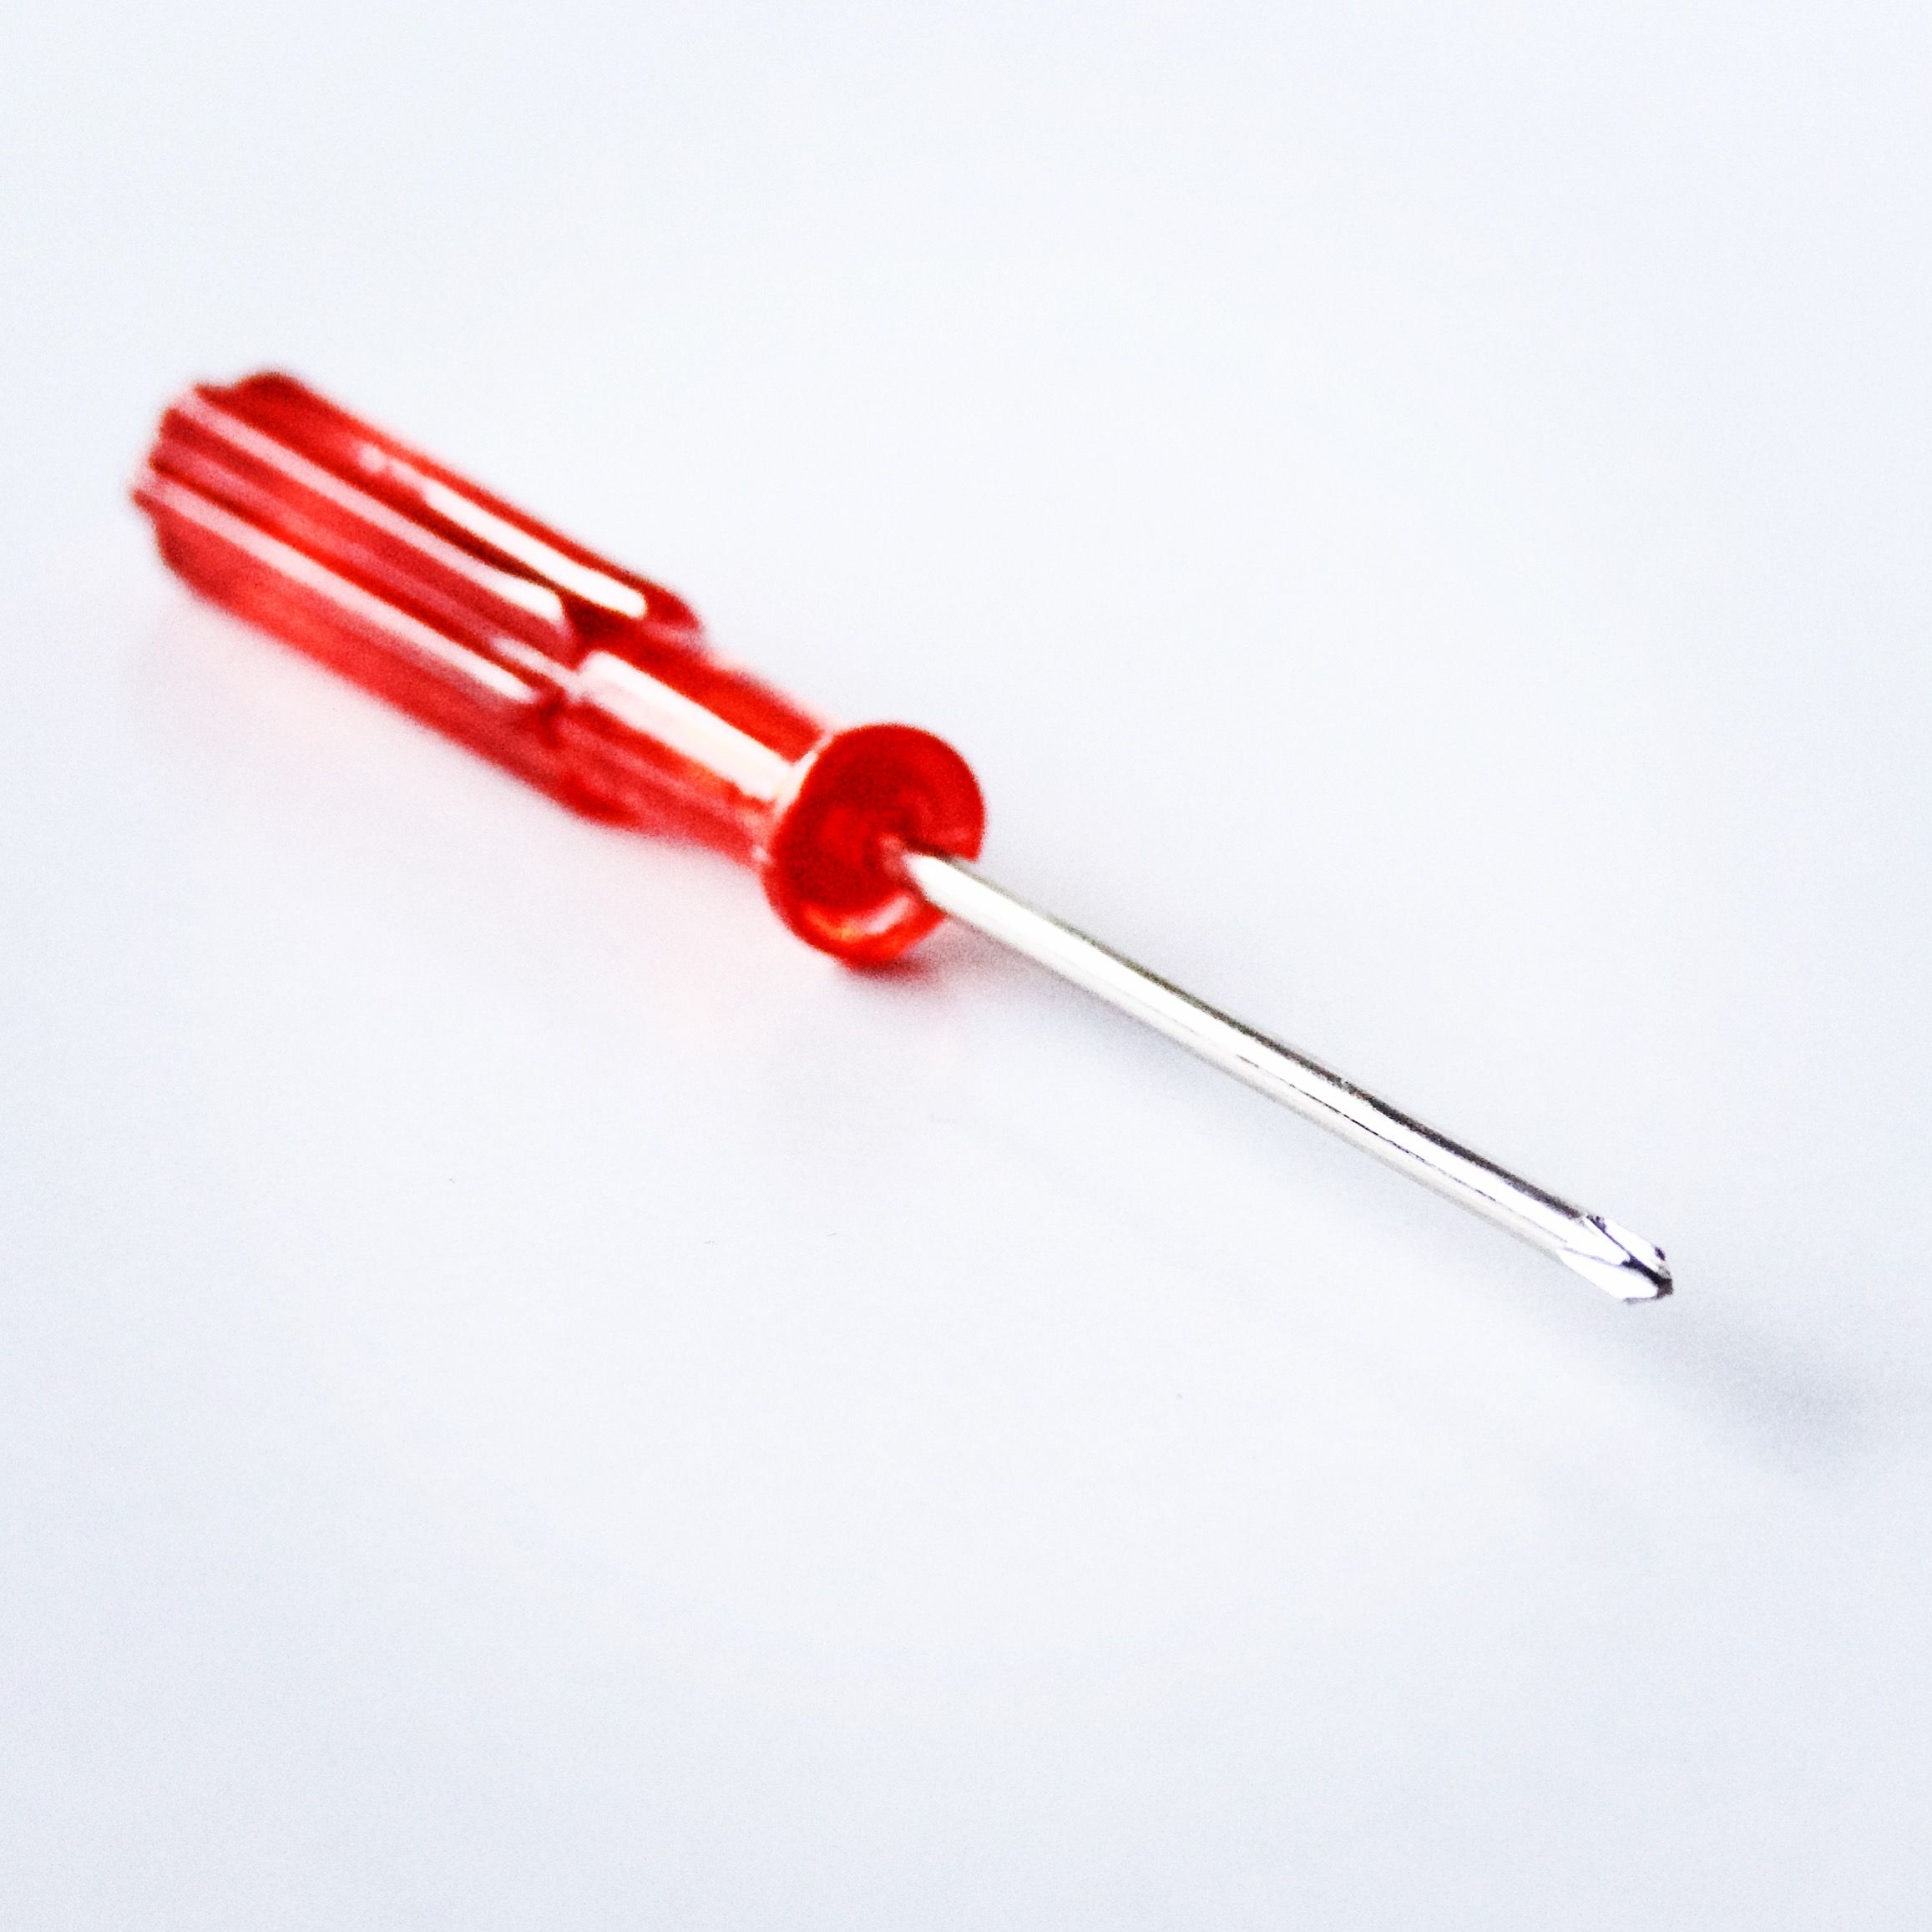
Sometimes the fix is already in the toolbox. If the screw has a Phillips head, try a flathead screwdriver that is narrow enough to fit inside the cross. The flat blade can catch the remaining edges of the recess and turn the screw out.
Also try one size up or down from the driver you started with. A slightly larger bit seats deeper into the worn metal. A slightly smaller one catches edges the current bit slips past.
A Torx bit wedged into a stripped Phillips head can work too, because its six-pointed star shape bites into whatever metal is left.
One caution applies to all of these swaps. Use a manual screwdriver, not a power driver, for this stage. A power driver delivers torque too fast to feel the grip, and it can finish destroying a head that a careful hand could still save.
Method 4: grip the head with pliers
If the screw head stands above the surface at all, bypass the recess entirely. Clamp locking pliers, often called vise-grips, onto the circumference of the head. Once the pliers hold firmly, turn the screw out with the pliers handles.
This method needs the head to sit high enough to grab. A few drops of penetrating oil on the threads before you start can help, by loosening the bond between screw and material. A gentle rocking motion while turning can break the grip without tearing the head further.
Pliers also finish the job after another method loosens the screw. Once the head clears the surface, switch to pliers for the rest of the turns. The screw may still be stiff, but the grip is now on solid metal rather than a worn recess.
Method 5: cut a new slot
When the head is flush with the surface and too damaged for friction tricks, you can cut a fresh slot into it. A rotary tool with a thin cutting wheel can carve a new groove across the head, turning it into a working flathead screw. Then drive it out with a large flathead screwdriver.
This step crosses from household fixes into real tool work, and it needs care. Wear safety glasses, because cutting wheels throw sparks and metal fragments. Cut deep enough to give the driver purchase, but shallow enough to leave the surrounding material alone.
If the screw sits in finished wood or a visible surface, weigh the risk of a slip before you start.
Drilling out the head is the last resort. A drill bit slightly larger than the screw shank but smaller than the head can shear the head off, freeing the part it held. The remaining shaft can then be gripped with pliers.
This destroys the screw, so it only makes sense when the screw no longer matters.
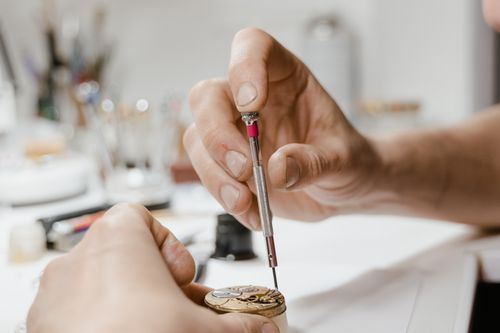
How to keep the next screw from stripping
Prevention is a short list. Match the driver to the screw head, and check the size before you start. The same match-the-fixing rule applies when you mount a TV on a plasterboard wall safely, where the fixing must suit the surface.
Keep the driver straight and push down while you turn, so it stays seated. Drive slowly, above all with power drivers, and stop at the first sign of slipping.
Soft screws strip more easily than hard ones, so cheap screws in flat-pack furniture deserve extra care. A small pilot hole in hardwood also helps, because it lowers the torque the head must carry. These habits take seconds and save the whole rescue routine.
The same patience helps elsewhere in home repair. If a tap keeps dripping after a repair, for example, the washer is the usual suspect, and learning how to replace a tap washer to stop a dripping tap follows the same rule: find the worn part, fix that part, and avoid forcing anything. A blocked kitchen sink cleared with a plunger follows the same rule, with steady pressure beating force.
The bottom line
A stripped screw is a grip problem, not a strength problem. Start with a rubber band or steel wool, try a different driver, then grip the head with pliers. Cut a new slot or drill the head out only when the gentle methods fail.
Slow turns and firm downward pressure carry every method here, and the screw that beat you for ten minutes often comes out on the first patient attempt.
Tags: stripped screws, DIY, home repair, tools
Latest in Home
- Replace a Tap Washer to Stop a Dripping Tap
- Mount a TV on a Plasterboard Wall Safely
- Unblock a Kitchen Sink With a Plunger
- Get Rid of Mould on Window Frames Safely
Subscribe for one practical home repair explainer each week.
Related stories
Why Your Faucet Keeps Dripping After You Turn It Off
A dripping faucet is usually a worn washer, O-ring, or cartridge that can no longer seal. One drip per second wastes over 3,000 gallons
How to fix a running toilet without a plumber in 30 minutes
A running toilet can waste 200 gallons of water a day. Diagnose the flapper, float, or fill valve in two minutes, then fix it yourself
How to hang heavy shelves on drywall safely
Studs first, toggle bolts second, plastic anchors never for heavy loads. Weight ratings, installation steps, and mistakes that bring