
How to Replace a Tap Washer to Stop a Dripping Tap
Key takeaways
- A worn rubber washer is the most common cause of a dripping tap.
- The job needs basic tools and takes under an hour for a standard tap.
- Quarter-turn and mixer taps use cartridges, not washers, so check the type first.
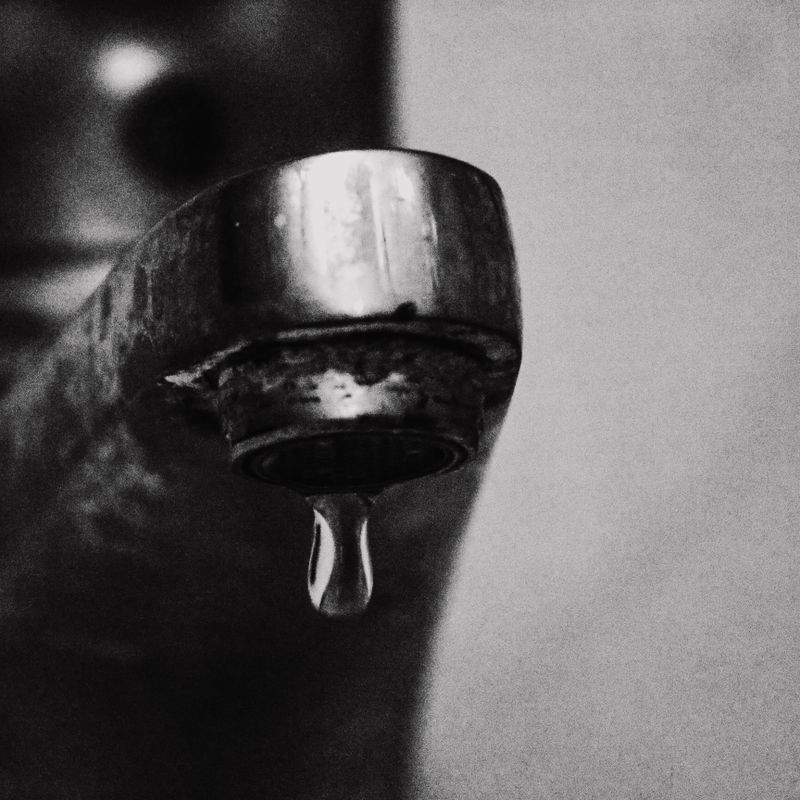
A dripping tap is usually a small part failing, not a tap failing. In a traditional compression tap, a rubber washer presses against a metal seat to shut off the water. Every turn of the handle squeezes that washer.
Over time the rubber hardens, cracks, or wears thin, and water starts to seep past. Replacing the washer restores the seal.
This article explains how to replace a tap washer to stop a dripping tap, including what kind of tap you have, what you will need, the step-by-step swap, what to do if the drip comes back, and when to call a plumber. The job suits a confident beginner. If anything feels forced or unclear, stop and call a professional rather than forcing a fitting.
What kind of tap do you have?
Check the tap type before you buy parts, because it decides what you need. A compression tap needs several full turns to go from off to full flow. That is the washer type, and this guide covers it.
A quarter-turn tap moves from off to full flow with a short twist. A single-lever mixer tap also falls in this group. Those taps use a ceramic disc cartridge instead of a washer, so a washer swap will not fix them.
Homebase makes the same distinction: compression taps need a rubber washer, while ceramic disc taps need a cartridge replacement.
Look at the handle too. Separate hot and cold handles that turn many times point to compression taps. One lever that swings left and right for temperature points to a mixer cartridge.
If you are unsure, take a photo of the tap and show it at the hardware store. Staff can usually identify the type from a photo and a look at the handle.
What you will need
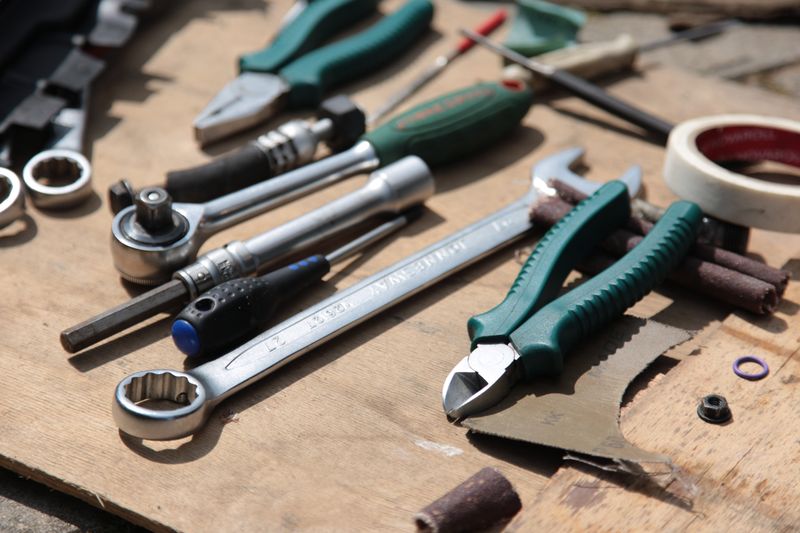
Gather everything before you start, so you are not hunting for tools with the water off. You will need an adjustable spanner or wrench, a flathead and a Phillips screwdriver, a replacement washer of the correct size, plumber grease, thread tape, a towel, a small bucket, and a sink plug. The sink plug matters more than it sounds.
It stops screws and washers from dropping down the drain mid-job.
Buy the washer after you see the old one, if you can. The safest method is to remove the old washer first, take it to the store, and match it exactly. Washer sizes look similar on a shelf, and a washer that is slightly too big or too small will not seal.
If you want to buy ahead, a mixed washer assortment box covers most common sizes. It costs little and saves a second trip.
Step by step
- Turn off the water at the isolation valve for the tap, usually under the sink, turning it clockwise until it stops. If there is no isolation valve, shut off the main water supply. Open the tap to release any remaining water and pressure, and confirm nothing flows before you go further.
- Plug the sink. Push the plug in or lay a towel over the drain. Small screws and washers vanish down drains with remarkable speed, and the plug is your only defence.
- Remove the handle by prying off the decorative cap on top with a flathead screwdriver to reveal the retaining screw. Undo the screw and lift the handle off. If the handle is stuck, wrap it in a cloth for grip and wiggle it free rather than forcing it.
- Remove the bonnet, the metal sleeve or nut around the spindle, undoing it with your adjustable spanner while you hold the tap body steady. Withdraw the spindle assembly. At the end of the spindle you will see the washer, usually black or brown, held by a small screw or clip.
- Remove the old washer by undoing the small screw or clip and sliding it off, noting which way it sat. Check its condition, since a flattened, cracked, or grooved washer confirms the diagnosis. Keep it for matching.
- Fit the new washer in the same position and secure it with the screw or clip, so it sits snugly and flat. A light smear of plumber grease on any O-rings helps them seat and move smoothly. While the tap is open, wipe away grime or sediment from the valve and around the seat.
- Reassemble the tap by putting the spindle back and refitting the bonnet, tightening firmly without over-tightening. A few wraps of thread tape around the bonnet threads help the seal. Refit the handle and its screw, then snap the cap back on.
- Turn the water back on slowly, opening the isolation valve or main supply a little at a time. Let the tap fill, then open it and close it a few times. Check around the handle and the bonnet for leaks, since a dry tap that opens and closes smoothly means the job worked.
If the drip comes back
A drip that returns within days usually means the seat is the problem, not the washer. The seat is the metal surface the washer presses against. If it is pitted or rough, even a new washer cannot seal against it.
SJ Plumbing and Gas notes that a worn or pitted seat is how you end up fixing a tap washer that keeps dripping after replacement. A plumber can re-dress, or smooth, the seat with a special tool, which is a job worth paying for.
Check two simpler causes first. A washer that is slightly the wrong size will leak from the start, so compare the new washer with the old one again. A bonnet that is undertightened will weep around the spindle, so check for moisture there before you blame the washer.
Tighten gently, and never use maximum force on brass fittings, since brass threads strip easily. Stripped screws have their own rescue methods, and the same patience applies here.
Also confirm the drip is from the tap you fixed. Water can travel along pipes and drip far from its source. Dry everything, watch for a few minutes, and trace any new moisture to its true starting point.
A leak at the base of the tap often comes from an O-ring, which you can replace in the same session.
When to call a plumber
Call a plumber if the tap is a ceramic disc or mixer type and you have no cartridge experience, since cartridge matching depends on brand, size, and pin layout. Call one if the isolation valve will not close fully, since that turns a small job into a flood risk. Call one if the seat is damaged, if pipes look corroded, or if the water is discoloured or smells strange.
Those signs point to pipe problems that a washer cannot fix.
Call a plumber as well if you feel unsure at any point. Plumbing mistakes get expensive fast, and a professional visit costs less than water damage. There is no shame in stopping halfway.
Turn the water back off, leave the tap disassembled, and let the plumber take over from a known state.
Frequently asked questions
How long does a tap washer replacement take?
A standard compression tap takes 30 to 60 minutes for a first attempt, including a trip to match the washer. The actual swap takes minutes. Most of the time goes to shutting off water, disassembly, and careful reassembly.
Do I need to turn off the main water supply?
Only if the tap has no isolation valve. Most kitchen and bathroom taps have an isolation valve on the supply pipe underneath. Use that first.
Turn off the main supply if you cannot find a valve or if the valve does not fully stop the flow.
Can I replace a washer on a mixer tap?
Mixer taps do not have a replaceable washer. They use a cartridge, and the fix is a cartridge swap. Take the old cartridge to the store to match brand, size, and pin layout.
The disassembly steps are similar, but the part is different.
Why does my tap still drip after a new washer?
The usual reasons are the wrong washer size, a damaged seat, or a worn O-ring. Check the size against the old washer, inspect the seat for pitting, and look for moisture around the spindle. A blocked sink has its own fix, but a dripping tap almost always comes back to the washer, the seat, or the O-ring.
The bottom line
A dripping compression tap usually needs one small part: a new washer of the same size. Turn off the water, plug the sink, remove the handle and bonnet, swap the washer, and reassemble in reverse. Test slowly and watch for leaks around the handle.
If the drip returns, suspect the seat and call a plumber. One washer, fitted well, can end months of dripping and wasted water.
Tags: tap washer, dripping tap, DIY plumbing, home repair
Latest in Home
- How to Remove Stripped Screws Without Special Tools
- How to Unblock a Kitchen Sink With a Plunger
- How to Mount a TV on a Plasterboard Wall Safely
Subscribe to the Rive News newsletter for one practical explainer every week.
Related stories
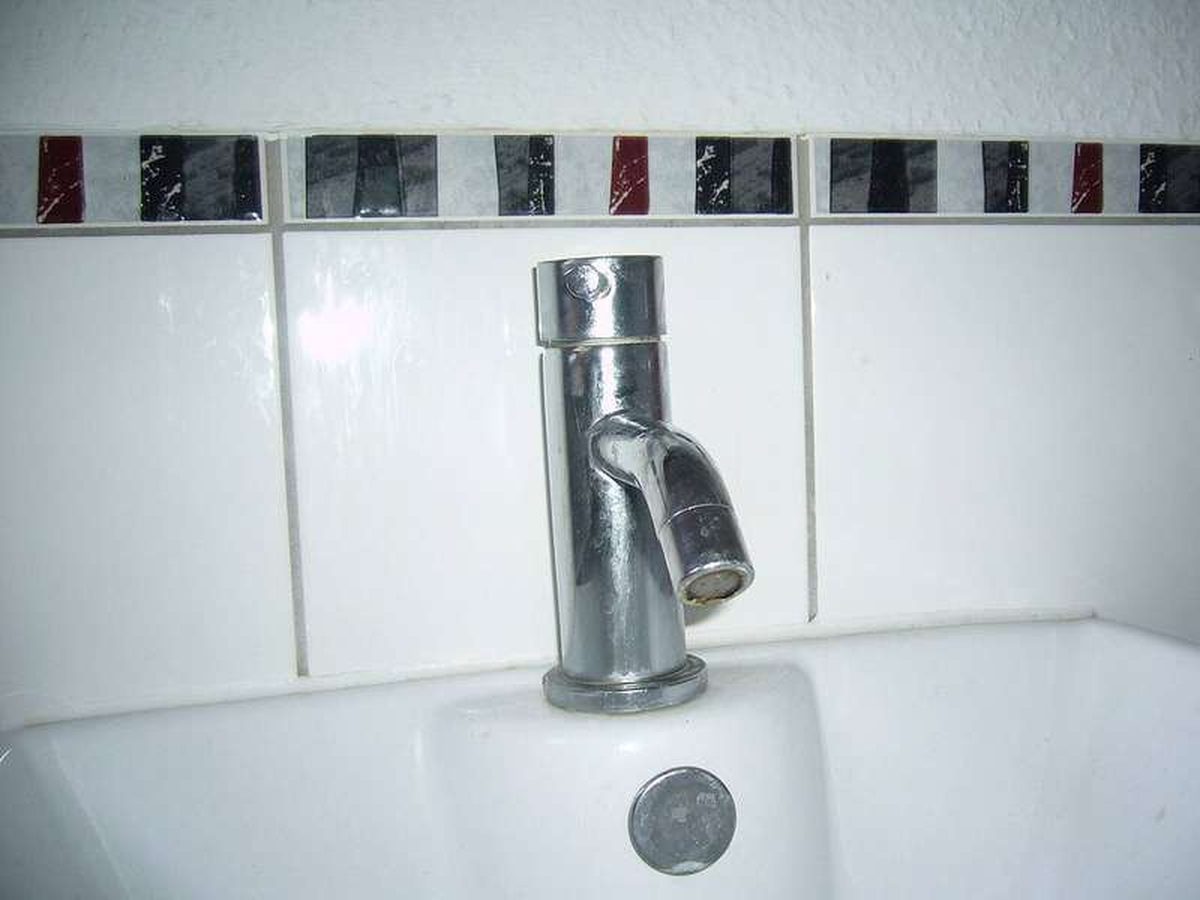
Why Your Faucet Keeps Dripping After You Turn It Off
A dripping faucet is usually a worn washer, O-ring, or cartridge that can no longer seal. One drip per second wastes over 3,000 gallons
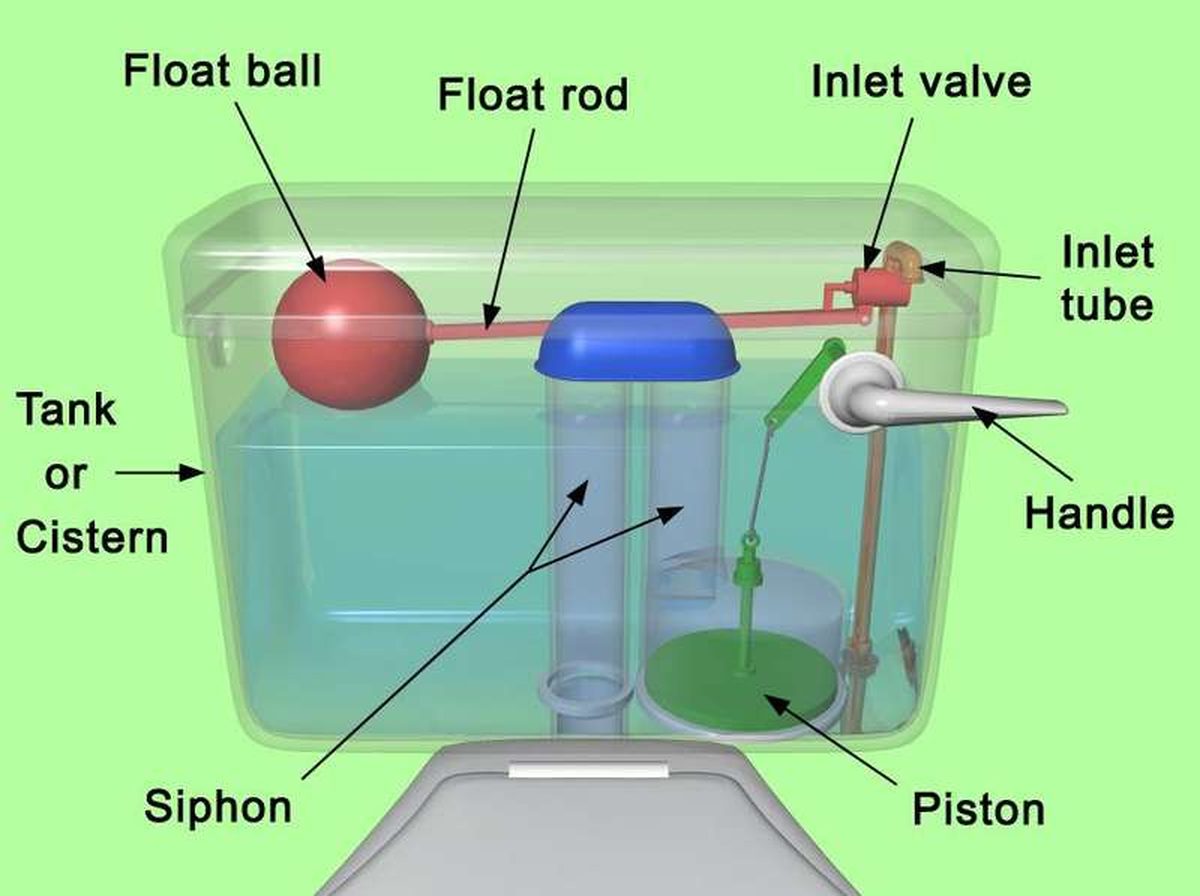
How to fix a running toilet without a plumber in 30 minutes
A running toilet can waste 200 gallons of water a day. Diagnose the flapper, float, or fill valve in two minutes, then fix it yourself
How to hang heavy shelves on drywall safely
Studs first, toggle bolts second, plastic anchors never for heavy loads. Weight ratings, installation steps, and mistakes that bring