
How to Build Endurance for Mountain Hiking Step by Step
Key takeaways
- Start from your hardest hiking day, then train for its distance, elevation gain, and pack weight.
- Combine aerobic work, two weekly strength sessions, hill practice, and one longer weekly hike.
- Increase one stressor at a time, keep recovery days, and taper in the final week.
What mountain endurance means
Mountain endurance is the ability to keep moving uphill, across uneven ground, for hours, while carrying a pack. It is not the same as gym fitness.
A strong runner can still struggle on a steep trail with a loaded backpack. A weightlifter can still gasp on a long climb.
The gap comes from specificity. Mountain hiking mixes aerobic effort, leg strength, balance, and load carrying.
It also adds descents, which stress the legs in a different way from climbing. Training must cover each piece, not only one.
This article explains how to build endurance for mountain hiking step by step. It gives an 8-week plan for recreational hikers, plus the strength, hill, fuel, and altitude work that supports it.
It is general fitness information, not medical advice. Talk with a healthcare professional before starting a demanding program if you have a significant medical condition or a history of altitude illness.
Step 1: Measure the hike you need to train for
Before choosing workouts, study your route. Two hikes of the same distance can demand very different levels of fitness. A flat 10-mile walk and a steep 10-mile climb are different sports.
Write down five numbers for your hardest day. Distance in miles or kilometers. Elevation gain.
Elevation loss. Expected hiking time.
Pack weight. Use those numbers as the destination for your training, rather than choosing workouts at random.
Step 2: Build the aerobic base
Aerobic training improves your ability to sustain movement over hours. It is the foundation under everything else. Without it, strong legs run out of fuel early.
A useful starting point is the general adult activity guidance from the US Department of Health and Human Services, cited by Take Travel Info. Adults should aim for at least 150 minutes of moderate aerobic activity each week plus muscle-strengthening activity on at least two days. A challenging mountain hike normally requires more specific preparation than this basic health target.
Start with steady sessions you can hold while speaking in sentences.
Step 3: Add leg and core strength
Strength training prepares the legs, hips, calves, and core to produce and control force over many thousands of steps. It also protects joints on descents, where impact forces run high.
Train strength twice per week on nonconsecutive days. Focus on movements that mirror hiking. Squats build legs and core stability.
Lunges build balance and strength in lateral movements. Step-ups mimic the uphill climbing motion of hiking. Planks and mountain climbers build core stability that improves posture on the trail.
Battlbox gives a simple sample circuit. Warm up with a brisk walk or light jog for 5 to 10 minutes. Then do jump squats for 15 to 20 reps, step-ups for 10 to 15 reps per leg, lunges for 10 to 15 reps per leg, and planks for 30 seconds to 1 minute.
Cool down with gentle stretching or yoga for 5 to 10 minutes. Run this circuit twice a week, and adjust reps or add weight as fitness improves.
Single-leg work deserves a place in the plan.
Step 4: Practice with hills, stairs, and a pack
Hiking-specific practice turns general fitness into trail fitness. The body needs to learn the exact pattern of climbing, descending, and carrying weight.
Add one longer hike per week. Start with a distance and elevation you can finish comfortably.
Build the duration and elevation over the weeks, and add the pack weight you expect to carry. Train in the footwear you plan to use, since a long mountain day is a poor time to discover a blister or a heel slip.
Stairs work when hills are scarce. Climb stairs with a weighted backpack for 30 to 60 minutes once a week.
Use a steady pace, not a sprint. Stair climbing trains the same uphill rhythm as a mountain trail.
Practice descents with care. Long descents stress the quadriceps and knees in a way climbing does not.
Controlled downhill walking, with short steps and trekking poles if you use them, builds the eccentric strength that descents demand. Train for both climbing and descending, not only the uphill half.
Test your gear on training hikes. Break in boots, adjust pack fit, and practice with trekking poles before the trip.
Pole placement should feel natural by the time you reach the mountain. For footwear basics, see how to choose your first pair of hiking boots.
Step 5: Follow an 8-week plan
Eight weeks is a practical focused-training window for many recreational hikers who already tolerate normal walking and exercise. Beginners starting from very little activity may need a longer runway. Experienced hikers may need less general conditioning but more route-specific work.
Take Travel Info lays out the phases. Weeks 1 and 2 build consistency.
Aim for two basic strength sessions, two comfortable aerobic sessions, and regular walking. Use an easy day hike to check footwear, pack fit, and your starting endurance.
Weeks 3 and 4 add hills, stairs, or incline walking. Keep two strength days and begin a longer weekly hike. Introduce a light version of your expected trail pack.
Weeks 5 and 6 make training more hike-specific. Build the duration and elevation of your long hike, practice controlled descents, and work toward the pack weight you expect to carry. Multi-day hikers can add an easy second hiking day.
Week 7 is peak specificity. Complete a demanding but controlled hike that resembles your trip in terrain, climbing, time on your feet, footwear, and pack load. Do not turn it into an all-out exhaustion test.
Week 8 is the taper. Reduce total training, keep some easy movement, check gear, sleep well, and arrive at the trail rested. Keep the final one or two days easy rather than trying to gain last-minute fitness.
For a bigger objective, allow more time. Tranquil Kilimanjaro advises building hiking-specific endurance, leg strength, and mental resilience over 3 to 6 months for a Kilimanjaro climb, longer if starting from low fitness.
The same advice fits any multi-day mountain objective. Longer trips need longer buildups.
Step 6: Progress without rushing
Increase training gradually. Rather than suddenly adding distance, elevation, pack weight, and speed at the same time, raise one major stressor and see how the body responds. Persistent pain, worsening joint discomfort, or fatigue that does not improve with recovery is a reason to back off rather than push harder.
Recovery is part of the program.
Step 7: Fuel and hydrate for the work
Food and fluid needs during mountain hiking depend on body size, weather, exertion, altitude, trip duration, and individual tolerance. No single calorie target fits every hiker.
Carbohydrate-rich foods such as oats, rice, potatoes, bread, fruit, and other familiar foods help supply energy for active muscles. Protein-containing meals and snacks support normal recovery and tissue maintenance. Fats add energy-dense calories, which help when food weight matters.
On the trail, choose food that is practical, familiar, and easy to eat while moving. Trail mix, sandwiches, dried fruit, bars, tortillas, nuts, and nut or seed butter all work well. For remote trips, carry additional food in case weather, navigation problems, injury, or delays keep you out longer than planned.
Water needs vary just as much. National Academies reference values for healthy adults are about 2.7 liters per day of total water for women and 3.7 liters per day for men, including water from food and beverages, as Take Travel Info notes. Exercise, heat, altitude, and individual sweat loss can raise needs substantially.
Plan water around your route, weather, duration, intensity, and reliable refill points. Drink regularly and pay attention to thirst, but do not force excessive amounts of plain water to reach an arbitrary hourly total.
Step 8: Plan for altitude separately
As elevation increases, air pressure falls and less oxygen is available with each breath. The result is lower exercise capacity until the body has time to adjust. According to the CDC Yellow Book, cited by Take Travel Info, an unacclimatized traveler sleeping at about 8,000 feet (2,450 meters) or higher can be at risk for altitude illness.
Being very fit does not make you immune. CDC guidance specifically notes that training and physical fitness do not determine a person's susceptibility to altitude illness. Fitness can make the hiking work easier, but acclimatization still requires time.
When possible, CDC guidance supports spending two or three nights around 8,000 to 9,000 feet (2,450 to 2,750 meters) before moving higher. Once sleeping above roughly 9,800 feet (3,000 meters), a commonly used guideline is to increase sleeping altitude by no more than about 1,600 feet (500 meters) per day and include an extra acclimatization night for each additional 3,300 feet (1,000 meters) gained.
Know the warning signs. Acute mountain sickness often includes headache along with fatigue, dizziness, nausea, vomiting, or loss of appetite after a recent ascent. Do not keep ascending while symptoms are present.
Confusion, unusual drowsiness, loss of coordination, inability to walk normally, severe breathing difficulty, or breathlessness at rest can signal life-threatening high-altitude cerebral or pulmonary edema. These symptoms require urgent descent and medical help. Minimize exertion during evacuation when possible.
Frequently asked questions
How long does it take to build hiking endurance?
For most recreational mountain hikes, about eight weeks of focused training works when you already walk regularly. Beginners may need longer.
Multi-day or high-altitude objectives may need 3 to 6 months. Start earlier than you think you need.
How heavy should my training pack be?
Work toward the pack weight you expect to carry on the trip, not more. Tranquil Kilimanjaro suggests building to a daypack of 8 to 12 kilograms for Kilimanjaro training, with long hikes of 6 to 8 hours and elevation gain of 500 to 1,000 meters or more. Match the weight to your own route.
Does training prevent altitude sickness?
No. Fitness makes the hiking work easier, but CDC guidance says fitness does not determine susceptibility to altitude illness. Acclimatization, a gradual ascent profile, and a willingness to descend matter more.
The bottom line
Mountain endurance comes from a simple mix. Build an aerobic base, add leg and core strength twice a week, practice on hills and stairs with your real pack, and follow a gradual 8-week plan with a taper. Fuel the work, protect recovery days, and treat altitude as its own problem with its own plan.
Start early, train with your actual gear, and arrive at the trail rested. For the next skill in the series, learn how to read a trail map and use a compass and how to keep your feet dry while hiking in rain.
Tags: hiking endurance, mountain hiking, hiking training, outdoors
Latest in Sports
- How to Choose Your First Pair of Hiking Boots
- How to Read a Trail Map and Use a Compass
- How to Keep Feet Dry While Hiking in Rain
Subscribe for one practical outdoors tip each week.
Related stories
Why Is Altitude Sickness Worse for Some People?
Altitude sickness hits some people harder because of genetics, ascent speed, and prior history, not fitness level. Here is what raises risk
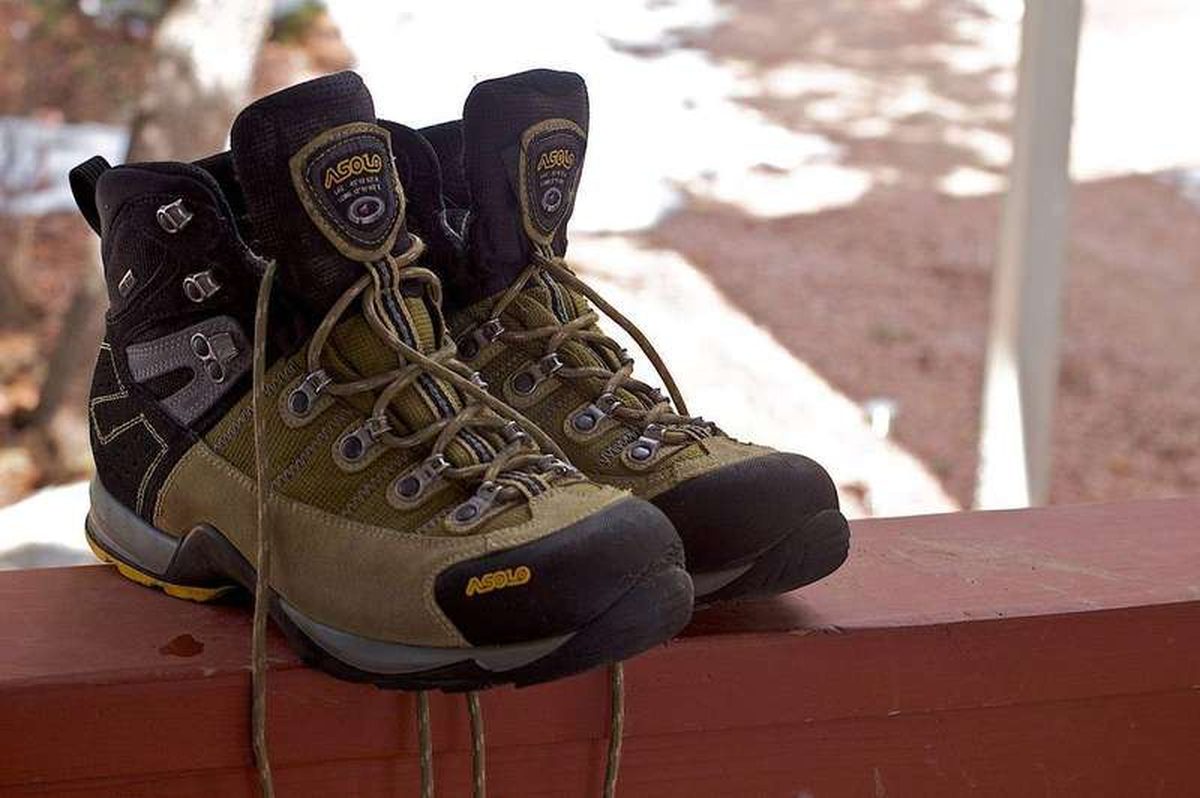
Why Do You Get Blisters When Hiking and How to Prevent Them
Friction plus moisture plus heat equals a blister. Learn why hiking breeds all three, and the boots, socks, and tape system that keeps
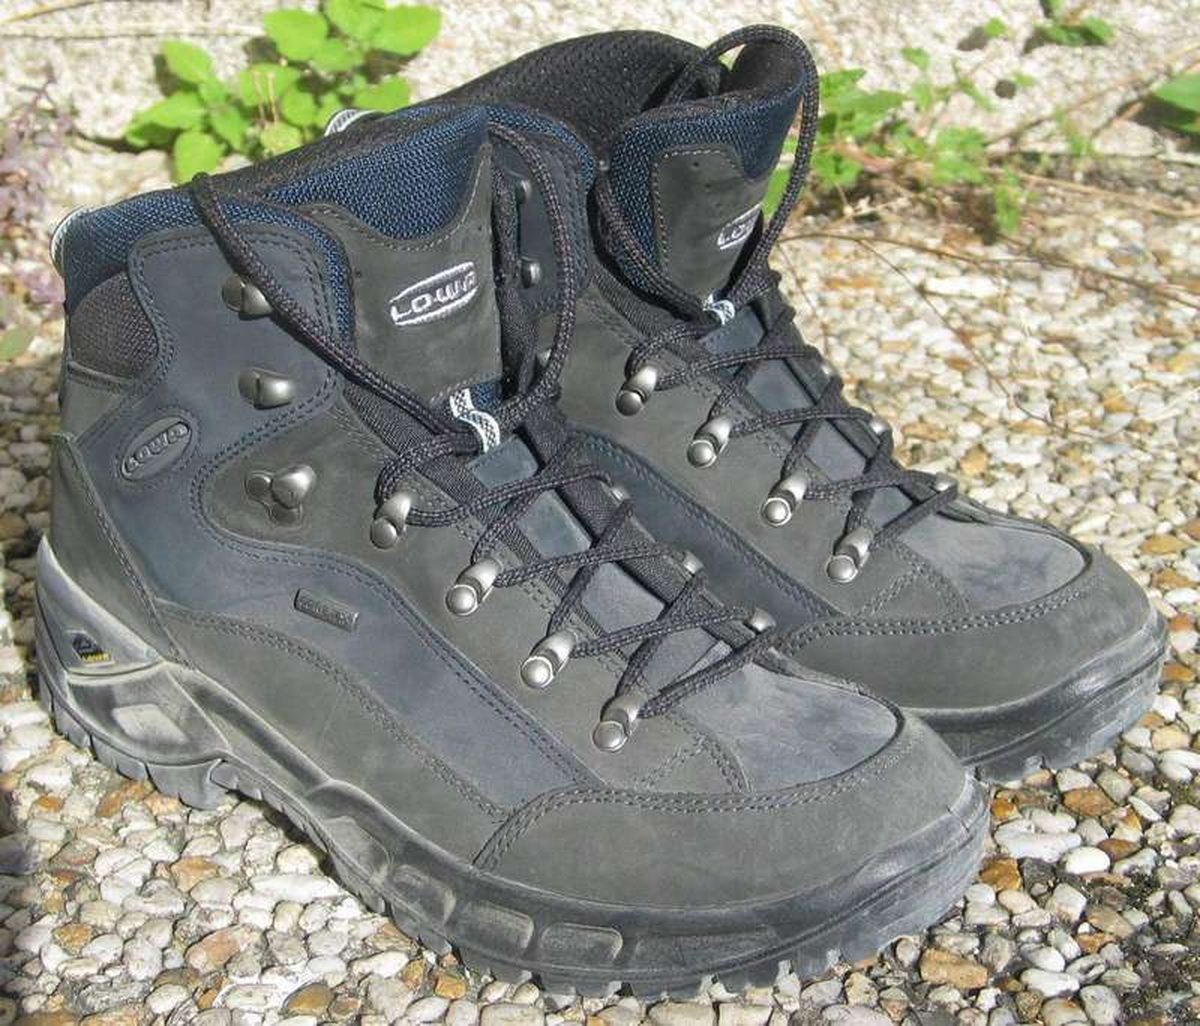
How to choose hiking boots for beginners: fit, features, and break-in
Beginners should buy for fit first: snug everywhere, tight nowhere, with a thumb's width at the toes. Here is how to size, test,