
How to Read a Trail Map and Use a Compass
Key takeaways
- A topographic map shows terrain shape through contour lines, with close lines meaning steep ground and wide spacing meaning gentle slopes.
- A baseplate compass turns a line on the map into a bearing you can walk, once you correct for declination.
- Practice on familiar trails first, because navigation skill comes from repetition, not from owning the gear.
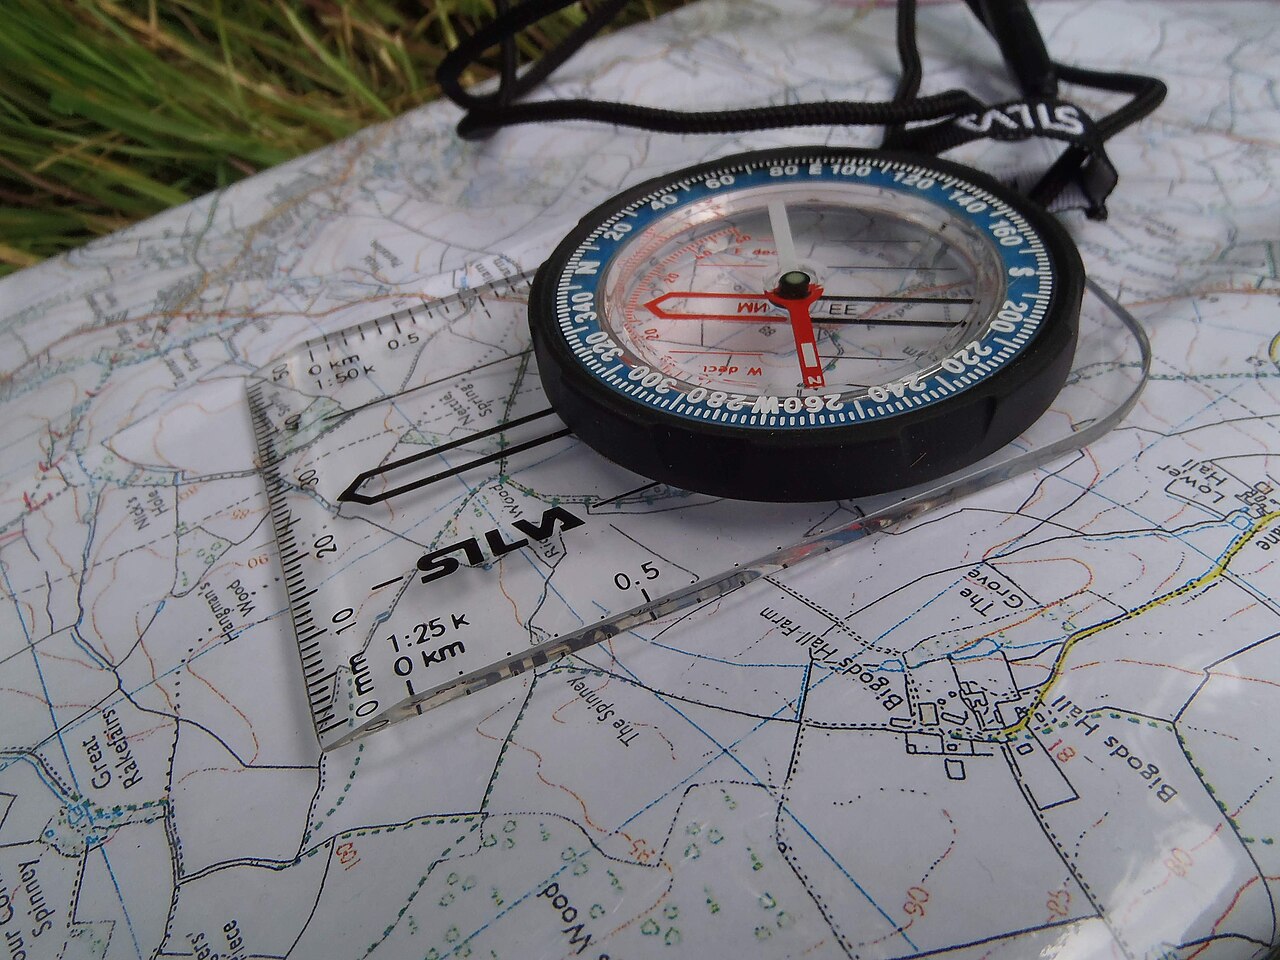
A trail map is a flat picture of three-dimensional ground. It uses lines, colors, and symbols to show hills, valleys, water, and trails, so you can picture the land before your boots touch it.
A compass adds direction to that picture. Its needle points to magnetic north, and its rotating bezel lets you measure and follow exact bearings. Together, the two tools tell you where you are, which way to go, and how far you still have to travel.
This article explains what a trail map shows, how contour lines reveal terrain shape, how scale and symbols work, how to set declination, how to orient a map, and how to take and follow a bearing.
What a trail map shows
A simple trail map shows paths, junctions, and landmarks. That is enough for planning a walk on a marked route, but it is not enough for finding your way when the trail fades or the fog rolls in.
A topographic map goes further. It shows the shape of the land itself, so you can judge climbs, spot valleys, and recognize ridges before you reach them. REI describes topographic maps as tools that let you visualize three-dimensional terrain from a flat piece of paper.
Start with the legend. The legend explains every line, symbol, and color on the sheet. On most maps, green marks denser vegetation, open ground appears light or colorless, and streams and lakes appear in blue.
The legend also lists the map scale, the contour interval, grid information, and magnetic declination. Read it before you start walking, not after you are unsure of your position.
How contour lines reveal terrain shape
Contour lines are the heart of a topographic map. Each line connects points that share the same elevation, so the pattern of the lines sketches the shape of the ground.
Where contour lines sit close together, elevation changes fast over a short distance, and the ground is steep. Where they sit wide apart, elevation changes slowly, and the slope is gentle. Contour lines never cross each other on a standard map.
Every fifth contour line is drawn thicker. This is called an index contour, and its elevation is printed somewhere along the line. The contour interval, the change in elevation from one line to the next, stays the same across the whole map.
REI notes that many maps use a 40-foot or 80-foot interval, and the exact value appears in the legend.
Shapes in the lines tell their own story. Roughly concentric circles usually mark a peak. A circle with small tick marks pointing inward marks a depression instead, with elevations dropping toward the center.
Tightly bunched lines can mark a cliff. A ridgeline connects peaks, with contour lines dropping in elevation on each side, while a valley sits low between ridges and may hold a creek along its floor.
Practice this skill on a map of a place you already know. Match the lines to hills you have climbed and valleys you have walked through, and the symbols start to feel concrete.
Scale, legend, and symbols
Scale tells you how much real ground fits on the paper. A 1:24,000 scale means one inch on the map equals 24,000 inches of real terrain, which works out to 2,000 feet. A 1:65,000 map covers a larger area in the same space, but it shows less detail.
Many people mix up the terms here. The 1:24,000 map is the larger-scale map because it shows more detail, while the 1:65,000 map is the smaller-scale map. For hiking, larger-scale maps are usually easier to navigate with.
Know your compass parts
A baseplate compass is a simple tool with a few named parts. Learning them once makes every later step easier.
The clear baseplate lets you see the map underneath it, and at least one straight edge helps you draw and follow lines. Rulers printed on the baseplate work with the map scale to measure distance.
The direction-of-travel arrow shows which way to point the compass when you take or follow a bearing. The rotating bezel, also called the azimuth ring, carries 360 degree markings. The index line sits above the bezel and marks where you read the bearing.
The magnetized needle swings freely, and its colored end points to magnetic north. The orienting arrow and orienting lines rotate with the bezel, and you align them with the map grid or with the needle, depending on the step you are on.
Set declination before you navigate
North on a map is not the same as north on a compass. Map north, called true north, points to the geographic North Pole. The compass needle points to magnetic north, and the gap between the two is called declination.
Declination changes with place and slowly changes over time. In the continental United States, it ranges from about 20 degrees east in parts of Washington state to about 20 degrees west in parts of Maine, according to REI. Your map margin shows the local value, and the NOAA magnetic declination calculator can give a current figure.
The size of the error matters. REI warns that a single degree of error can set you off course by 100 feet over a mile. Over a long off-trail leg, an uncorrected declination can put you far from your target.
Orient your map
An oriented map points the same way as the real world. When your map is oriented, the ridge on the right side of the paper is the ridge on your right in real life. Navigation turns from a puzzle into a matching game.
First, set your declination. Then place the compass on the map with the direction-of-travel arrow pointing toward the top of the map. Rotate the bezel so that N lines up with the direction-of-travel arrow.
Slide the baseplate until one straight edge lines up with the left or right edge of the map. Keep the direction-of-travel arrow pointing at the top of the map while you do this.
Now hold map and compass steady and turn your whole body until the colored end of the needle sits inside the outline of the orienting arrow. Your map is oriented. Look around and match nearby landmarks to their map symbols before you set off.
Take a bearing from the map
A bearing is a precise direction measured in degrees, with 0 or 360 for north, 90 for east, 180 for south, and 270 for west. Saying "315 degrees" beats saying "northwest" because it leaves no room for argument.
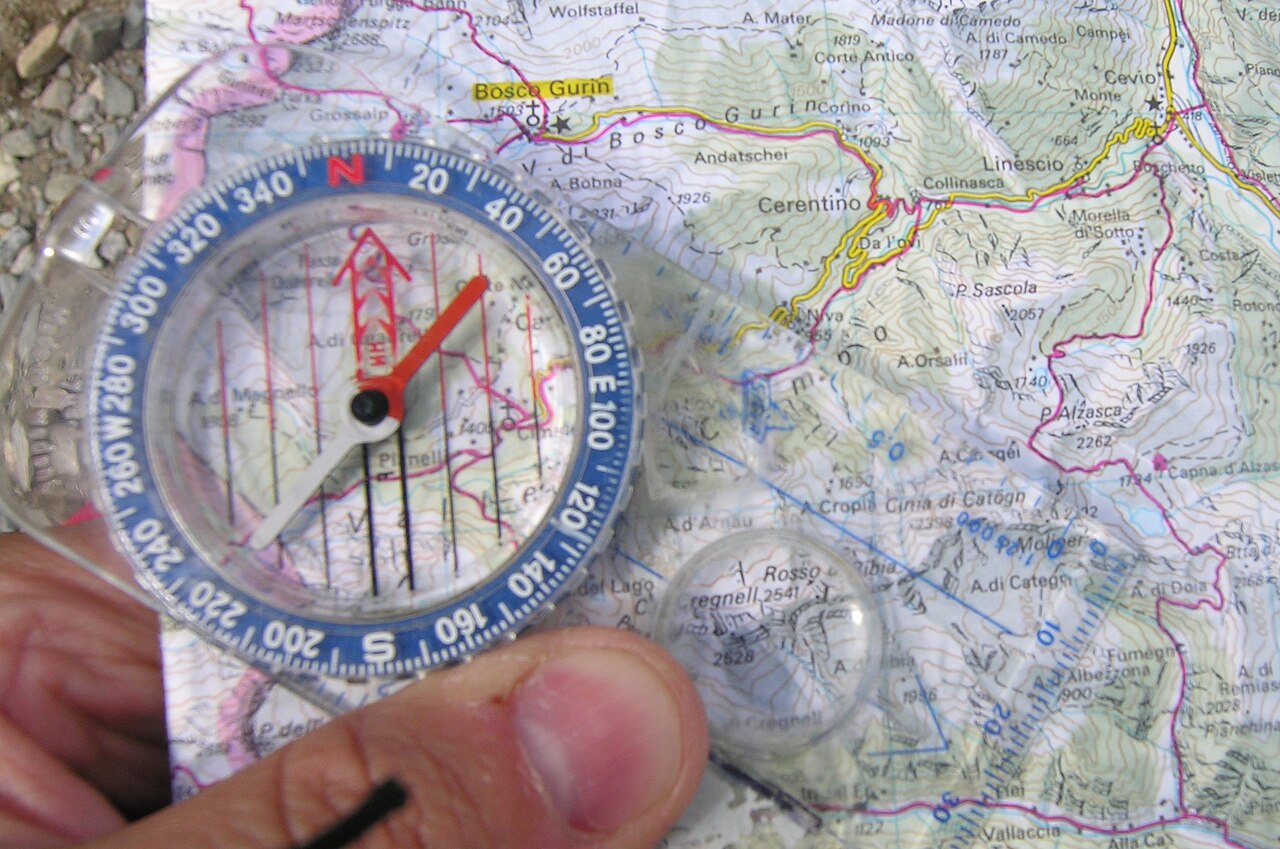
To take a bearing from the map, set the compass on the map so the straight edge of the baseplate connects your current position to your destination. Check that the direction-of-travel arrow points toward the destination, not back toward you.
Hold the baseplate still and rotate the bezel until the orienting lines line up with the north-south grid lines on the map. Make sure the north marker on the bezel points to map north, not south.
Read the bearing at the index line. If your compass already has declination set, that bearing is ready to follow. If not, apply the declination correction now, before you start walking.
Follow a bearing in the field
Hold the compass flat in front of you, with the direction-of-travel arrow pointing away from your body. Turn your whole body until the magnetic needle sits inside the orienting arrow. The direction-of-travel arrow now points along your bearing.
Do not stare at the compass as you walk. Look along the direction-of-travel arrow and pick a clear landmark on that line, such as a tree, a boulder, or a gap in the ridge. Walk to that landmark, then repeat the process with a new landmark further along.
Find where you are
Bearings work in the other direction too. If you know where a landmark sits on the map, a bearing to it can show where you stand.
Pick a landmark you can identify both on the ground and on the map, such as a peak or a lake outlet. Hold the compass flat with the direction-of-travel arrow pointing at the landmark. Rotate the bezel until the needle sits inside the orienting arrow, then read the bearing at the index line.
Now lay the compass on the map. Line up one corner of the straight edge with the landmark, and rotate the whole baseplate until the orienting lines run north to south with the north marker pointing to map north. Draw a line along the straight edge.
Where that line crosses your trail is your position.
If you are not on a trail or another line feature, repeat the process with a second and third landmark. This is called triangulation. REI advises picking landmarks at least 60 degrees apart from each other.
The lines usually form a small triangle, and your position sits inside or near it. A very large triangle means at least one bearing has a real error, so recheck your work.
Practice before you need it
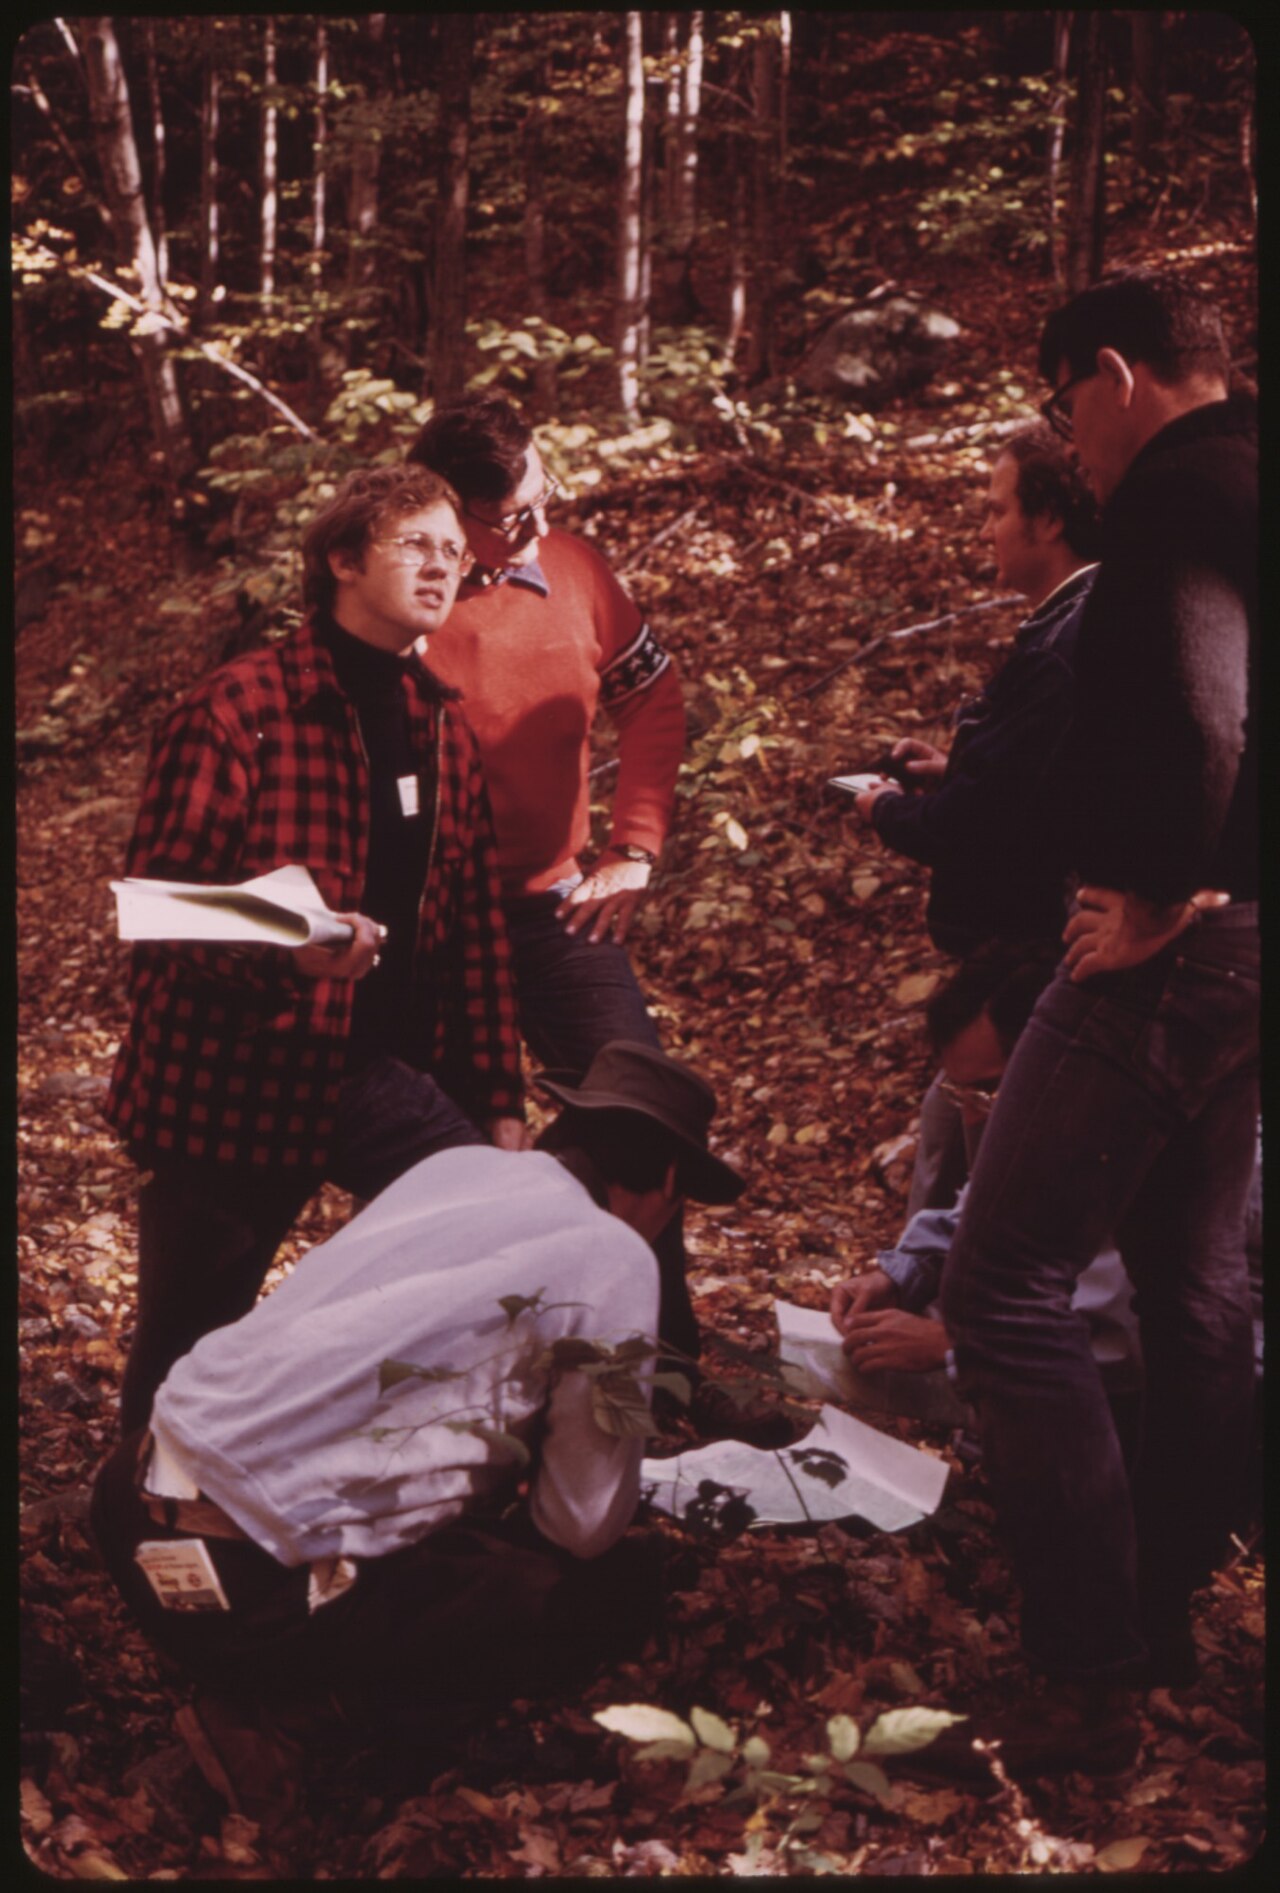
Map and compass skills fade without use. REI gives blunt advice on this point: "Regular map readers rarely get lost." The habit matters more than the gear.
Frequently asked questions
What is the difference between true north and magnetic north?
True north points to the geographic North Pole, where lines of longitude meet. Magnetic north is where a compass needle points, and it sits hundreds of miles away from true north. The angle between them at your location is the declination, and it changes over time.
Do I need a special compass for hiking?
A basic baseplate compass with a rotating bezel, an orienting arrow, and a declination adjustment covers most hiking needs. A sighting mirror helps with precise bearings, but it is not required for trail use. Pick a model with a clear baseplate so you can read the map through it.
The bottom line
Reading a trail map means turning contour lines, scale, and symbols into a mental picture of the ground. Using a compass means turning that picture into a bearing you can walk, with declination corrected and the map oriented to the real world.
Learn the pair on easy ground before you need them on hard ground. Orient your map at every stop, follow bearings landmark to landmark, and check your position often. Those habits keep a small error small, and they keep you found.
Tags: hiking, navigation, trail maps, compass
Latest in Sports
- How to Choose Your First Pair of Hiking Boots
- How to Build Endurance for Mountain Hiking Step by Step
- How to Keep Your Feet Dry While Hiking in Rain
- How to Start Rock Climbing as a Complete Beginner
Subscribe for one practical outdoor skill each week, straight to your inbox.
Related stories
Why Is Altitude Sickness Worse for Some People?
Altitude sickness hits some people harder because of genetics, ascent speed, and prior history, not fitness level. Here is what raises risk
Why Do You Get Blisters When Hiking and How to Prevent Them
Friction plus moisture plus heat equals a blister. Learn why hiking breeds all three, and the boots, socks, and tape system that keeps
How to choose hiking boots for beginners: fit, features, and break-in
Beginners should buy for fit first: snug everywhere, tight nowhere, with a thumb's width at the toes. Here is how to size, test,