
How to choose hiking boots for beginners: fit, features, and break-in
Key takeaways
- Boots should fit snug everywhere but tight nowhere, with about a thumb's width between your longest toe and the front.
- Try boots on late in the day, wearing the socks you will hike in, because feet swell during activity.
- Many beginners are better served by flexible hiking shoes than by stiff backpacking boots.
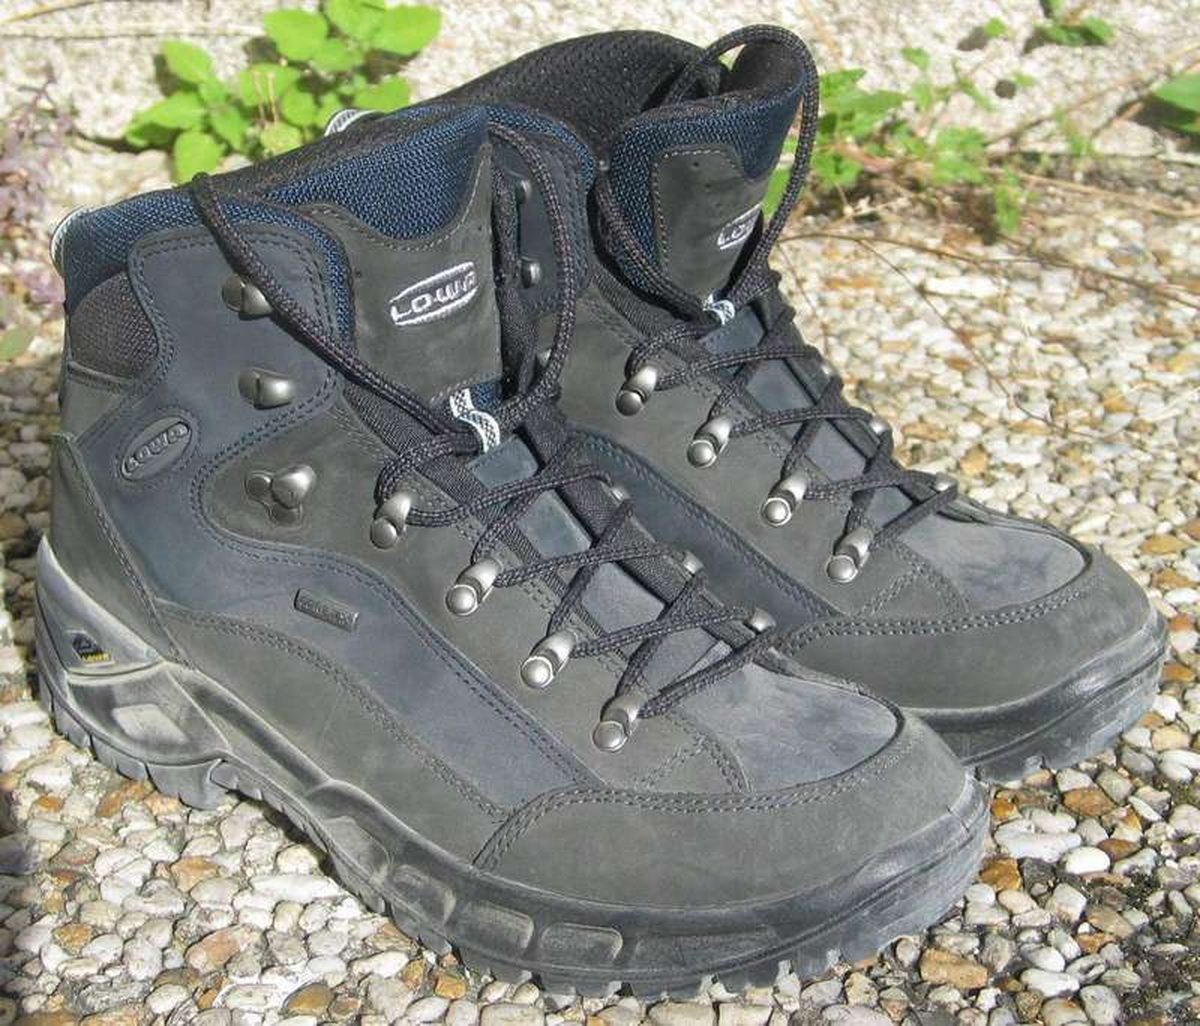
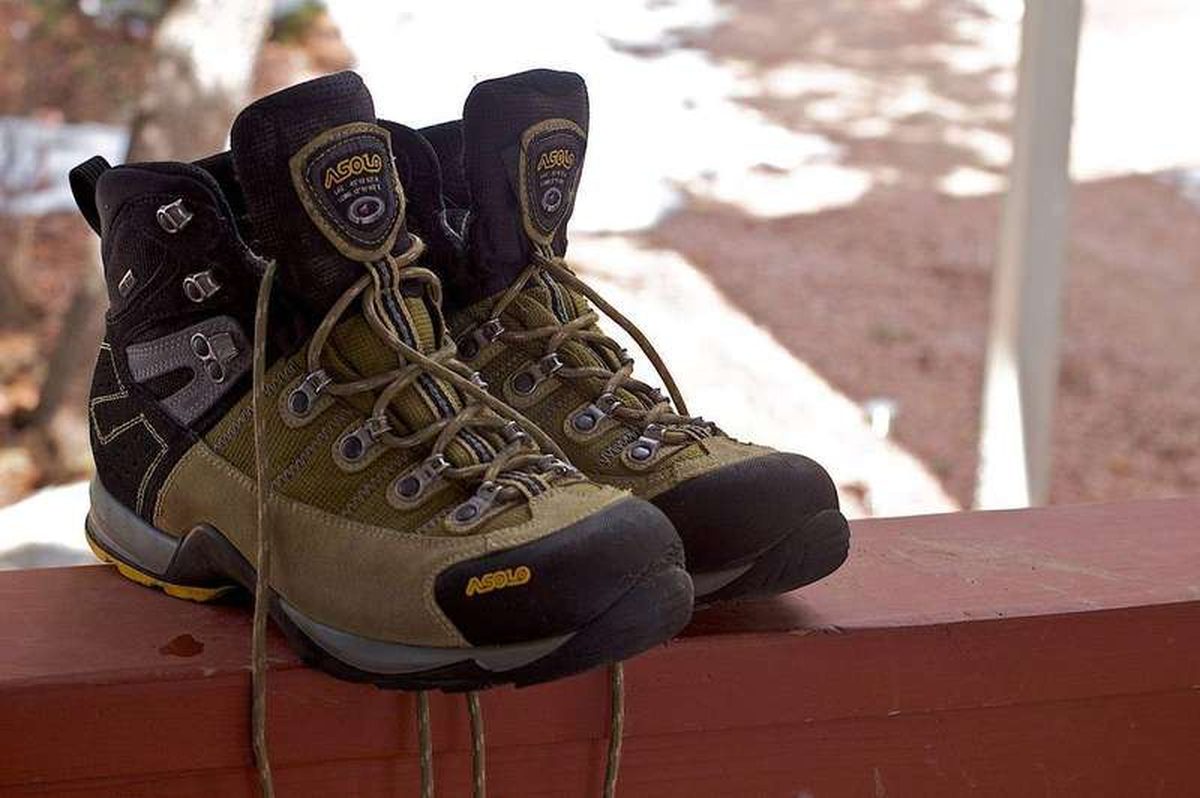
A pair of hiking boots: fit matters more than brand for comfort on the trail. Photograph: DocteurCosmos/Wikimedia Commons
Image Credits: Wikimedia Commons
A bad pair of boots can end a hike in the first mile. Blisters, bruised toenails, and aching arches almost always trace back to fit, not to the trail being too hard.
This article explains hiking boots for beginners, including whether you need boots at all, how to get the fit right, which features actually matter, and how to break them in.
Do you actually need hiking boots?
Honest answer first: maybe not. For a beginner doing day hikes on maintained trails with a light pack, flexible hiking shoes or even sturdy trail runners often work better than boots. REI's own expert advice splits the choice plainly: hiking shoes are lighter, lower-cut, and more flexible, and they suit day hikes and lighter loads.
Boots earn their keep when the demands rise. Mid- to high-cut day-hiking boots add ankle coverage and usually some waterproofing for rough or wet trails. Full backpacking boots, with over-the-ankle height and stiffer midsoles, are built for multiday treks carrying heavy loads.
If that does not describe your hiking, you are paying for support you will not use, and stiff boots can cause the blisters you bought them to prevent.
Start with the terrain you will actually walk. A pair of flexible hiking shoes covers most beginner trails. Move up to boots when your hikes get longer, rougher, or wetter.
Getting the fit right
Fit is the whole game. REI's fitting rule is memorable: hiking footwear should fit snug everywhere but tight nowhere, and your toes should have room to wiggle.
Too much space lets the foot slide and blister. Too little crushes toes on every downhill.
Time your shopping. Try boots on toward the end of the day, when your feet are at their largest after hours of activity. This keeps you from buying footwear that fits in the store and pinches at mile six.
Bring the right socks. Always fit boots wearing the hiking socks you plan to use, since sock thickness changes everything. Consider aftermarket insoles too; REI notes they can improve comfort, support, or fit, and they are cheaper than new boots.
Use the insole trick to check length. Pull the insoles out of the boots and stand on them. You should have about a thumb's width of space between your longest toe and the end of the insole, according to REI's guide.
Then walk. Kick the toe of the boot against the floor to slide your foot forward: your toes should not jam the front.
Walk up and down an incline if the store has one. Your heel should stay planted with minimal slipping, and nothing should press on your ankle bones.
Ignore the number on the box. Sizes vary between brands, and many hikers end up half a size up from their street shoes. If you wear custom orthotics, bring them to the fitting; they change the internal volume enough to matter.
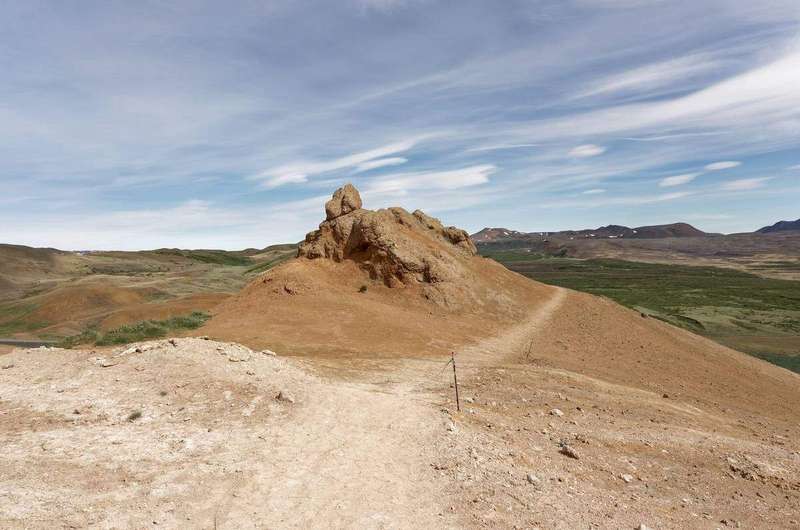
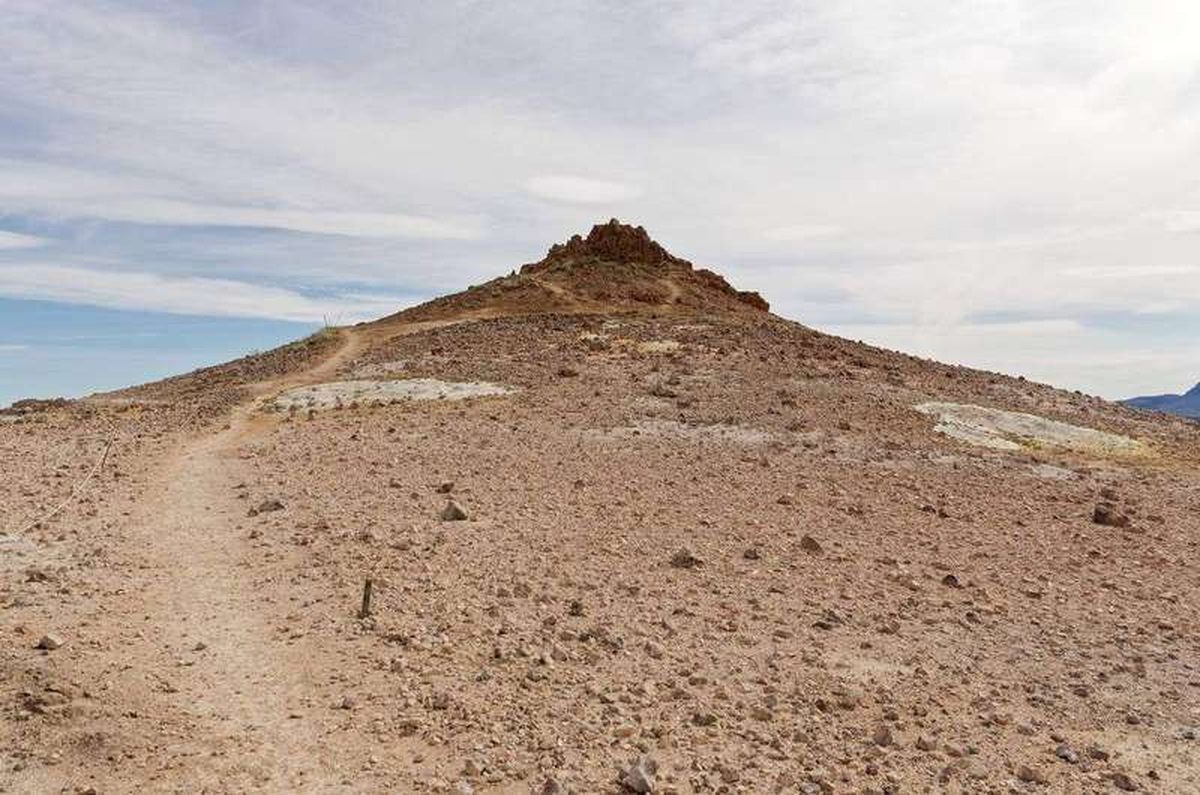
Match the footwear to the trail: maintained paths suit flexible shoes, while rough, wet routes justify boots. Photograph: Jakub Hałun/Wikimedia Commons
Image Credits: Wikimedia Commons
Which features actually matter
Waterproofing is the first decision. A waterproof membrane keeps feet dry in rain and mud but traps some heat, so feet sweat more on warm days. For wet climates it is worth it.
For dry, warm trails, non-waterproof boots breathe better and dry faster.
Look at the outsole lugs, the knobby tread blocks. Deep, thick lugs bite into soft ground and improve grip. Wider spacing between lugs sheds mud instead of packing it in.
For rocky trails, a stiffer midsole protects your feet from sharp edges; for smooth paths, flexibility is more comfortable.
Ankle height is about trade-offs, not safety ratings. Over-the-ankle boots add some support and keep out debris, but multiple experienced hikers note that no boot prevents a determined ankle roll. Strength and careful foot placement do more.
Weight deserves real attention. Boots get heavier with every feature, and a pound on your feet costs more energy than a pound in your pack. Beginners often overbuy here: the burliest boot on the shelf is built for someone carrying 20 kilos through the Alps, not for a Sunday afternoon loop.
Skip the brand loyalty. As one long-running Ask MetaFilter thread on buying boots puts it, nothing beats fit, and experienced hikers consistently advise choosing the boot that fits your foot over the logo you recognize.
Breaking them in the right way
Modern boots need less breaking in than the leather monsters of the past, but new footwear still needs a shakedown. Start by wearing the boots around the house for short periods so the materials begin to mold to your feet.
Then take short walks in your neighborhood before committing to a real hike. Pay attention to rubbing spots, especially at the heel and across the toes. Adjust the lacing: snug at the ankle to lock the heel, a touch looser over the forefoot.
Increase distance gradually. A weekend of short walks does more than one heroic ten-miler that ends in blisters. Use moleskin on any hot spot the moment you feel it, not after the blister forms.
One old rule deserves retiring. The idea that boots must be uncomfortable for weeks before they "break in" is outdated.
If a boot hurts in the store, it will hurt on the trail. Comfort from the first fitting is the standard to hold.
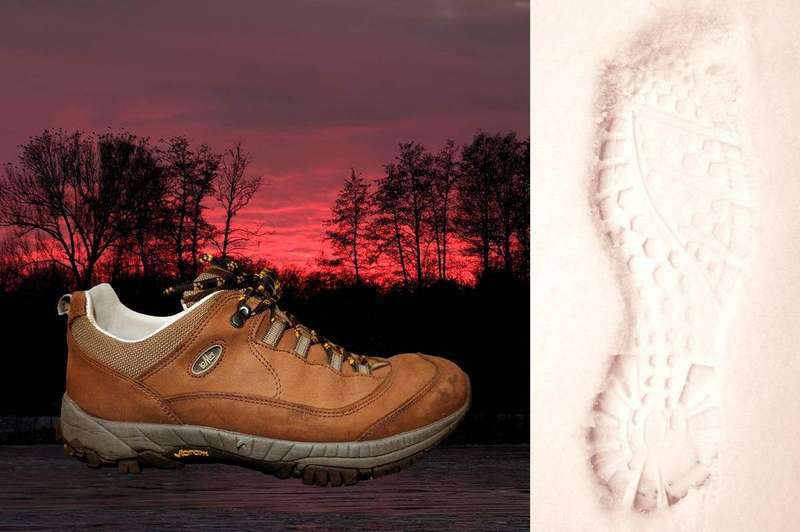
Broken-in boots show it: the fit molds to your stride over the first few outings. Photograph: Th. Voekler/Wikimedia Commons
Image Credits: Wikimedia Commons
Frequently asked questions
Should hiking boots feel tight or loose?
Neither. The target is snug everywhere and tight nowhere, with room to wiggle your toes and about a thumb's width ahead of your longest toe. Tight spots become blisters; loose boots let the foot slide and blister anyway.
How long does it take to break in hiking boots?
Lightweight day-hiking boots and hiking shoes may feel fine almost immediately. Stiffer backpacking boots typically need one to two weeks of short walks before a long hike. Gradual is the key word: increase distance slowly and treat hot spots early.
Do beginners need waterproof hiking boots?
Only if your trails are wet. Waterproof membranes keep rain and mud out but breathe less, so feet run hotter and sweatier. In dry climates, non-waterproof footwear is often more comfortable and dries faster after stream crossings.
Can I just hike in sneakers?
On smooth, dry, well-maintained trails, yes, and many beginners do. What sneakers lack is grip on loose or wet surfaces, protection from rocks, and support under a heavy pack. Upgrade when your hikes outgrow what your shoes can handle.
The bottom line
Buy for fit first, terrain second, and brand last. Shop late in the day in your hiking socks, check for a thumb's width at the toes, and break new boots in gradually on short walks. And if your hikes are short and easy, an honest pair of hiking shoes may be the better buy than boots you do not need.
Rive News is the research desk of this publication, covering what trusted guides and experienced practitioners say about everyday decisions.
Related stories
- Why is cramming ineffective for long-term learning?
- How to tell if brake pads need replacing before they fail
- eSIM vs iSIM: what is the difference?
- Why do I get cramps in my feet but not my legs?
Subscribe to the newsletter for one practical explainer like this every week.
Related stories
Why Is Altitude Sickness Worse for Some People?
Altitude sickness hits some people harder because of genetics, ascent speed, and prior history, not fitness level. Here is what raises risk
Why Do You Get Blisters When Hiking and How to Prevent Them
Friction plus moisture plus heat equals a blister. Learn why hiking breeds all three, and the boots, socks, and tape system that keeps
What Does Hiking Trail Difficulty Rating Actually Mean?
Hiking trail difficulty ratings work differently by system: the US Yosemite Decimal System and Europe's SAC scale from T1 to T6. Learn