
How to Change a Car Battery Yourself Safely
Key takeaways
- Disconnect the negative terminal first and reconnect it last, since that breaks the ground connection and prevents short circuits.
- Wear safety glasses and gloves, work outdoors or in a ventilated space, and keep sparks away from the battery.
- Never bin an old battery: hand it to a retailer take-back scheme or a hazardous waste site.
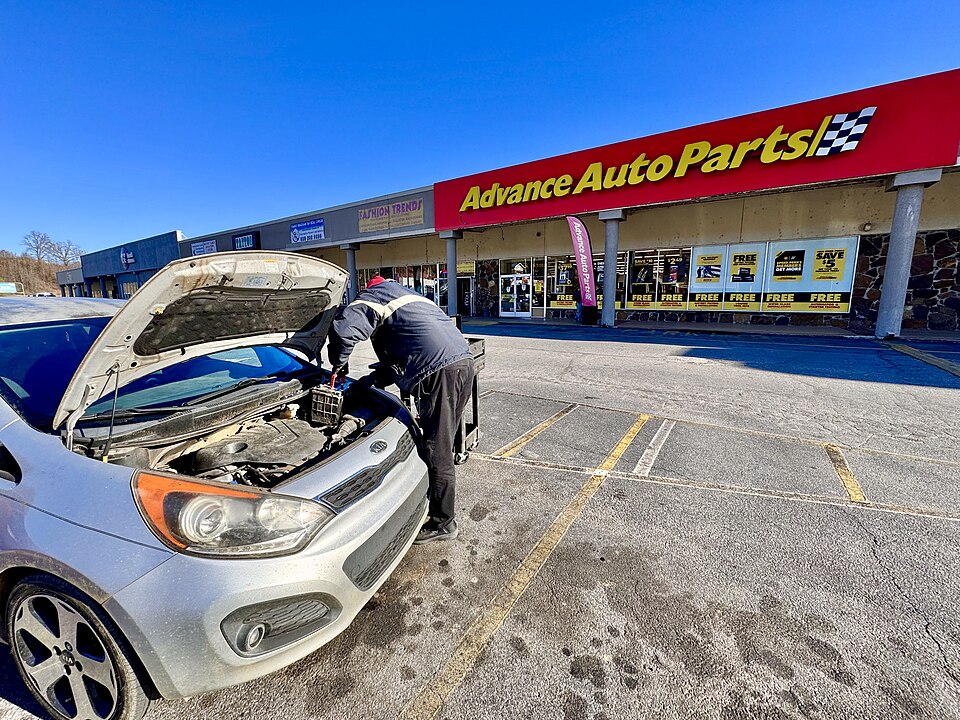
A car battery is a 12-volt box that starts the engine and powers the electrics when the engine is off. Swapping one is a job most drivers can do at home with a wrench, safety glasses, and half an hour. The work is simple, but the risks are real: the battery holds corrosive acid, can give off flammable gas, and can spark if a tool bridges the terminals.
The whole job turns on one rule: negative first off, positive first on. Remember that, and the rest is straightforward. Forget it, and a slipping wrench can short the battery against the car body.
This article explains how to change a car battery yourself safely, including the tools you need, the disconnect-and-refit sequence step by step, what to do if something goes wrong, and how to recycle the old battery.
Before you start
Park on flat ground, switch the engine off, remove the key, and engage the parking brake. Let the engine cool if you have just driven. Work outdoors or in a well-ventilated space, and keep sparks, flames, and cigarettes away from the battery.
Read your owner manual first. Battery location, hold-down hardware, and reset procedures vary by model. Most cars keep the battery in a corner of the engine bay, but some hide it in the boot or under the rear seat.
The manual also tells you whether your car needs a battery registration or a settings reset after a swap.
Check whether your stereo needs a code. On some cars, disconnecting the battery resets the stereo, and it asks for a permission code the next time it starts. Find the code before you disconnect, or you may be locked out of your own radio.
Gather the tools before you touch anything. You will need a wrench or socket set, safety glasses, and acid-resistant gloves. A terminal brush or wire brush helps clean corrosion.
Rags or paper towels handle spills. A multimeter is useful for a basic voltage check, and a memory saver can preserve settings on cars that are sensitive to power loss.
Wear the safety gear the whole time. Lead-acid batteries contain sulfuric acid that can burn skin and eyes. Safety glasses guard against splashes, and gloves guard your hands.
Working without them saves no time and risks a hospital visit.
Why terminal order matters
The car body is grounded, which means it is electrically connected to the negative terminal of the battery. If you disconnect the positive terminal first and your wrench touches a metal part of the car while still connected to the positive terminal, you create a short circuit. Current surges from the battery to the grounded surface, and you get sparks, heat, and possibly damage to the battery or the electrics.
Disconnecting the negative terminal first breaks the ground connection. After that, if your wrench touches the car body while you work on the positive terminal, there is no complete circuit, so no short occurs. That is the whole logic behind the rule.
The refit order is the mirror image. Connect the positive terminal first, then the negative. Connecting the negative last completes the circuit only when everything else is already in place.
A simple way to remember it: negative first off, positive first on.
Step 1: Locate the battery and identify the terminals
Open the bonnet or the access panel and find the battery. Identify the positive terminal, marked with a plus sign and usually covered by a red cap, and the negative terminal, marked with a minus sign and usually black. Find the hold-down bracket or strap that keeps the battery in place.
Check the battery for damage before you start. If the case is cracked, swollen, or leaking, stop and get help. A damaged battery needs professional handling, not a home swap.
Step 2: Disconnect the negative cable first
Loosen the nut on the negative terminal clamp with the correct size wrench. Terminal bolts are commonly 10 millimetres, though some cars use 13-millimetre or 7-millimetre bolts, and some use one of each. Use a wrench that fits snugly.
A loose wrench rounds the nut and turns a five-minute job into an hour.
Gently twist and pull the cable off the post once the clamp is loose. Tuck the cable away from the battery so it cannot spring back and touch metal. Do not let the loose cable rest against the battery posts or the car body.
Step 3: Disconnect the positive cable
Lift the plastic cover off the positive terminal if there is one. Loosen the nut, twist the clamp off the post, and tuck the cable out of the way. Keep the wrench away from any metal part of the car while you work.
With the negative cable already off, a touch should not short, but there is no reason to test it.
Step 4: Remove the hold-down and lift out the old battery
Remove the hold-down bracket or strap. It usually needs a socket wrench and an extension bar long enough to clear the battery and reach the bolt. Loosen it slowly and do not drop the bolt into the engine bay.
Lift the old battery out with care. Car batteries are heavier than they look, often 20 pounds or more, so lift with your legs, keep your back straight, and avoid twisting. Set the battery down on a flat surface where it cannot tip.
Keep it upright so acid cannot leak.
Step 5: Clean the tray and terminals
Inspect the battery tray for rust or debris and clean it out. Check the cable clamps and the tray for corrosion, which shows as white, green, or grey powdery deposits. Corrosion blocks a good electrical connection, and a loose or dirty terminal can overheat under high current.
Clean the clamps with a wire brush or terminal brush. A paste of baking soda and water helps dissolve corrosion. Rinse with water and dry the parts before fitting the new battery.
Keep the baking soda solution out of the battery cells.
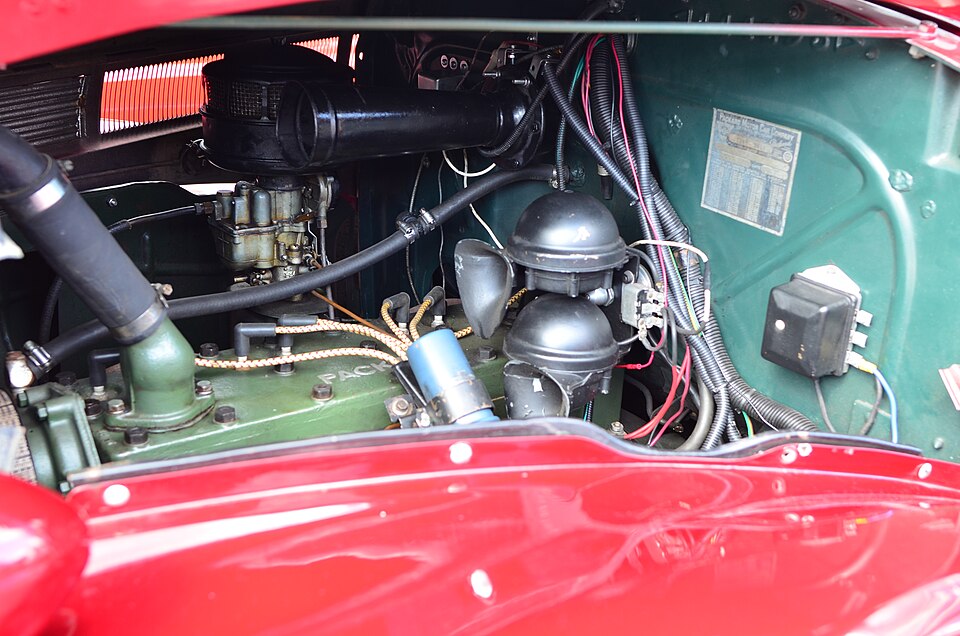
Step 6: Fit the new battery and secure it
Lower the new battery into the tray in the same orientation as the old one. Check that the positive and negative posts sit on the correct sides before you tighten anything. A battery fitted backwards is a costly mistake.
Refit the hold-down bracket or strap and tighten it so the battery cannot move. The hold-down matters: a loose battery vibrates, and vibration damages the terminals, the battery, and nearby parts. Do not skip it.
Step 7: Reconnect the positive cable first
Connect the positive cable to the positive post and tighten the clamp. The connection should be snug: you should not be able to move the terminal end by hand. Do not over-tighten.
Over-tightening can crack the terminal or strip the threads.
Many new batteries come with anti-corrosion washers and grease. A thin layer of grease over the terminal helps keep corrosion away. Go easy on it, but cover the full surface.
Step 8: Reconnect the negative cable last
Connect the negative cable to the negative post and tighten it the same way. Double-check both clamps. Both should be tight, clean, and seated fully on the posts.
Check that no tools are left in the engine bay.
Step 9: Start the car and check
Close the bonnet and start the engine. It should crank normally, and no charging-system warning should stay on. Test the lights, windows, and infotainment.
Some cars need a short drive for the alternator to charge the new battery, and some need settings reset or battery registration, so follow the owner manual.
If the car cranks weakly or will not start, check the simplest causes first: clamps not fully tightened, or corrosion left on the contact surfaces. Clean and tighten, then try again.
If the battery warning light stays on, the problem may be the charging system rather than the battery. A new battery cannot fix a car that is not charging properly. A failing alternator or damaged wiring needs a garage.
Safety and first aid
If sulfuric acid touches your skin, flush the area with plenty of water for at least 15 minutes. If acid gets in your eyes, flush with water for at least 20 minutes and seek medical attention. Do not rub the affected area.
If you smell a strong odour, see leaking electrolyte, or notice swelling, stop work and increase ventilation. Hydrogen gas can build up in a poorly ventilated space, and it is flammable. Move the work outdoors if you can.
What to do with the old battery
Do not throw an old car battery in the bin. Lead-acid batteries contain lead and acid, and they are hazardous waste. In the United States, spent lead-acid batteries can be managed under the Universal Waste rule in 40 CFR Part 273, and retailer take-back programmes are common.
Most auto parts stores and battery retailers accept old batteries for recycling, often with a small credit or discount on the new battery.
Frequently asked questions
Which terminal do I disconnect first?
Disconnect the negative terminal first, then the positive. This breaks the ground connection and prevents a short circuit if your wrench touches the car body.
Which terminal do I connect first on the new battery?
Connect the positive terminal first, then the negative. The negative goes on last and completes the circuit.
What size wrench do I need?
Most cars use a 10-millimetre bolt, but some use 13-millimetre or 7-millimetre bolts, and some mix sizes. Check the owner manual or test a few sizes until you find a snug fit.
Do I really need safety glasses and gloves?
Yes. Lead-acid batteries contain sulfuric acid that can burn skin and eyes, and charging can produce flammable hydrogen gas. Eye and hand protection are strongly recommended.
Why does my stereo ask for a code after a battery change?
Disconnecting the battery can reset the stereo on some cars, and it then asks for a permission code. Find the code in your owner manual or from the dealer before you disconnect.
How tight should the terminals be?
Snug, but not forced. You should not be able to move the clamp by hand, but over-tightening can crack the terminal or strip the threads.
The bottom line
A battery swap is a short job with one rule at its centre: negative first off, positive first on. Work in a ventilated space, wear glasses and gloves, clean the terminals, secure the battery, and recycle the old one. If anything looks damaged or your car needs registration, let a garage finish the job.
Tags: car battery, car maintenance, DIY, safety
Latest in Auto
- Why the car battery warning light comes on
- What the check engine light means
- How to make your tyres last longer
- How to tell if your brakes need replacing
Subscribe for one practical car care tip each week, no spam.
Related stories

Why Does Tire Pressure Drop in Cold Weather?
Cold weather can cut tire pressure by 1 psi for every 10°F drop, thanks to the ideal gas law. Here is what happens inside the tire and what
Why Do Brake Rotors Warp, or Do They Actually?
Mechanics rarely see a truly warped rotor. The shudder usually comes from uneven pad deposits a few thousandths of an inch thick. Here

How to Buy a Used Car Without Getting Scammed: The Checklist
Over 450,000 cars a year have rolled-back odometers, NHTSA says. This checklist covers VIN checks, title washing, and the inspection that