
How to Prune a Fruit Tree for Beginners
Key takeaways
- Pruning shapes a fruit tree, lets light and air into the canopy, and keeps fruiting wood productive.
- Start with three cuts: dead or damaged wood, suckers and water sprouts, then crossing branches.
- Never remove more than one-third of a tree in one year, and always cut just outside the branch collar.
Pruning a fruit tree means cutting away selected branches so the tree grows into a strong shape, stays healthy, and produces good fruit. Some cuts remove wood that is dead or diseased.
Others open the canopy so sunlight and air reach the fruit. A few cuts train young branches to grow at angles that can hold a heavy crop.
Beginners often fear making the wrong cut. The good news is that a small set of rules covers most of what a home orchard needs.
This article explains what pruning does for a fruit tree, when to prune, the first three cuts to make, the two basic cuts every beginner needs, and the mistakes to avoid.
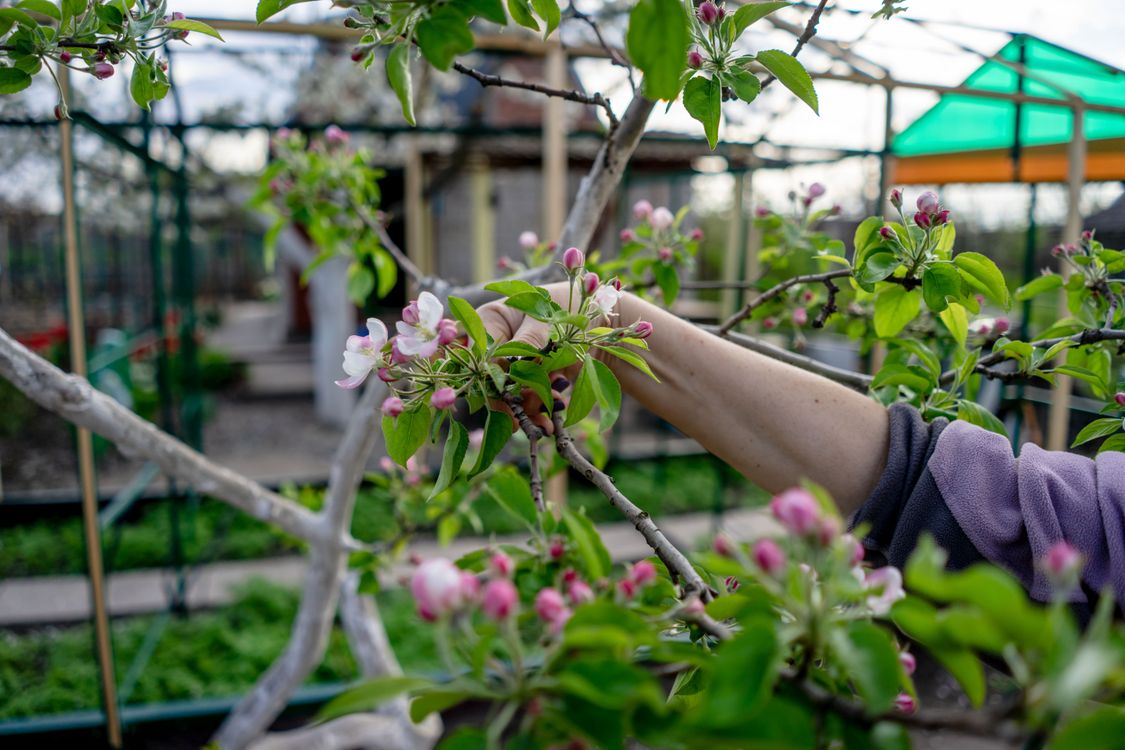
What pruning does for a fruit tree
Pruning balances a tree between structure and fruit. A tree left alone grows dense branches that shade each other, so shaded fruit colors poorly and ripens unevenly. Dense canopies also dry slowly after rain, which invites disease.
Cornell University's fruit-growing guide puts it plainly: pruning shapes the tree, prevents disease, and encourages productive fruiting wood, which is 2 to 3 years old. Fruit does not form on every branch. It forms on short fruiting spurs and on wood of the right age, and pruning protects that wood.
Pruning also keeps the tree at a size you can manage. A tree that grows too tall becomes hard to harvest. Annual pruning keeps the height in check and the fruit within reach, and it builds strength in the framework.
When to prune
Most fruit tree pruning happens in late winter or early spring, while the tree is dormant. Cornell's guide gives two reasons: few airborne pathogens are active, and the branch structure is easy to see without leaves in the way.
Dormant pruning invigorates the tree. When you remove branches in winter, the tree has fewer growing points in spring, so it responds with vigorous new growth. That response helps shape a young tree, though it can also produce water sprouts to thin out later.
Summer pruning works differently. It slows growth, because removing leaves removes the tree's food factory. It can correct the vigorous regrowth that follows heavy dormant pruning, but avoid pruning in late summer and early fall, when cuts can increase the risk of winter injury.
For a beginner, the rule is simple. Do the main pruning in late winter or early spring, and use summer only for small corrections such as snapping out water sprouts and suckers.
The first three cuts
A fixed sequence removes the guesswork about where to start. Work through these three cuts in order, and step back to look at the tree after each one.
Cut one: dead, diseased, and damaged wood. Stand back and look at the whole tree first. Remove any branch that is dead, diseased, or damaged, cutting back to healthy wood.
Cornell's guide stresses cleaning tools with rubbing alcohol or another disinfectant after cutting diseased branches, and after finishing each tree.
Cut two: suckers and water sprouts. Suckers are thin shoots that grow from the base of the trunk or from the roots. Water sprouts are vigorous upright shoots that grow from upper branches.
Neither type carries much fruit. Both steal energy and shade the canopy. Cut them off at their base.
Cut three: crossing and inward-growing branches. Crossed branches rub against each other, and the wounds let disease in. Cornell advises removing one branch of each crossing pair.
Also remove branches that grow toward the center of the tree, since they block light and air.
Many beginners finish after these three cuts and find the tree already looks open and balanced. The sequence gives you a clear stopping place, and you can return next year for finer work.
The two cuts every beginner needs
Almost every pruning cut is one of two types. Learn these two, and you can handle most of a home orchard.
The thinning cut removes an entire branch at its point of origin. Cut just outside the branch collar, the raised ring of tissue where the branch meets the trunk or a larger limb.
For a large branch, use a three-step cut so the falling limb does not strip bark from the trunk. First, saw upward from the underside a few inches out from the final cut.
Next, saw down from the top a little farther out to drop the weight. Then cut the remaining stump at the collar.
The heading cut shortens a branch instead of removing it. Cut about one-quarter inch beyond an outward-facing bud, at a 45-degree angle sloping away from the bud.
Heading cuts stimulate branching near the cut. The University of Georgia notes that heading one-year-old wood stimulates branching within 12 to 15 inches of the cut.
Cornell recommends favoring thinning cuts over heading cuts, because heading cuts can trigger unwanted bushy growth. Use heading cuts mainly to train young trees and to shorten branches that have grown too long. Use thinning cuts for everything else.
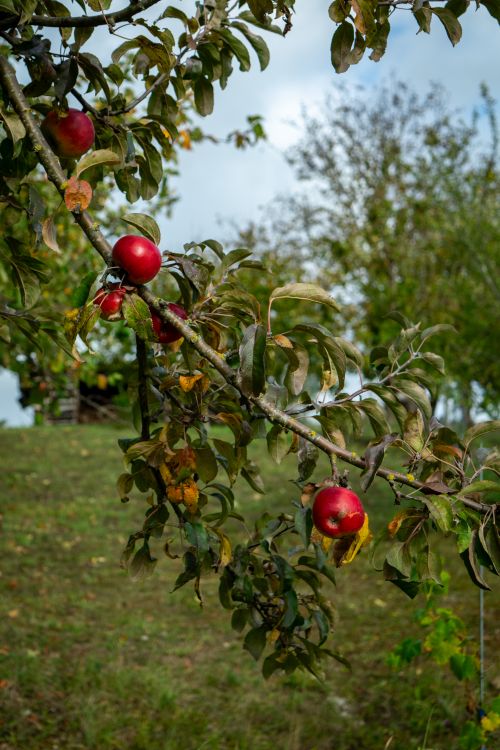
The one-third rule and other limits
The most important limit in pruning is how much wood you remove. Cornell's rule is clear: never remove more than one-third of a tree in a single year. Removing more pushes the tree into heavy leafy growth at the expense of fruit.
Some guides are stricter. Gardening Australia advises taking off no more than 20 percent when pruning apples and other fruit trees.
When in doubt, stop early. You can always prune again next year, but you cannot glue a branch back on.
Branch angles matter as much as branch count. The University of Georgia states that a crotch angle of 45 to 60 degrees has the greatest strength. Narrow angles are weak, because bark gets trapped between the branch and the trunk.
They break more easily under a fruit load. When you choose branches to keep on a young tree, favor wide angles.
Young trees need one more decision: their shape. Two common systems are the central leader, which keeps one dominant upright trunk, and the open center, which forms a vase shape with no central trunk. Either system works, as long as each branch has room for air and light.
Tools and clean cuts
You need only three tools for most home fruit trees. Hand pruners handle branches up to about finger thickness. Loppers handle medium branches, and a sharp pruning saw handles the largest limbs.
Leave big-tree work that needs a chainsaw or a tall ladder to an experienced pruner.
Keep every tool sharp and clean. A sharp blade makes a clean wound that heals fast. A dull blade crushes tissue and leaves a ragged edge.
Disinfect tools between trees, and after each cut through diseased wood. The University of Georgia gives two simple mixes: one part alcohol to four parts water, or one part bleach to nine parts water.
Cut placement matters as much as tool choice. Never leave a stub, since stubs heal slowly and invite decay. Never cut flush against the trunk, since that removes the collar.
The correct cut sits just outside the collar. No wound dressing is needed.
Mistakes beginners make
Pruning too much at once. The one-third rule exists because heavy pruning triggers a storm of water sprouts. The tree tries to replace lost leaves fast, and fruit suffers.
Spread major reshaping over two or three years.
Cutting the collar or leaving a stub. Both slow healing. A stub rots back into the tree.
A flush cut removes the collar's sealing cells. Take a second look before each large cut, and aim just outside the raised ring.
Removing fruiting spurs. Spurs are short, stubby shoots that carry fruit. Learn to spot them before you prune, so you can see where fruit will set before you cut.
Skipping tool cleaning. Moving from a diseased branch to a healthy tree without disinfecting spreads pathogens.
Pruning at the wrong time for the species. Stone fruits such as cherries and plums are often pruned in summer in wet climates to reduce disease risk, while apples and pears take dormant pruning well. Check the guidance for your species before you start, and keep a simple garden care routine that notes what you pruned and when.
Caring for the tree after pruning
Gather up the prunings and remove them from under the tree. Diseased prunings should go in the trash or be burned where local rules allow, not into the compost pile. Cornell suggests putting a few healthy prunings in a vase indoors, where the flowers open weeks before the trees outside.
Water and feed as usual. A pruned tree does not need special fertilizer. Watch for new growth in spring, and rub out any water sprouts that appear in the first few months.
Keep a short record of each session: the date, the tree, what you removed, and what you plan to do next year. A notebook entry beats memory. A simple compost habit pairs well with pruning, since prunings and kitchen scraps both feed the soil cycle.
How often should I prune a fruit tree?
Prune every year. Cornell notes that mature trees left unpruned can become unproductive. A short annual session beats a major rescue job every five years.
What should I do with a badly neglected tree?
Remove only the dead, diseased, and damaged wood in the first year, plus one large problem branch if it clearly needs to go. Then stop. Spread the rest of the reshaping over two or three years so the tree is never cut by more than one-third at once.
When is a fruit tree too big to prune myself?
When the work needs a chainsaw, a tall ladder, or cuts near power lines, call a trained arborist. Home tools and a stable step ladder cover most small garden trees.
The bottom line
Pruning a fruit tree for beginners comes down to a short sequence. Remove dead, diseased, and damaged wood first. Clear suckers and water sprouts.
Take out crossing and inward-growing branches. Use thinning cuts at the collar and heading cuts above outward-facing buds. Stay under one-third of the tree, and stop when the canopy looks open.
A tree pruned this way stays healthy, and its fruit gets the light and air it needs to ripen well. Start with one tree, follow the sequence, and let the habit build from there.
Tags: fruit trees, pruning, gardening basics, orchard care
Latest in Gardening
- How to Keep Slugs Off Vegetables Without Chemicals
- Why Leaves on Plants Turn Yellow
- How to Grow Herbs on a Kitchen Windowsill
Subscribe for one practical gardening guide each week, straight to your inbox.
Related stories
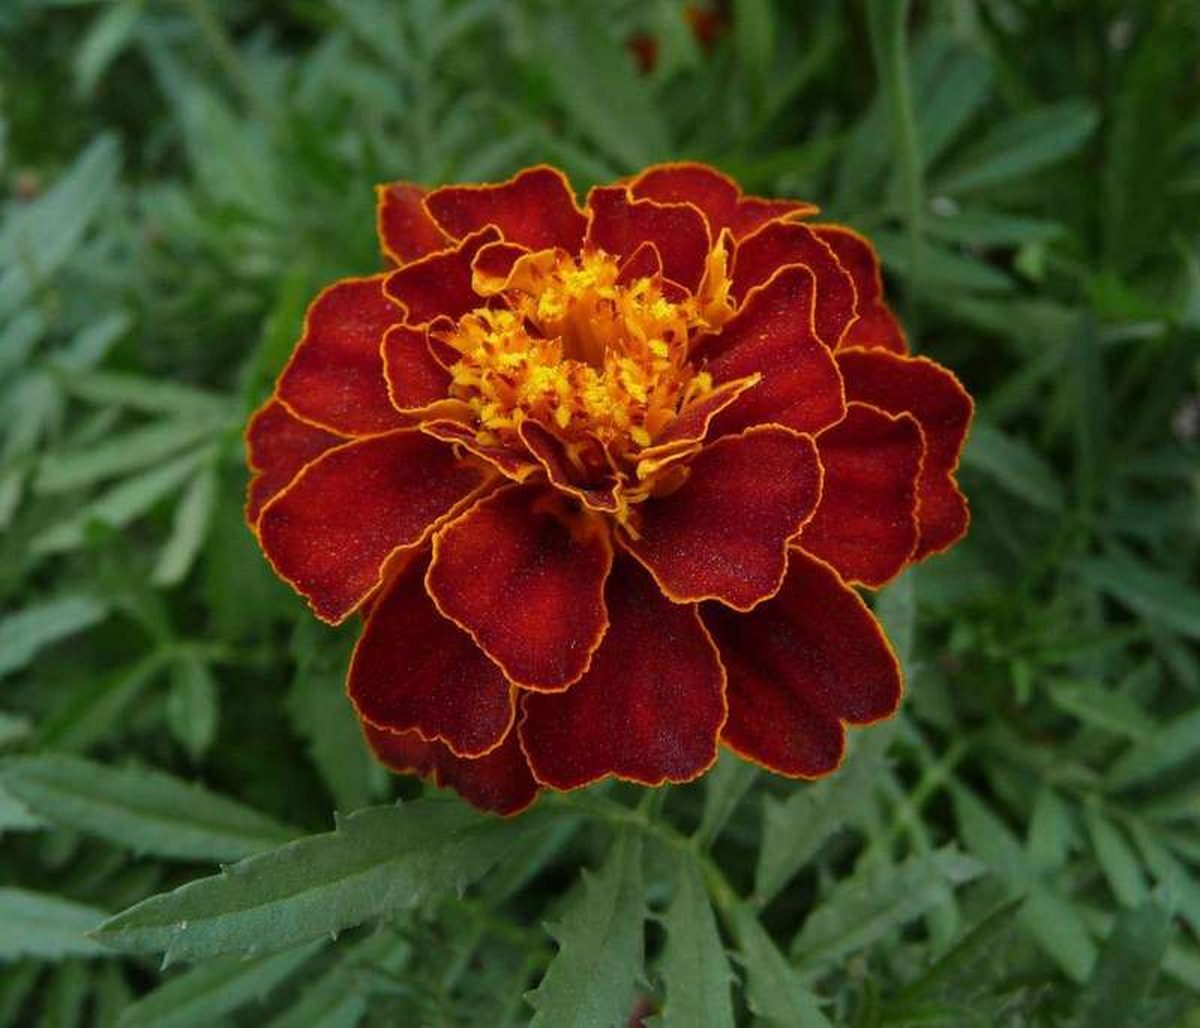
What Is Companion Planting and Does It Work?
Marigolds work as a nematode cover crop, but the basil flavor claim failed repeated tests. An honest evidence review of what companion
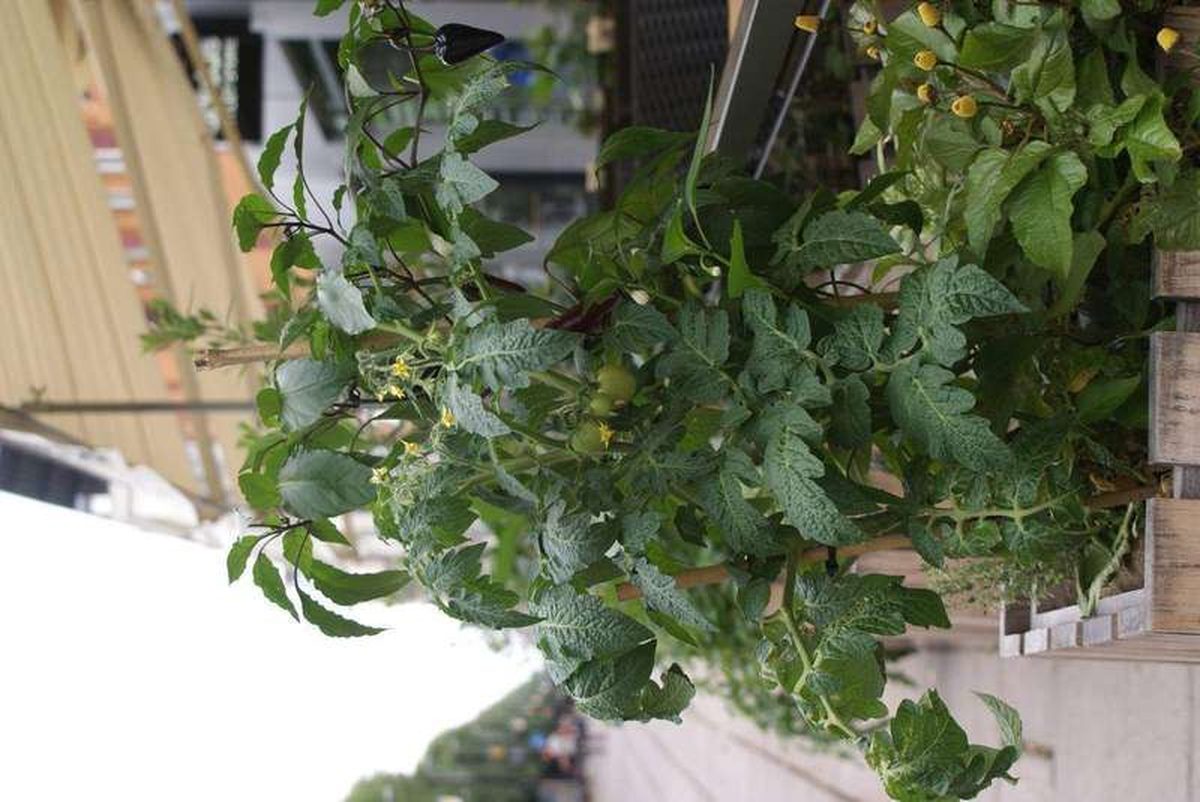
Determinate vs. indeterminate tomatoes: growth, pruning, and harvest differences
Determinate tomatoes grow to a set size and ripen all at once, while indeterminate types vine all season. That one difference shapes
How to improve clay soil for gardening
Gypsum will not fix ordinary clay soil, say extension experts. What actually works: 2 to 3 inches of compost, mulch, better drainage,