
How to Fill Cracks in Plaster Walls Before Painting
Key takeaways
- Widen hairline cracks into a shallow V groove so filler can grip and bond instead of sitting on the surface.
- Apply filler in thin layers, letting each one dry fully, and feather the edges outward to blend with the wall.
- Sand smooth, prime the repair, and then paint, because bare filler absorbs paint differently and shows as a patch.
Paint hides a hairline crack for a while. It rarely hides it for long. Latex paint can cover small plaster cracks for a few hours or a few months, then the crack shows through again, because the paint bridged the gap instead of fixing it.
The lasting fix is slower but simple: open the crack a little, fill it properly, feather the edges, sand, prime, and paint.
This article explains how to fill cracks in plaster walls before painting, including the widen-and-feather method, the tools you need, and the mistakes that make repairs fail.
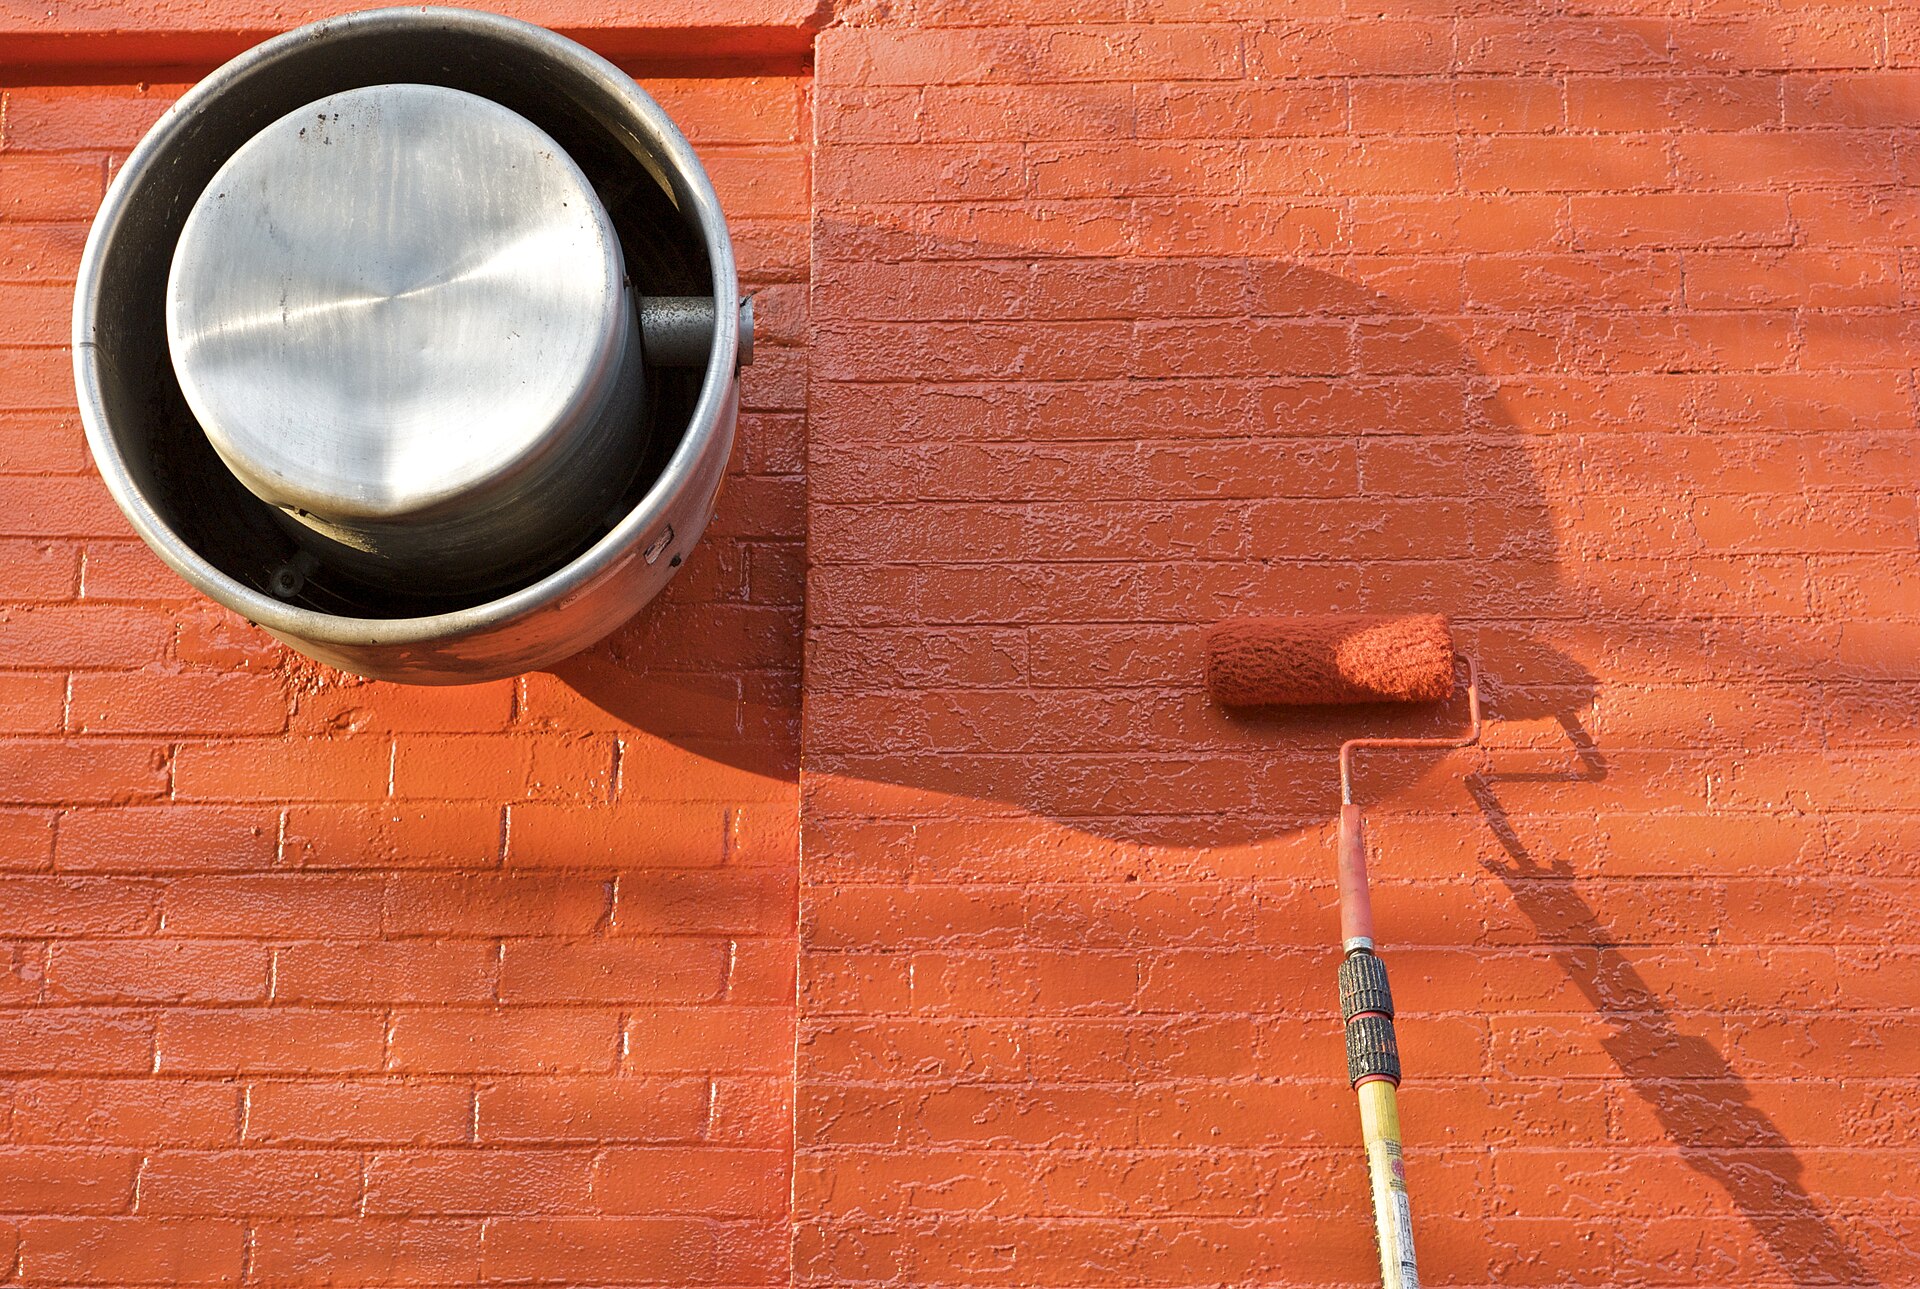
Why cracks keep coming back
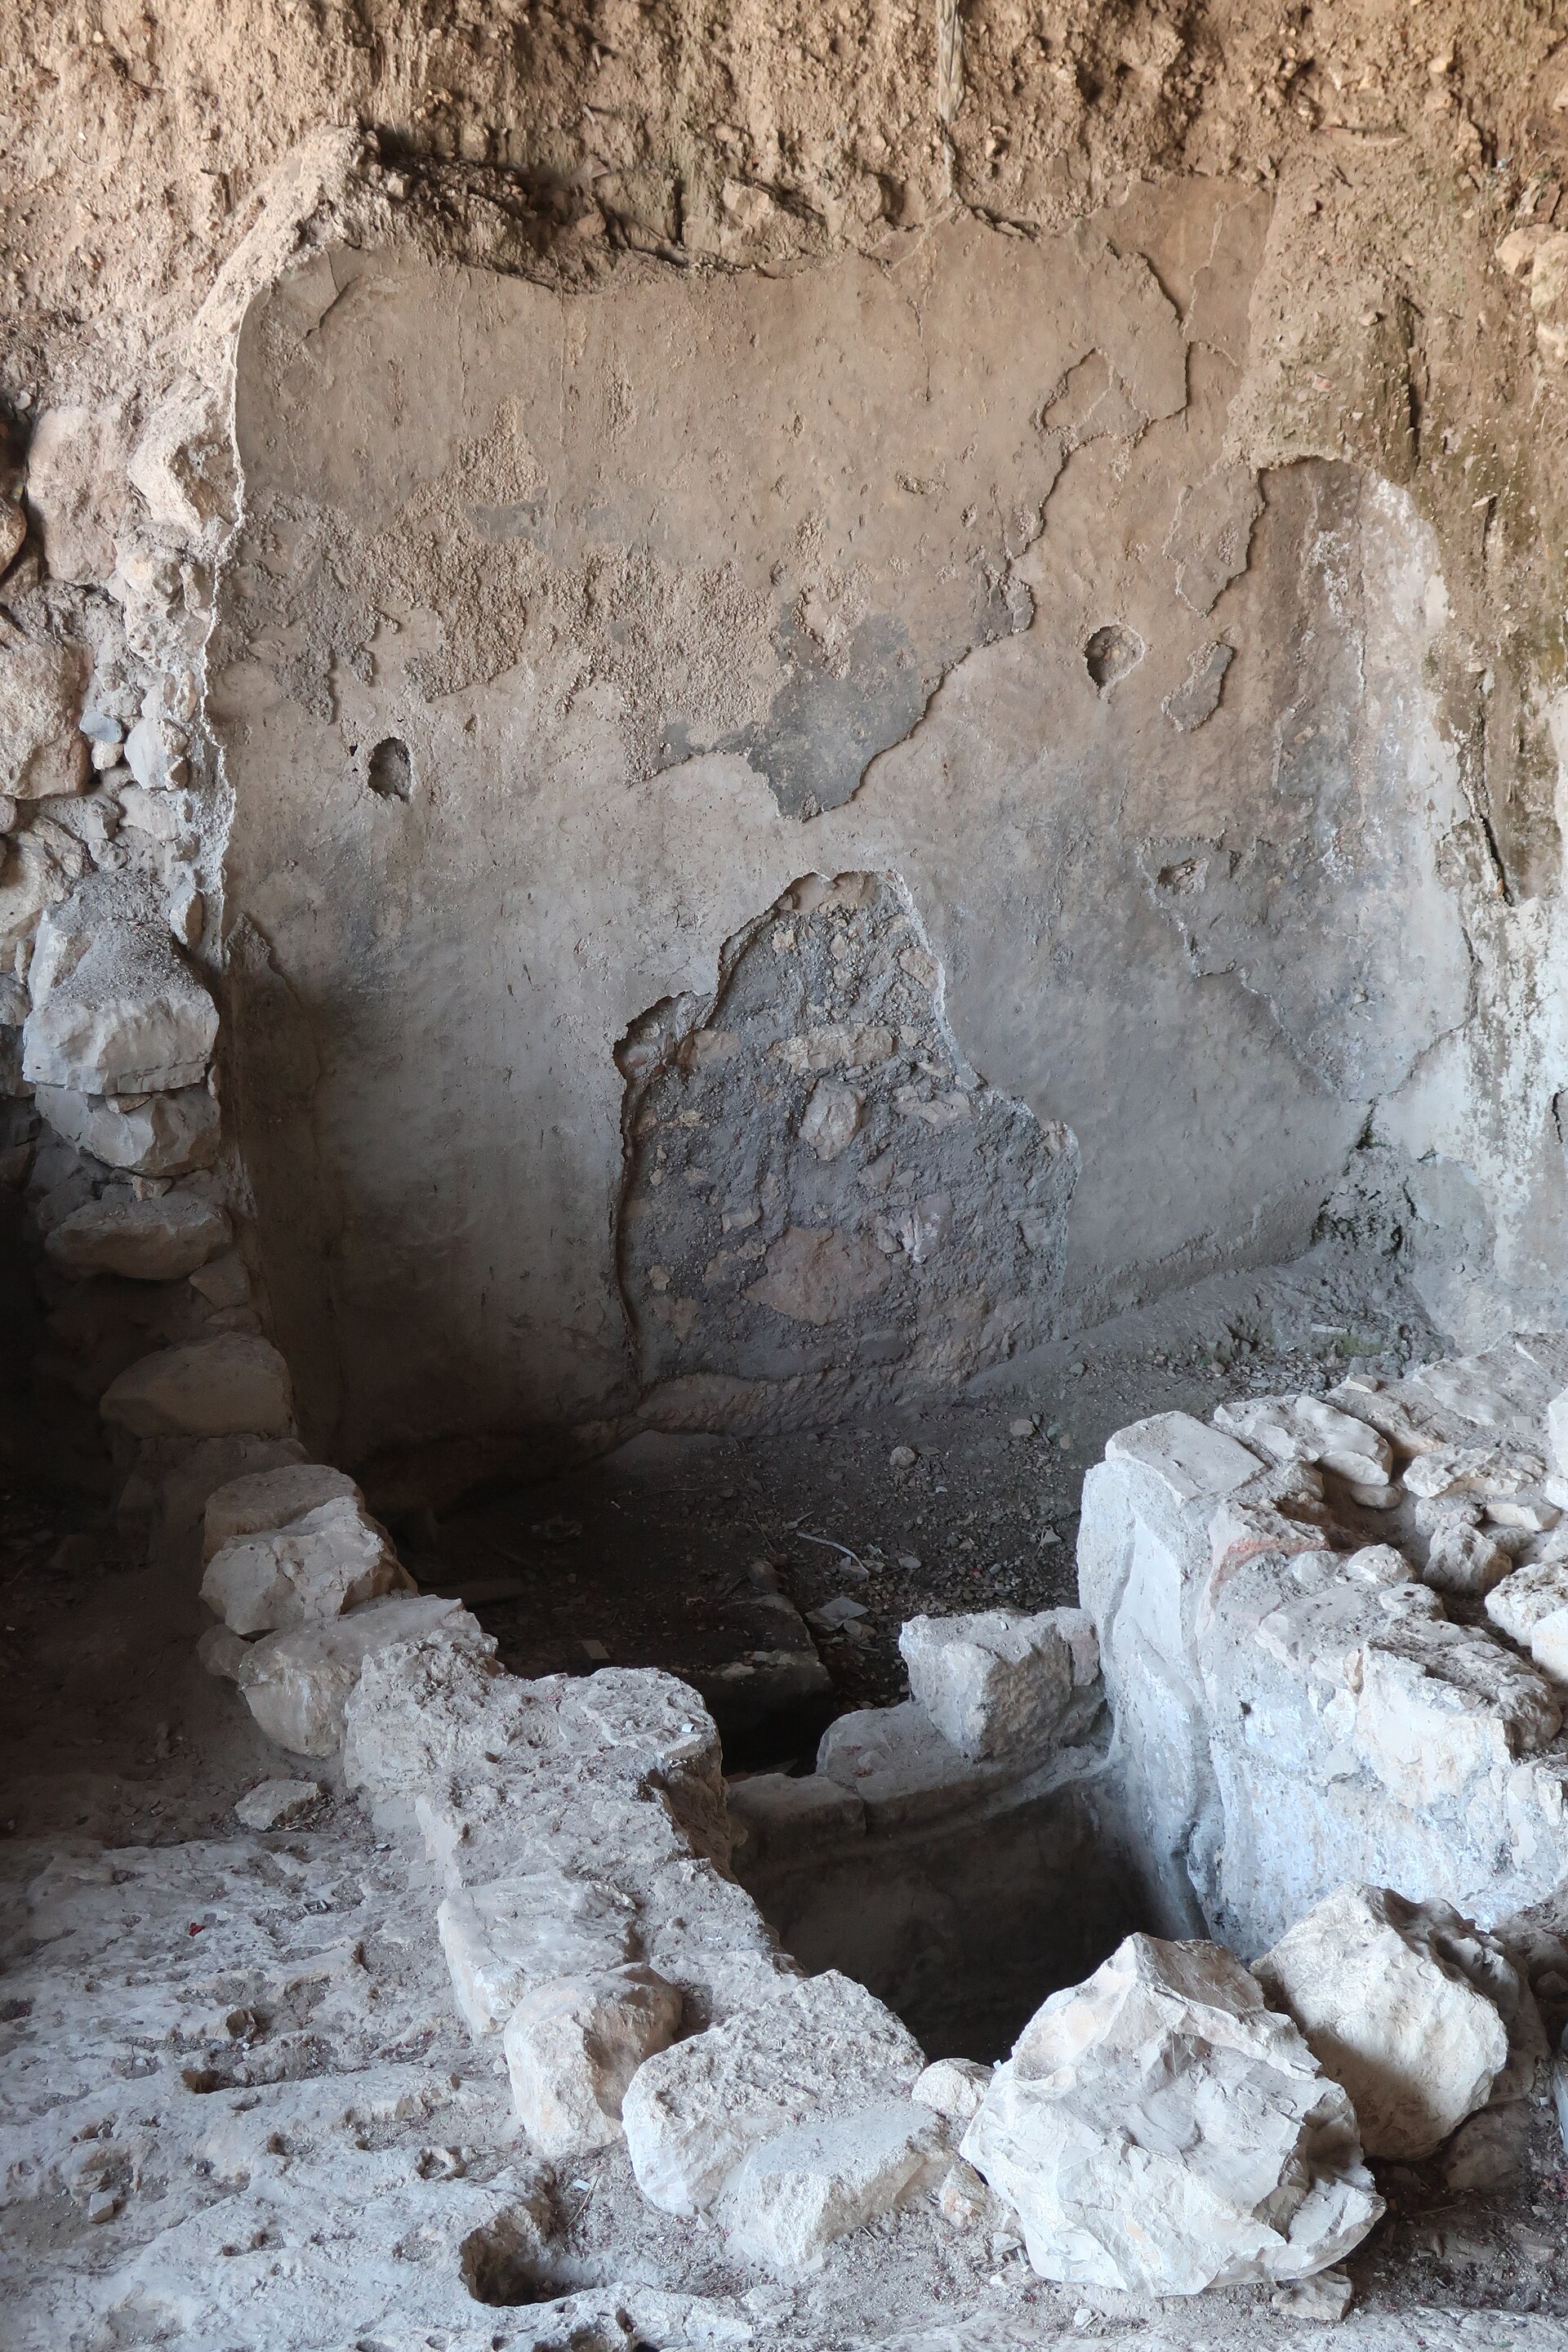
Plaster cracks for ordinary reasons. Houses settle, timber framing moves with the seasons, doors slam, and temperature and humidity swing through the year. Older homes with lath-and-plaster walls are especially prone, because the plaster is rigid and the structure behind it keeps moving.
A thin smear of filler over a hairline crack fails because it has nothing to hold onto. The filler sits on the surface like a skin, and the next small movement breaks it open again. Widening the crack sounds like making things worse, but it gives the filler a shaped channel to grip.
HowStuffWorks puts it plainly: it is easier to fix big cracks in plaster than small ones.
Some cracks are not DIY jobs. If a crack is wider than 1/4 inch, or if the wall bulges, sags, or feels loose around the crack, get a professional assessment before filling anything. Persistent cracks that reopen after a proper repair can point to structural movement or moisture problems that filler will never fix.
Tools and materials you need
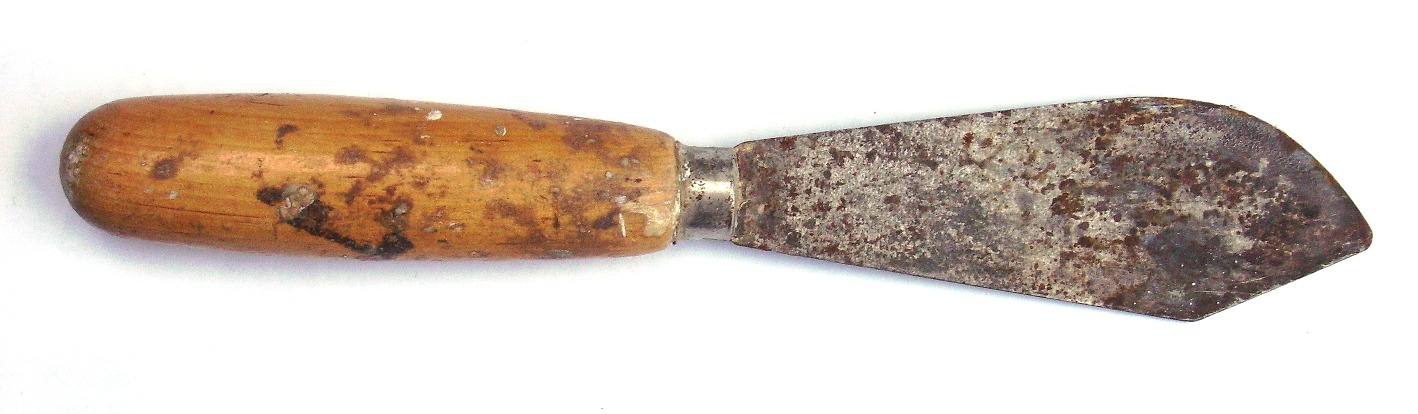
Gather everything before you start, because filler dries fast once mixed. You need a utility knife or crack opener, a stiff putty knife and a wider joint knife, a vacuum or brush, fine-grit sandpaper, a sanding block, filler or plaster repair compound, primer, matching paint, a dust mask, safety goggles, and gloves.
Choose the filler to match the job. Plaster of Paris sets hard and does not shrink as it dries, which suits deep cracks, but it sets fast and leaves little working time. Premixed plaster repair compound is slower and friendlier for beginners.
For wide cracks, self-adhesive mesh or fiberglass tape adds strength and stops the repair from reopening. For hairline cracks, filler alone is enough.
Drying times vary by product and depth. A repair methodology published by Welwyn Hatfield Council gives 2 to 24 hours depending on depth and product, and HowStuffWorks advises letting a filled crack dry at least 24 hours before sanding. In cold or damp rooms, allow the maximum time on the tub: filler can feel firm on the surface while it is still soft inside, and paint over that trapped moisture will bubble or crack.
Step 1: Inspect the crack
Look at the crack in raking light, holding a lamp close to the wall so shadows reveal the full path. Check whether it is a single thin line, a branching network, or a wide gap. Press gently around it with your fingertips.
Sound plaster feels solid. A hollow sound or a patch that flexes can mean loose plaster that needs stabilizing rather than patching.
Check for moisture before you fill anything. Staining, flaking paint, a musty smell, or a wall that feels cold and damp all suggest a leak or condensation problem. Fix the moisture source first and let the wall dry fully.
This inspect-first habit pays off in other home jobs, such as our guide to removing stripped screws without special tools.
Step 2: Widen the crack into a V groove
This is the step most people skip, and it is the one that decides whether the repair lasts. Using a utility knife or crack opener, cut along the crack to open it into a shallow V-shaped groove. Angle the blade so the groove is wider at the surface and narrower at the bottom, which gives the filler a wedge to lock into.
Work along the full length of the crack, not just the widest part. Hairline sections need the same treatment, because an unopened hairline section is where the crack will reopen first.
Brush or vacuum out every trace of dust and loose plaster when the groove is cut. Dust is the enemy of adhesion, and a dusty groove gives the filler a weak bond. Wipe the groove with a damp cloth if the plaster is very dusty, then let it dry before filling.
Step 3: Fill in thin layers
Dampen the groove lightly with a brush dipped in water before filling, especially if you are using plaster of Paris. Dry plaster sucks moisture out of fresh filler, which weakens the bond. A damp groove lets the filler cure evenly.
Press the filler into the groove with a putty knife, working it in from different angles so it reaches the full depth. Slightly overfill the crack, because filler shrinks a little as it dries and you will sand the excess back later. Smooth the surface roughly flush with the wall, but do not obsess over the finish at this stage.
The sanding step will handle it.
For deep or wide cracks, build the repair in layers. Apply one thin layer, let it dry fully, then apply the next. Multiple thin layers beat one thick layer every time: thick filler can slump, crack as it cures, and trap soft material in the middle.
For cracks wider than a few millimetres, press mesh tape over the first layer, then cover the tape with a thin layer of filler and smooth it flat.
Step 4: Feather the edges
Feathering is the technique that makes a repair invisible. It means tapering the filler so it thins out gradually toward the edges, blending into the surrounding wall instead of stopping at a sharp line. A repair with a hard edge will show through paint as a ridge, no matter how smooth it feels.
Use a wider joint knife for the feathering pass, and make each layer slightly wider than the last. Apply a little more pressure as the knife moves toward the edge of the patch, so the filler thins out to nothing. The goal is a shallow, smooth ramp from the repair to the untouched wall, not a step.
This is also where patience pays. Wait a full 24 hours between layers of joint compound if you are building up a repair, as wikiHow advises, and let the final layer dry fully before sanding.
Step 5: Sand smooth
Start sanding with 120-grit sandpaper on a sanding block, working in even circular motions to knock down ridges and high spots. Follow with 220-grit paper for a smooth finish, unless the surrounding plaster has a slightly bumpy texture. In that case, stop at the coarser grit so the repair does not look unnaturally smooth against the old wall.
Use a block or a pole sander, not loose folded paper, so pressure stays even.
Vacuum the wall gently or wipe it with a microfiber cloth after sanding. Rolling paint over sanding dust causes tiny craters and poor coverage. If the sanded patch still shows dips or pinholes, apply one more thin skim of filler, let it dry, and sand again.
Two thin passes beat one heavy one.
Step 6: Prime before painting
Priming is the step that stops the repair from flashing through the topcoat. Bare filler absorbs paint differently from the surrounding wall, so paint applied directly over a repair dries to a different sheen and shows as a patch. Primer seals the filler, evens out absorption, and gives the paint a uniform surface to grip.
Brush one or two coats of a general-purpose primer over the repaired area, extending slightly beyond the patch. Let the primer dry fully, following the product label. HowStuffWorks recommends priming with a thinned coat of paint or primer before the final coat, and painting the entire wall once the primer is dry.
When the primer is dry, paint the wall with matching paint, feathering the paint edges just as you feathered the filler. Two coats usually give the best match. If the repaired wall will carry weight, read our guide to mounting a TV on a plasterboard wall safely.
Mistakes that ruin the repair
Painting over a repair before the filler is fully dry is the top mistake. The surface feels firm long before the inside has cured, and paint traps the remaining moisture.
Skipping primer is the second mistake. The repair looks perfect under primer-free paint for a week, then the patch shows as a dull rectangle in angled light. Primer costs little and takes minutes, and it is the difference between a repair you can see and one you cannot.
Filling a crack that is still moving is the third mistake. Seasonal cracks that open in winter and close in summer need a flexible filler or a decision to wait for stable weather, not a rigid plaster fill that will split at the next swing. And filling over damp plaster, loose plaster, or dust guarantees a repair that fails early.
Damp walls cause other problems too, covered in our guide to getting rid of mould on window frames safely.
Should I use plaster of Paris or premixed filler?
Plaster of Paris sets hard and does not shrink, which suits deep cracks, but it sets fast. Premixed compound is slower and easier for beginners. Either works if you apply it in thin layers.
How wide a crack can I fill myself?
Hairline cracks and cracks up to about 1/4 inch are DIY territory. Wider cracks, bulging walls, or cracks that keep reopening need a professional assessment first.
Why did my filler crack after drying?
The usual causes are a groove that was never widened, a single thick layer instead of thin layers, or painting before the filler cured fully. Cold or damp rooms make all three worse.
Do I really need to prime the repair?
Yes. Bare filler absorbs paint differently from the surrounding wall, so unprimed repairs show as dull patches. One or two coats of primer fix that.
The bottom line
Open the crack into a V groove, clean out the dust, press filler in thin layers, feather the edges wide, sand smooth, prime, and then paint. The widen-and-feather method takes longer than a quick smear of filler, but it is the reason a repair lasts years instead of weeks.
Tags: plaster repair, painting, DIY, wall cracks
Latest in Home
- How to Replace a Tap Washer and Stop a Dripping Tap
- How to Remove Stripped Screws Without Special Tools
- How to Unblock a Kitchen Sink With a Plunger
- How to Get Rid of Mould on Window Frames Safely
Subscribe for one practical home repair guide each week.
Related stories
Why Your Faucet Keeps Dripping After You Turn It Off
A dripping faucet is usually a worn washer, O-ring, or cartridge that can no longer seal. One drip per second wastes over 3,000 gallons
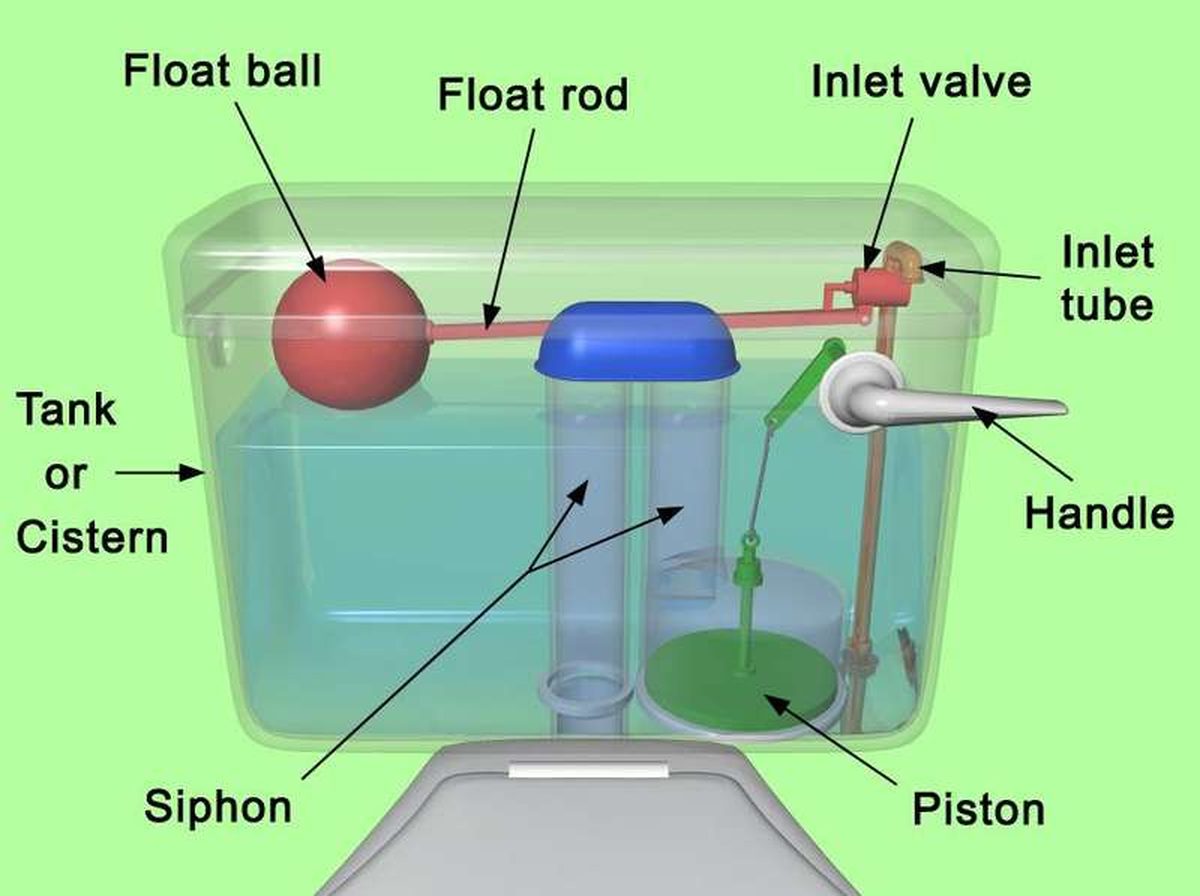
How to fix a running toilet without a plumber in 30 minutes
A running toilet can waste 200 gallons of water a day. Diagnose the flapper, float, or fill valve in two minutes, then fix it yourself
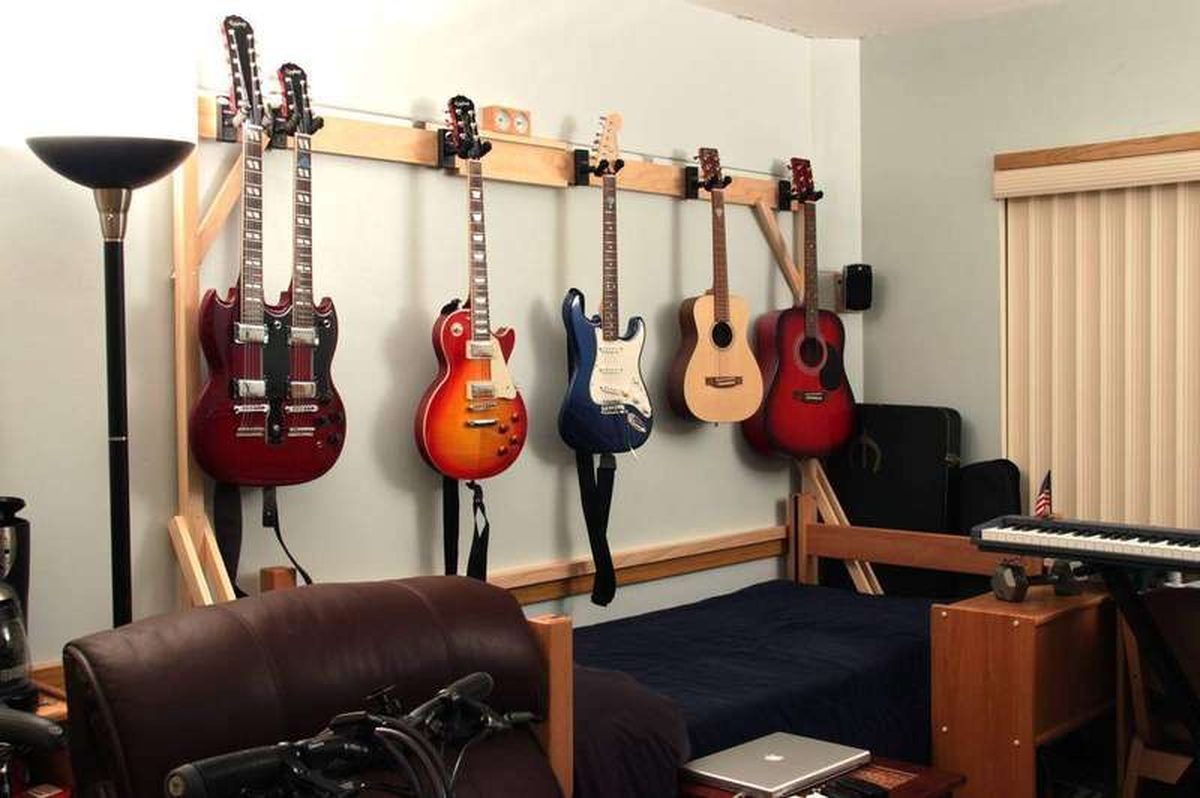
How to hang heavy shelves on drywall safely
Studs first, toggle bolts second, plastic anchors never for heavy loads. Weight ratings, installation steps, and mistakes that bring