
How to Find a Wall Stud Without a Stud Finder
Key takeaways
- Knock, measure, and verify with a second method before you drill any hole.
- Most studs sit 16 or 24 inches apart, measured from center to center.
- Outlets, trim, and magnets each give a separate clue to the same stud.

A wall stud is a vertical board inside your wall that carries weight and holds the wall surface in place. Studs usually run from floor to ceiling in a regular row.
Drywall alone cannot hold a heavy shelf, a mirror, or a television for long. A screw driven into a stud grips solid wood, so the load spreads into the frame of the house.
This article explains how to find a wall stud without a stud finder, including knock tests, magnets, outlet clues, trim clues, measuring from corners, and the thin nail check. It also covers spacing patterns, plaster and metal stud walls, and the false positives that fool people.
What a stud is and why it matters
Studs form the skeleton of a framed wall. In most homes they are wood boards, often 2 by 4 lumber, set on edge.
The flat face of each stud sits just behind the drywall. Drywall screws bite into that face and hold the wall panel tight.
Hanging weight from drywall alone risks a slow failure. The panel can crack, the anchor can pull through, and the item can fall.
Trusscore notes that drywall alone is not designed to bear heavy loads, so anchoring into a stud keeps the weight on the frame. A shelf of books or a wall mounted television deserves that grip.
Studs also hide surprises. Pipes, wires, and ducts can run through the same wall cavity. Finding a stud is only half the job.
You still need to confirm the spot before you drill, and you need to stop if something feels wrong. A stud that checks out in two places, top and bottom, is a safer bet than a single tap.
The knock test
Knocking is the oldest method, and it still works. Tap the wall with your knuckles as you move sideways in small steps.
Over empty cavity, the wall sounds hollow and low. Over a stud, the sound turns shorter, duller, and higher in pitch.
This Old House general contractor Tommy Silva relies on this method and describes listening for the pitch to shift as the knuckle crosses a stud. Start at one end of the wall and tap in a straight horizontal line.
Mark each spot where the sound changes. Then tap again a few inches higher and lower to check that the solid band runs vertically.
The knock test works best on plain drywall. Thick plaster, heavy texture, tile, and paneling can muffle the change.
Use it as a first pass, not as proof. Pair every knock result with a second method from this guide before you trust it.
The magnet trick
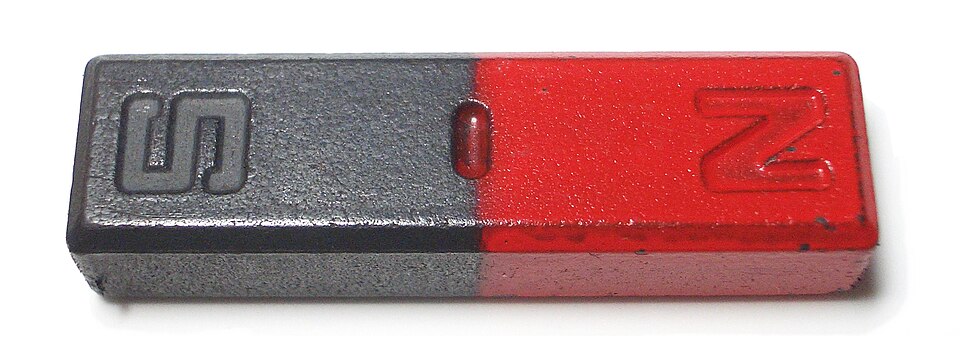
A strong magnet finds the steel screws or nails that fasten drywall to studs. Slide a small rare earth magnet slowly across the wall in a horizontal line. When it tugs or sticks, you have found a fastener, and a stud sits right behind it.
A dangling magnet on a string works well as a pendulum. Hold the string so the magnet hangs near the wall surface and sweep it sideways.
This Old House passes along a reader tip for a cow magnet, a powerful magnet used in cattle care, tied to a string and dangled beside the wall. Ordinary fridge magnets are too weak for this job.
Once the magnet grabs, drag it up and down to trace the vertical line of fasteners. That line marks the stud.
Then measure sideways to predict the next stud, and test that spot with the magnet too. Metal pipes and conduit can also attract a magnet, so confirm with a second method.
Outlets and switches as clues
Electrical boxes give away stud positions. Most outlet and switch boxes attach to the side of a stud. If you can tell which side the box sits on, you know where one stud edge is.
Turn off the power to that outlet first. Remove the cover plate and look inside with a flashlight. The box usually sits tight against a stud on one side.
Measure from that stud in 16 inch or 24 inch steps to predict the next studs. Trusscore makes the same point and advises measuring out from the box side to find neighbors.
Do not poke inside the box or touch bare wires. You only need a look at which side has wood.
Replace the cover plate before you turn the power back on. If the box is a remodel box held by wings instead of a stud, this clue fails, so verify with knocking or a magnet.
Trim, baseboards, and visual clues
Trim is nailed to studs, so it leaves a trail. Look along baseboards, crown molding, and door trim for tiny dimples or filled nail holes.
Those marks often sit right over a stud. A straight line up from a baseboard nail dimple points at the stud above it.
Raking light helps. Hold a flashlight close to the wall and aim it sideways across the surface. Small dimples where screws sit under the drywall mud show up as shadows.
This Old House suggests looking for nail dimples in baseboard and ceiling trim for the same reason. Paint and caulk can hide these marks, so look closely in good light.
Measure from a corner
Studs follow a pattern in most homes. The common spacings are 16 inches on center and 24 inches on center, measured from the center of one stud to the center of the next. Once you find one stud, the next one usually sits one full step away.
Start at an inside corner, which almost always holds a stud. Measure 16 inches along the wall and test that spot with a knock or a magnet.
If nothing shows up, try 24 inches. HomeStars notes that exterior corners almost always have a stud built in, which makes them a sound starting point.
Older homes break the pattern. This Old House warns that homes built before standard codes may space studs at 12, 18, or even 36 inches, sometimes varying inside one wall.
In those houses, treat measuring as a hint only. Confirm each stud by direct detection instead of assuming the grid.
Confirm with a thin nail
When two methods agree, confirm with a thin nail before you drill a full size hole. Push a slim finishing nail into the wall at the marked spot.
If it meets firm resistance after about half an inch, you have hit wood. If it slides in easily, you are in the empty cavity between studs.
Drive the nail at a slight downward angle so the tiny hole is easy to fill later. Move sideways in small steps until the nail meets wood.
Then find the other edge the same way. The center sits halfway between the two edges, and that center is the best place for a screw.
This step costs one pinhole. It saves a shelf.
Patch the test hole with a dab of filler if the spot turns out to be wrong. For larger repairs, our guide on how to patch a small drywall hole step by step walks through the same fill, sand, and paint sequence.
Spacing patterns to know
Sixteen inch spacing is the most common pattern in modern homes. It gives strong support and matches the 4 foot width of drywall sheets, so panel edges land on studs. Tape measures often mark every 16 inches with a red square for this reason.
Twenty four inch spacing shows up in some newer construction. It saves lumber and suits walls that carry lighter loads.
This Old House notes that 24 inch spacing is more common in new construction and in mild climates. Drywall over wide spacing needs care, since thin panels can flex between studs.
Tricky walls: plaster, paneling, and metal studs
Plaster walls fight every method in this guide. The plaster layer is dense, and the wood lath behind it can sound solid everywhere.
Electronic finders struggle there too. This Old House advises looking for nailheads in baseboard trim and checking outlet boxes instead of trusting taps on plaster.
Wood paneling hides sound changes for a similar reason. The panel surface can feel solid even between studs.
If the paneling sits over drywall, the magnet method still works, since it hunts screws rather than sound. Trim clues help as well.
Metal studs need a different approach. A magnet will stick to a metal stud itself, so it cannot separate stud from screw. Knocking sounds different on steel framing.
If your home uses metal studs, consider a finder rated for metal, or check building plans. Do not assume a magnetic pull means a wood stud is present.
False positives and safety checks
Pipes, conduit, and ductwork can all feel solid under a knock or a probe. A drain pipe can run vertically like a stud. A horizontal fire block can read as a stud across a short band.
The fix is to check vertically. A real stud runs in a straight line from near the floor toward the ceiling. A pipe or block will not match that full line.
Turn off power before removing any cover plate. Keep drills and nails away from outlets and switches, since wires often run vertically from them.
If you smell burning, see scorch marks, or feel warmth on a switch plate, stop and call an electrician. Those signs point to wiring trouble, not a stud problem.
What to do if you cannot find a stud
Some spots simply have no stud where you want one. Toggle bolts, molly bolts, and self drilling drywall anchors can hold medium weight items when they are installed to their rated limits. Trusscore lists toggle bolts as one of the strongest drywall only options, since the wings spread the load behind the panel.
Check the weight rating on the anchor package and stay well under it. Spread the load across two or more anchors when you can.
Heavy items like large televisions and loaded bookcases still belong on studs. If no stud lines up, shift the mount a few inches or add a mounting board that spans two studs.
Frequently asked questions
How far apart are wall studs?
Most studs sit 16 inches apart from center to center. Some newer walls use 24 inches. Older homes may vary, so always confirm each stud with a direct test.
The bottom line
You can find a stud with no special tool by combining sound, magnets, outlet clues, trim marks, and measuring. Use two methods, confirm with a thin nail, and aim for the center of the stud. That routine takes minutes and holds heavy items safely for years.
Tags: wall studs, DIY, hanging, home repair
Latest in Home
- How to Patch a Small Drywall Hole Step by Step
- Why Does Grout Crack Between Bathroom Tiles
- How to Sharpen Lawn Mower Blades Safely at Home
- Why Do LED Bulbs Flicker in Some Fixtures but Not Others
Subscribe for one practical home repair guide each week.
Related stories
Why Your Faucet Keeps Dripping After You Turn It Off
A dripping faucet is usually a worn washer, O-ring, or cartridge that can no longer seal. One drip per second wastes over 3,000 gallons
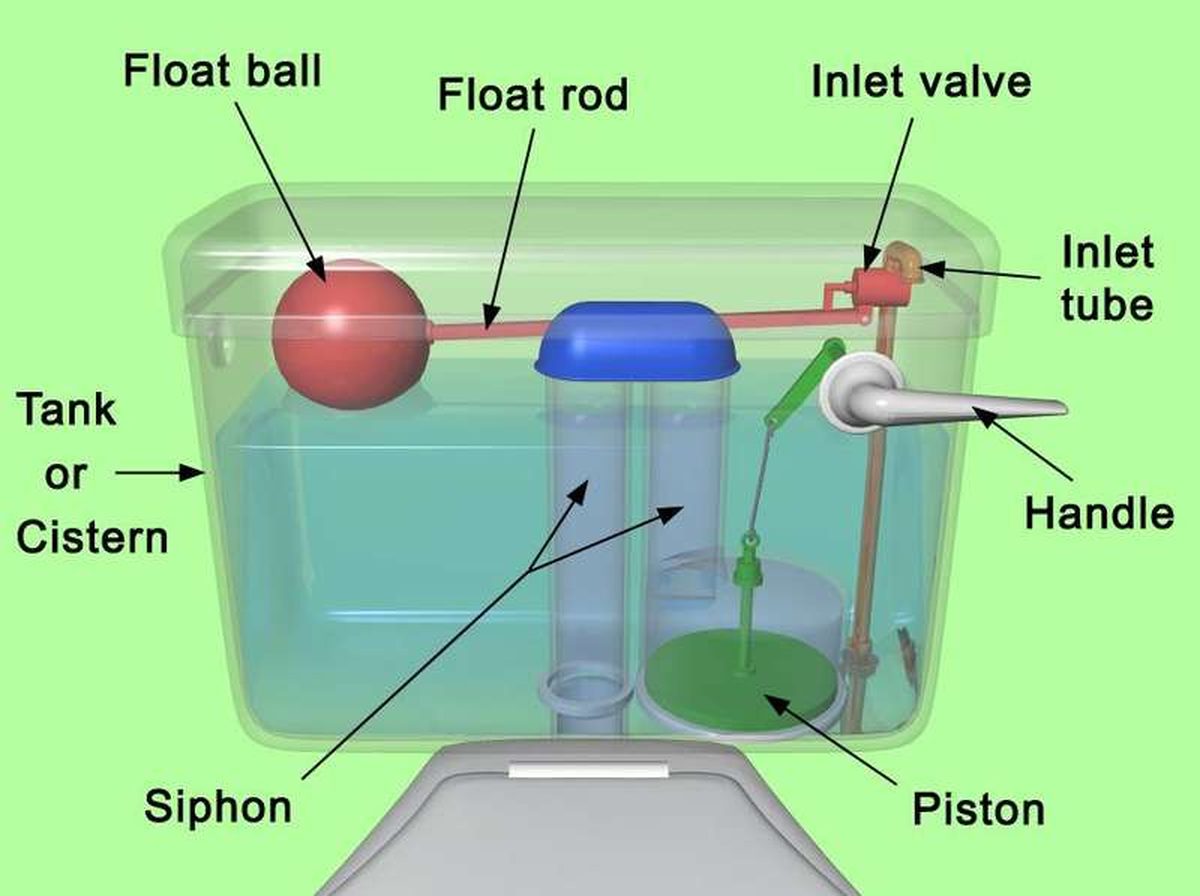
How to fix a running toilet without a plumber in 30 minutes
A running toilet can waste 200 gallons of water a day. Diagnose the flapper, float, or fill valve in two minutes, then fix it yourself
How to hang heavy shelves on drywall safely
Studs first, toggle bolts second, plastic anchors never for heavy loads. Weight ratings, installation steps, and mistakes that bring