
How to Patch a Small Drywall Hole Step by Step
Key takeaways
- Match the repair to the hole size: spackle for nail holes, mesh patch for holes up to 6 inches.
- Use two thin coats of compound, not one thick coat, and let each coat dry fully.
- Prime the patch before painting, or the repair will show as a dull spot.
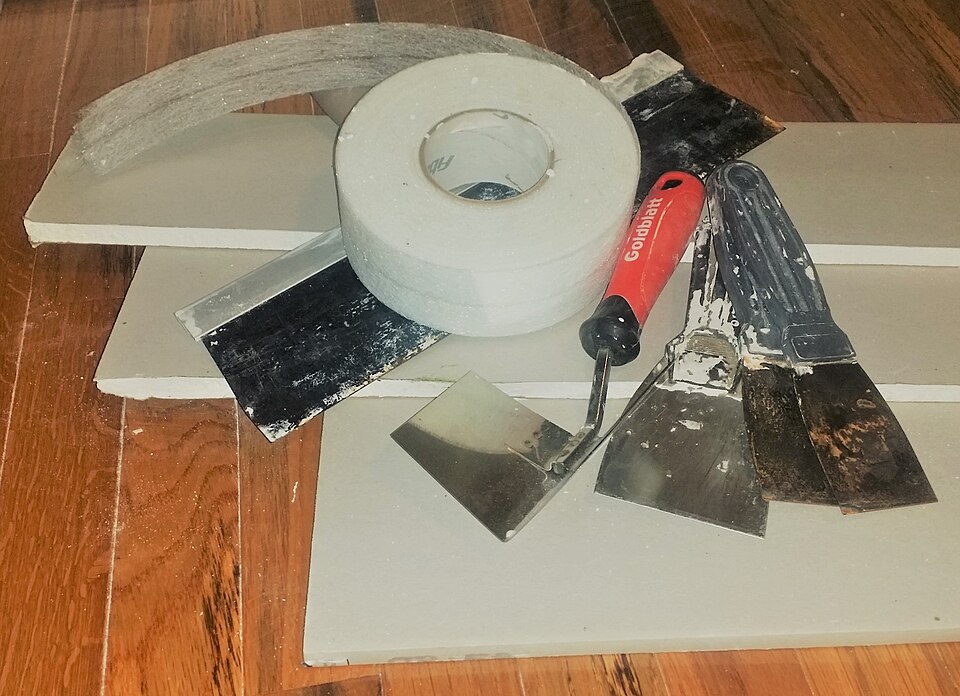
A small drywall hole is one of the most common home repairs. Nail holes, anchor holes, door handle dings, and small dents all fall in this group.
The repair itself is simple. The skill lies in thin coats, full drying, and smooth sanding.
This article explains how to patch a small drywall hole step by step, including sizing the hole, cleaning the edges, applying a mesh patch, spreading joint compound, sanding, priming, and painting. It also covers the mistakes that leave a visible patch.
Size the hole first
The right method depends on hole size. Tiny nail and screw holes under half an inch need only spackle.
Holes from half an inch to about 6 inches need a self adhesive mesh patch plus joint compound. Larger holes need a cut patch of fresh drywall, which is a bigger job outside this guide.
Handyman Harry sets the same bands: tiny nail holes under half an inch take spackle pushed into the hole, while holes between half an inch and 6 inches need a self adhesive mesh patch. Measure the hole before you buy supplies. A mesh patch kit costs little and covers the common middle range.
Check the edges too. Crumbling drywall paper, loose chunks, and jagged edges will show through a thin repair.
A hole with soft or damp edges may point to water damage behind the wall. If the drywall feels soft over a wide area, or if you see mold or staining, stop and find the moisture source before patching.
Gather tools and materials
You need a utility knife, a putty knife or drywall knife, a mesh patch kit or a small tub of spackle, joint compound, sandpaper in 120 grit and 220 grit, a damp cloth, primer, matching paint, and a drop cloth. A dust mask and safety glasses help during sanding.
Spackle and joint compound are not the same product. Spackle is thick, dries fast, and suits small fills. Joint compound is smoother, spreads wider, and suits mesh patches and feathered edges.
The Medium How-To Hub guide notes that pre mixed joint compound is forgiving and easy to work with, and advises beginners to stick with it. Setting compound, often called hot mud, hardens by chemical reaction and is harder to sand, so skip it for a first repair.
Step 1: clean and prep the hole
Remove loose material first. Pick away crumbling drywall paper and loose chunks around the hole.
Trim jagged edges with a utility knife so the patch sits on a firm, flat rim. LivD Homes advises trimming away anything that is not firmly attached, since a clean edge gives a smooth, blendable repair.
Wipe the area with a damp cloth to remove dust. Dust blocks adhesion.
For holes larger than a nail hole, lightly sand around the edges to give the patch a smooth seat. Lay a drop cloth below the work area to catch dust and compound drips.
If the hole came from a wall anchor, pull the anchor out or push it through. Do not patch over a plastic anchor sleeve.
The patch will crack around it. Fill the empty hole instead.
Step 2: apply the patch or fill the hole
For nail holes, skip the mesh. Press a small amount of spackle into the hole with a putty knife. Scrape off the excess so the fill sits flush with the wall.
One pass is usually enough. Let it dry, then sand lightly.
For holes from half an inch to 6 inches, use a mesh patch. Peel the backing and center the patch over the hole. Handyman Harry advises making sure the patch extends at least 1 inch beyond the hole in all directions.
Press it firmly so the whole patch sticks flat, with no lifted corners or bubbles. A patch that lifts at the edge will telegraph through the compound.
Work with clean hands and a clean knife. Dried crumbs in the compound leave ridges that need extra sanding later. Keep the patch centered while you press it down, since shifting it after it sticks weakens the adhesive.
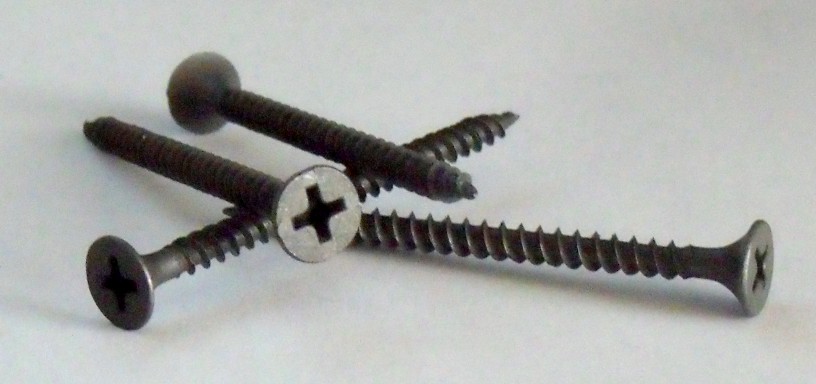
Step 3: apply the first coat of compound
Load the putty knife with a small amount of joint compound. Spread a thin coat over the patch, pressing compound into the mesh.
Feather the edges 2 to 3 inches beyond the patch so the repair blends into the wall. Handyman Harry caps the first coat at about 1/8 inch thick and warns that thick coats crack as they dry and take far longer to cure.
Keep the coat thin and even. A heavy coat shrinks, cracks, and needs a full redo. A thin coat dries faster and sands easier.
Aim for a smooth surface with no deep knife marks. Scrape the knife edge clean between passes to avoid dragging dried lumps across the wet coat.
For nail holes filled with spackle, the same rule applies in miniature. Fill the hole, scrape flush, and stop.
Do not mound spackle above the wall surface. The sanding step will handle the last fraction of an inch.
Step 4: let it dry completely
Drying time depends on product, thickness, humidity, and room temperature. Spackle can be ready in 15 to 30 minutes, per the Medium guide.
Joint compound takes longer. Handyman Harry puts joint compound drying at 4 to 24 hours depending on humidity and room temperature.
Do not touch the patch while it dries. Wet compound is soft and dents easily. Do not aim a heater or a hair dryer at it to rush the job.
Fast drying can crack the surface. If you are short on time, use a fast setting spackle for nail holes and save mesh patch repairs for a day when you can wait.
Judge dryness by color and feel. Wet compound looks darker and feels cool and soft. Dry compound looks lighter and feels hard and chalky.
When in doubt, wait another hour. A patch sanded too early gums up the sandpaper and leaves a rough surface.
Step 5: sand and apply a second coat
Sand the first coat lightly with 120 grit sandpaper. Use light pressure and circular motions.
Handyman Harry advises sanding until smooth without sanding through to the mesh patch underneath. If you expose the mesh, stop and add another coat rather than sanding further.
Wipe away all dust with a slightly damp cloth. Dust left on the surface blocks the next coat.
Then apply a second thin coat, spreading it slightly wider than the first coat. The second coat fills low spots, hides the mesh pattern, and widens the feathered edge so the repair blends.
LivD Homes notes that two thin coats almost always look better than one thick one. If you can still see the mesh pattern through the first coat, or if the compound shrank noticeably, the second coat is required, not optional. Let the second coat dry fully, then sand again with 220 grit for a glass smooth finish.
Run your hand over the repair after sanding. You should feel no bumps, ridges, or sunken spots. Check the patch in raking light from a lamp held sideways to the wall.
Shadows reveal ridges that straight on light hides. If you find a low spot, apply a very thin third coat, let it dry, and sand again.
Step 6: prime before painting
Primer is the step most people skip, and it is the reason many patches stay visible. LivD Homes explains that spackle and joint compound are more porous than the surrounding drywall, so they absorb paint differently and appear as a dull or flat looking spot even after painting. A quick coat of primer seals the surface and gives a consistent base.
Apply primer over the full patch and slightly beyond the feathered edge. A spray primer is fast and easy for small repairs. Brush primer works too.
Let the primer dry per the label, then check the patch in normal room light. The primed area should look uniform with the wall.
Paint with the matching wall paint in thin, even coats. Feather the paint edge so the new paint blends with the old. Two thin coats beat one thick coat.
If the wall color has faded with age, the patch may still show slightly. In that case, painting the full wall section from corner to corner gives the cleanest result.
Common mistakes that show
Thick coats are the top mistake. They crack, shrink, and take forever to dry. Thin coats win every time.
Sanding too early is the second mistake. It tears the soft compound and leaves a rough, gummy surface.
Skipping primer is the third. Even a perfectly sanded patch shows without primer. The paint soaks into the porous compound and dries dull.
Primer costs little and takes minutes. It is the cheapest insurance in the whole repair.
Frequently asked questions
How long does a small drywall patch take?
A nail hole takes under an hour including drying. A mesh patch repair takes two sessions across one or two days, since each coat needs hours to dry. The hands on work is under 30 minutes.
Do I need to prime a tiny nail hole?
Yes. Even a small patch absorbs paint differently.
A dab of primer over the sanded fill keeps the paint sheen even. The Medium guide notes that even tiny patches need primer or the paint will flash.
Why can I see the mesh pattern through the paint?
The compound coats were too thin or too few, or the patch was sanded through. Add another thin coat over the area, sand with 220 grit, prime, and repaint. Do not sand into the mesh.
When should I call a professional?
Call a professional for holes larger than 6 inches, for damage near electrical boxes or plumbing, or for soft, damp, or moldy drywall. Those cases need more than a surface patch. If you need to find the framing behind the wall first, see how to find a wall stud without a stud finder.
The bottom line
Patching a small drywall hole is a patient job, not a hard one. Clean the hole, match the repair to the size, lay two thin coats, sand smooth, prime, and paint. The drying time does the real work, so give each coat the hours it needs and the patch will vanish into the wall.
Tags: drywall, patch, home repair, DIY
Latest in Home
- How to Find a Wall Stud Without a Stud Finder
- Why Does Grout Crack Between Bathroom Tiles
- How to Sharpen Lawn Mower Blades Safely at Home
- Why Do LED Bulbs Flicker in Some Fixtures but Not Others
Subscribe for one practical home repair guide each week.
Related stories
Why Your Faucet Keeps Dripping After You Turn It Off
A dripping faucet is usually a worn washer, O-ring, or cartridge that can no longer seal. One drip per second wastes over 3,000 gallons
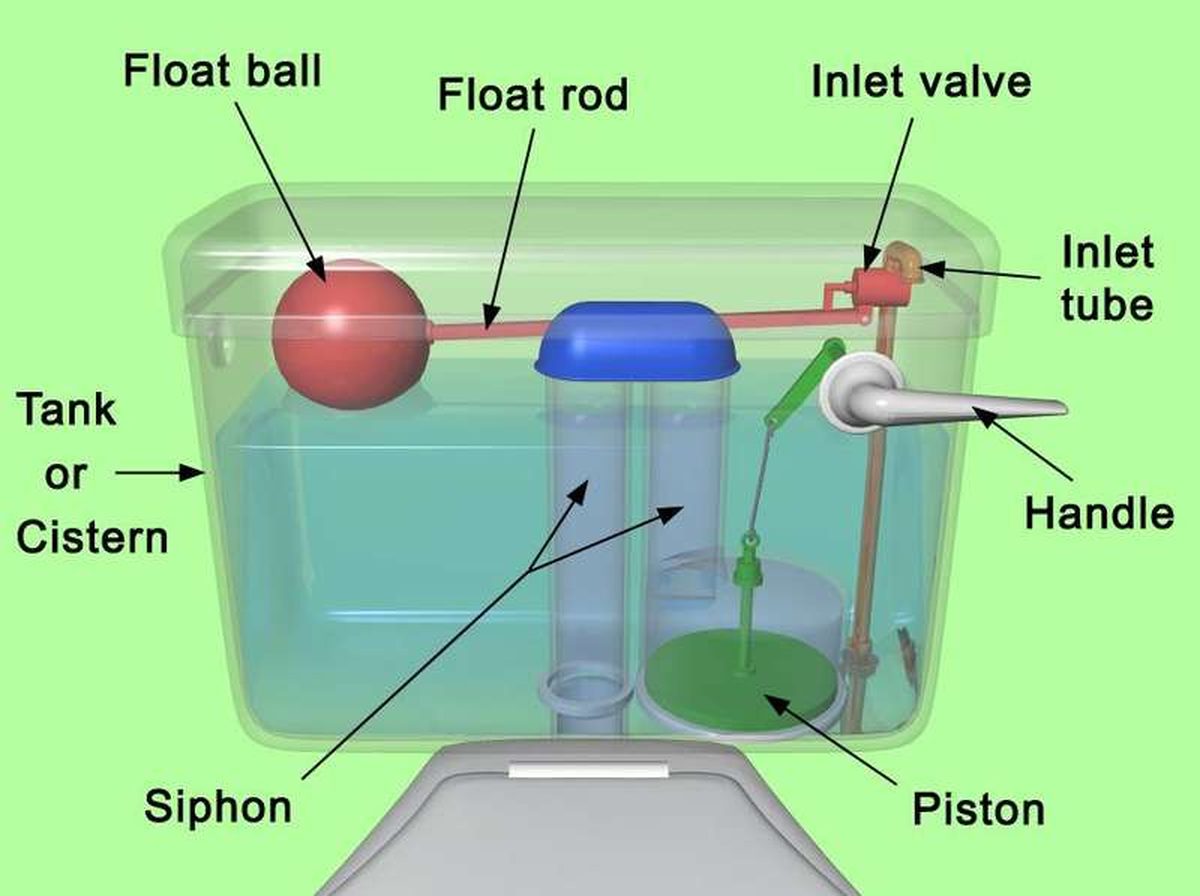
How to fix a running toilet without a plumber in 30 minutes
A running toilet can waste 200 gallons of water a day. Diagnose the flapper, float, or fill valve in two minutes, then fix it yourself
How to hang heavy shelves on drywall safely
Studs first, toggle bolts second, plastic anchors never for heavy loads. Weight ratings, installation steps, and mistakes that bring