
How to Sharpen Lawn Mower Blades Safely at Home
Key takeaways
- Disconnect the spark plug wire or battery before you touch the blade.
- Aim for a butter knife edge, not a razor edge, and keep the factory bevel.
- Balance the blade after sharpening, since an unbalanced blade vibrates and damages the mower.
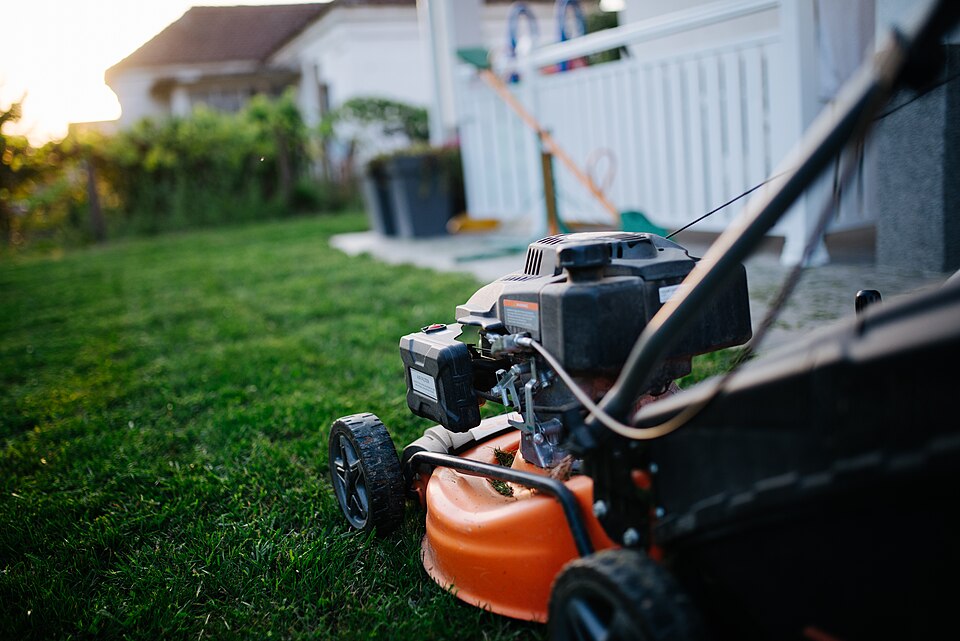
A sharp mower blade slices grass cleanly. A dull blade tears it.
Torn tips dry out, turn brown, and leave the lawn looking pale and ragged even after a fresh mow. Sharp blades also cut with less effort, which saves fuel and spares the engine.
This article explains how to sharpen lawn mower blades safely at home, including the safety setup, blade removal, sharpening with a file or a grinder, the balance test, and reinstallation. It also covers how often to sharpen and when to replace a blade instead.
How to tell the blade is dull
Look at the grass the day after you mow. Clean cuts leave even green tips. A dull blade leaves frayed, torn tips that whiten or brown at the ends.
Virginia Tech turf specialist Mike Goatley says a lawn cut with dull blades shows a brownish white cast where torn grass tips have died. That pale cast is the classic dull blade sign.
You may also feel the difference. The mower may push harder, bog down in normal grass, or need a second pass to look even. Homes and Gardens notes that frayed or torn grass tips after a mow can signal that the blades need sharpening.
Check the blade itself too. Nicks, rounded edges, and rust along the cutting edge all point the same way.
Sharpen on a schedule, not only when the lawn looks bad. Goatley recommends sharpening blades at least three times per growing season: before the season, in late spring, and once more in mid to late summer.
Homes and Gardens gives a rule of thumb of twice a season or after 25 hours of use. Heavy use, sandy soil, and rocky ground wear an edge faster, so adjust for your yard.
Safety first: isolate the power
Never work on a blade with the mower able to start. For a gas mower, pull the spark plug wire off the spark plug before you touch anything near the blade. That single step removes the chance of an accidental start while your hands are under the deck.
Landscape Management opens its guide with the same step: disconnect the spark plug wire so the mower cannot start while you work on the blade. For a battery mower, remove the battery pack and the safety key if it has one.
For a corded electric mower, unplug the cord and keep it in sight. Treat every mower as live until you have isolated it.
Wear gloves and eye protection. Gloves guard against the blade edge and burrs. Goggles guard against metal filings and rust flakes when you clean and sharpen.
If you use a grinder, add hearing protection and work outdoors or in a ventilated space. Sparks and dust belong away from fuel cans and dry leaves.
Block the blade before you loosen the bolt. A block of wood wedged against the deck stops the blade from turning while you work the wrench.
Keep your hands clear of the cutting edge, even with gloves on. Work on a flat, stable surface with room to move.
Tools you need
Gather everything before you start. You need a socket wrench that fits the blade bolt, a block of wood, a wire brush, a vise or clamp, a metal file or a grinder, and a nail or blade balancer for the balance test. A rag and a small container for the bolt and washers help too.
Virginia Tech lists the kit as a socket, a vise, a metal file, protective gear, and an angle grinder. Homes and Gardens adds that a 10 inch file or grindstone suits a typical domestic blade.
A bench vise holds the blade steady and leaves both hands free. If you lack a vise, clamp the blade firmly to a heavy bench.
Remove the blade
Tip the mower on its side with care. On a gas mower, keep the air filter and carburetor side up so oil does not flood them.
Lay the mower on a flat surface where it will not roll. Remove the spark plug wire first if you have not already done so.
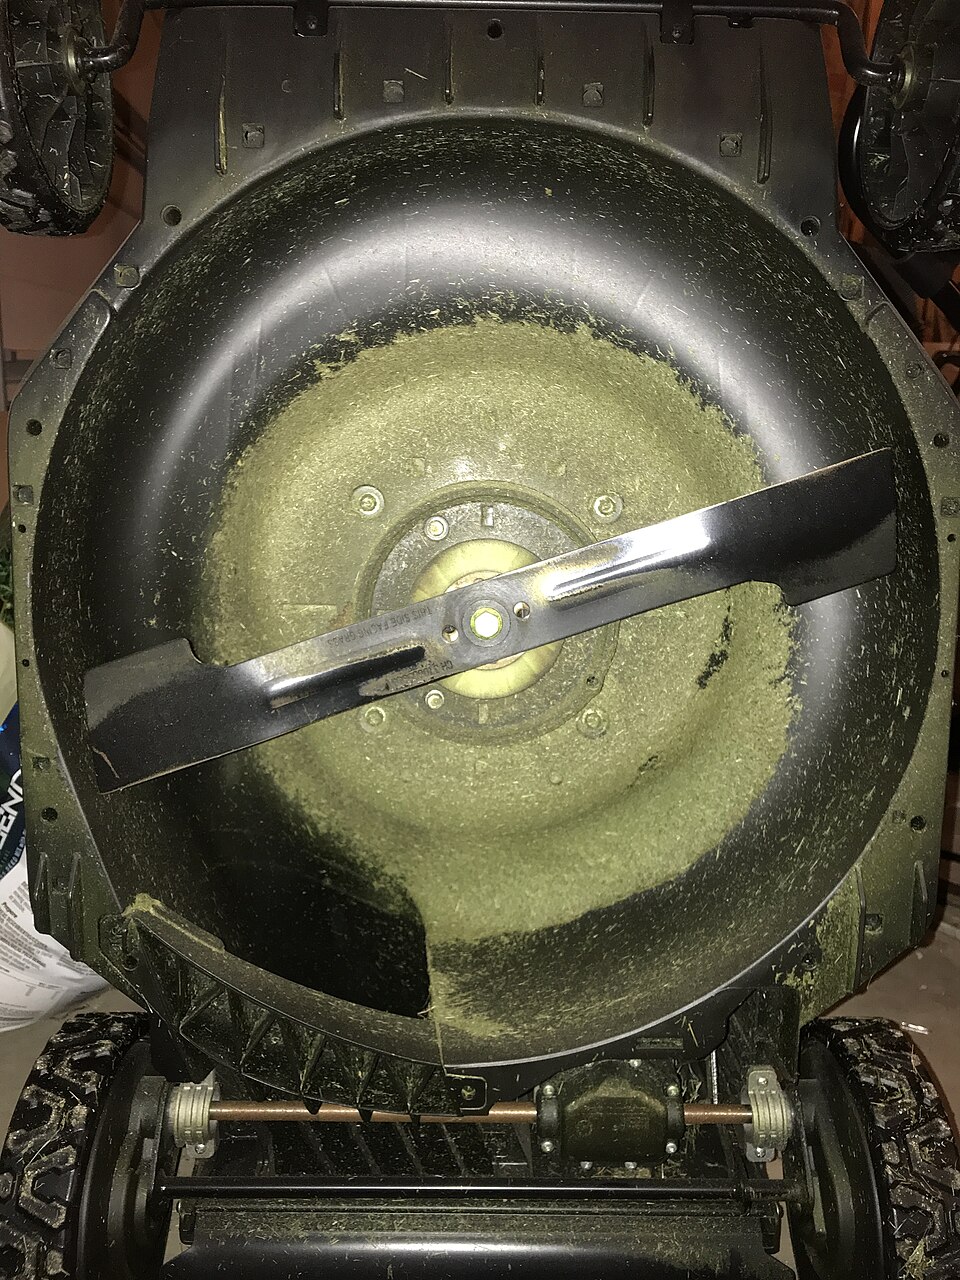
Note the blade orientation before you remove it. The cutting edge faces a specific way, and the blade must go back the same way. Take a photo with your phone or mark the top face with chalk.
Many blades carry a stamp that reads "this side up" or similar. That mark is easy to miss once the blade is off.
Hold the blade with the wood block and loosen the center bolt with the socket wrench. Some bolts are tight from seasons of use, so use steady pressure rather than sudden jerks.
Set the bolt and washers aside in a container. Slide the blade off the spindle and set it on the bench.
Inspect the blade once it is off. Look for deep nicks, cracks, bends, and thin spots near the cutting edge. A blade with a crack or a bend is not a sharpening job.
Replace it. A blade worn thin at the edge will chip in use, so replace that too. Virginia Tech notes that replacing an old blade with a new one is a fair option if sharpening feels like too much.
Sharpen with a file
The file method is slow, quiet, and forgiving, which makes it the best choice for beginners. Clamp the blade in the vise with one cutting edge facing up. The vise should grip the flat middle of the blade, not the edge you plan to sharpen.
Hold the file at the angle of the existing bevel. Ryan Farley, CEO of LawnStarter, advises using a 10 inch file or grindstone, holding the file at a 45 degree angle, and pushing in one direction only.
Do not saw the file back and forth. Lift the file, return to the start, and push again.
Count your strokes and match them on both cutting edges. Homes and Gardens reports that a clean 10 inch file should sharpen a typical domestic blade within about 50 strokes.
You are aiming for a butter knife edge, sharp enough to cut grass cleanly but not razor thin. A razor edge chips quickly on sticks and stones.
Sharpen with a grinder
A grinder is faster but less forgiving. Use an angle grinder or a bench grinder only if you are comfortable with power tools. Clamp the blade firmly first.
Keep the grinder aligned with the factory bevel and use light pressure. A few passes are usually enough.
Virginia Tech advises grinding both ends of the cutting blade at a 60 degree angle while wearing goggles and hearing protection. Landscape Management adds that you should keep the original bevel by holding the blade at the proper angle from the manual.
If the blade gets too hot while grinding, dip it in water to cool it. Overheating can soften the steel and ruin the edge.
Do not grind the blade thin. Landscape Management warns that if the cutting edge gets too thin, the blade will be easily damaged. Jeremy Yamaguchi, CEO of Lawn Love, calls a bench grinder the quickest and most effective way to sharpen mower blades, but cautions that it involves dangerous tools and sparks and suggests an experienced person handle it if you are not comfortable.
Keep both edges even. Grind one edge, then the other, with the same number of passes. Uneven grinding leaves one side heavier, which shows up in the balance test.
Stop early and check often. You can always take another light pass, but you cannot put steel back.
Balance the blade
Balancing is not optional. A blade that is heavier on one side vibrates as it spins.
That vibration wears bearings, loosens bolts, and can damage the engine. Landscape Management warns that an unbalanced blade can cause mower vibration and damage.
Use a blade balancer, a long nail, or a cone. Set the blade on the pivot through its center hole and give it a light spin. A balanced blade stays level or spins evenly.
A heavy side drops. Virginia Tech describes the same test: balance the blade on the end of a long nail or cone, give it a light spin, and check that it spins evenly without wobbling up and down.
Fix a heavy side by removing a small amount of metal from the back edge of that side, not from the cutting edge. Take light passes and retest. Homes and Gardens notes that if one side feels heavier, you keep sharpening until the blade is balanced.
Work in small steps. A few grams make a difference at mowing speed.
Reinstall and test
Clean the underside of the deck while the blade is off. Scrape away caked grass with a putty knife or brush.
A clean deck throws clippings better and rusts slower. Check the spindle and the bolt threads for wear while you have access.
Put the blade back in the same orientation you noted at removal. Fit the washers and bolt in their original order. Tighten the bolt to the torque in the manual if you have a torque wrench.
If not, tighten it firmly with the socket wrench while the blade is blocked. A loose blade is dangerous, and an overtightened bolt can strip threads.
When to replace instead of sharpen
Some blades are done. Replace the blade if it is cracked, bent, or worn thin at the cutting edge.
Replace it if the balance test keeps failing after careful grinding, or if the bolt hole is elongated or damaged. A new blade costs less than an engine repair.
Reel mowers are a special case. Virginia Tech advises having reel mower blades sharpened by a professional.
Reel blades work as a matched set with a bed knife, and the setup needs skill and tools most homeowners lack. Do not file a reel mower like a rotary blade.
Frequently asked questions
How often should I sharpen?
At least three times per growing season, per Virginia Tech guidance, or about every 25 hours of mowing per Homes and Gardens. Sandy or rocky yards need more frequent sharpening.
Why does my mower vibrate after sharpening?
Vibration usually means the blade is unbalanced or the bolt is loose. Stop the mower, recheck the balance on a nail or cone, and confirm the bolt is tight before mowing again.
The bottom line
Sharpening a mower blade at home is a short job when you follow the order: isolate the power, remove the blade, sharpen to a butter knife edge, balance it, and reinstall it the same way it came off. A sharp, balanced blade gives a cleaner cut, a healthier lawn, and an easier mowing day.
Tags: lawn mower, blade sharpening, lawn care, DIY
Latest in Home
- How to Find a Wall Stud Without a Stud Finder
- Why Does Grout Crack Between Bathroom Tiles
- How to Patch a Small Drywall Hole Step by Step
- Why Do LED Bulbs Flicker in Some Fixtures but Not Others
Subscribe for one practical home repair guide each week.
Related stories
Why Your Faucet Keeps Dripping After You Turn It Off
A dripping faucet is usually a worn washer, O-ring, or cartridge that can no longer seal. One drip per second wastes over 3,000 gallons
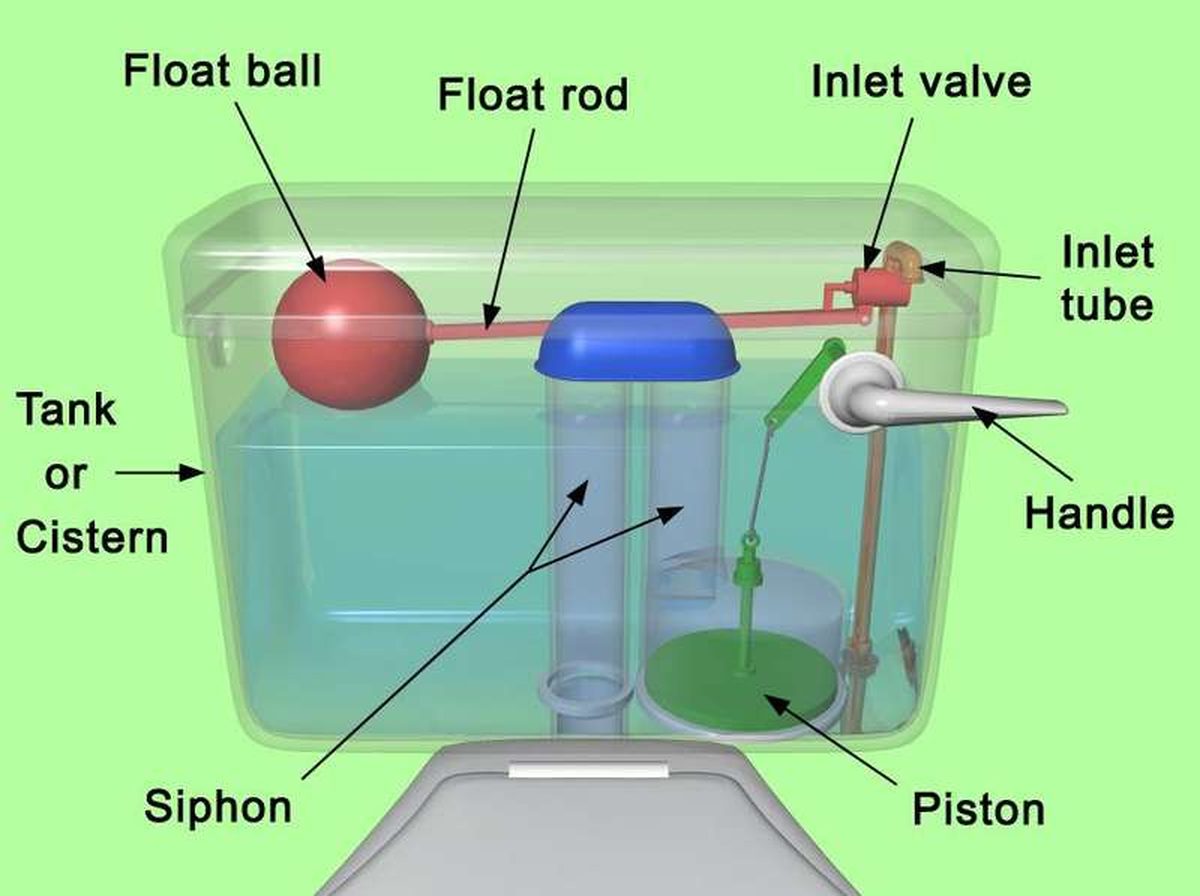
How to fix a running toilet without a plumber in 30 minutes
A running toilet can waste 200 gallons of water a day. Diagnose the flapper, float, or fill valve in two minutes, then fix it yourself

How to hang heavy shelves on drywall safely
Studs first, toggle bolts second, plastic anchors never for heavy loads. Weight ratings, installation steps, and mistakes that bring