
Why Does Grout Crack Between Your Bathroom Tiles
Key takeaways
- Grout is rigid, so any movement in the wall or floor can split it.
- Corners, tub edges, and floor to wall joints need flexible caulk, not grout.
- Remove cracked grout before regrouting, since new grout will not bond to crumbling old joints.
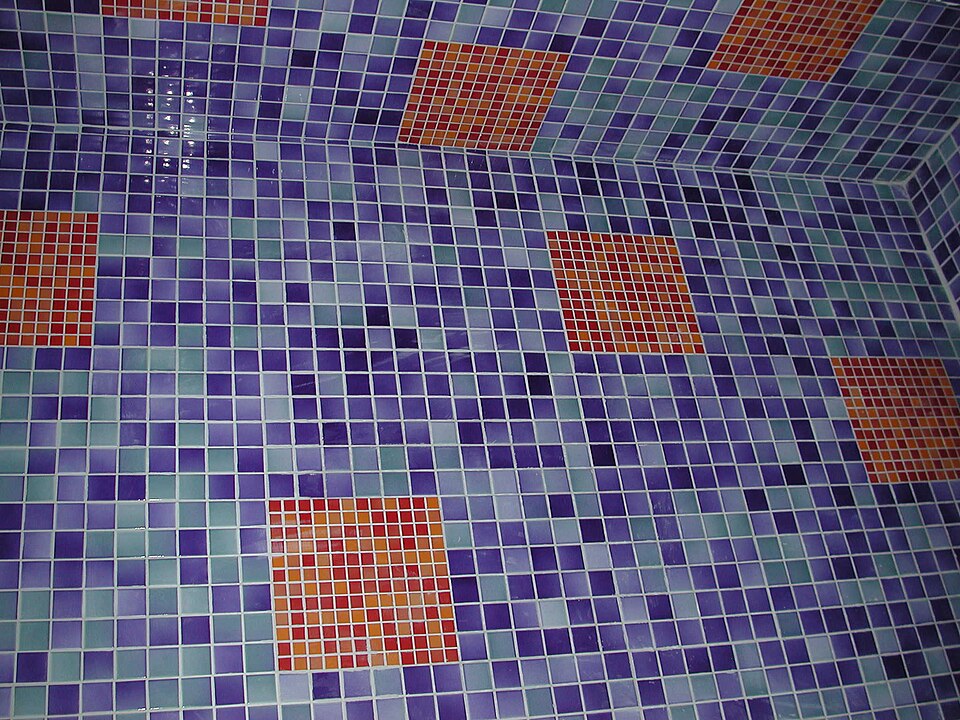
Grout is the hard filler that sits between tiles. It locks tiles in place, keeps water out of the joints, and gives the tiled surface a finished look.
Most grout is cement based, which means it dries hard and stays hard. That hardness is also its weakness.
This article explains why grout cracks between bathroom tiles, including movement, mixing errors, weak substrates, moisture and heat swings, and harsh cleaners. It also covers how to read the crack pattern, how to repair small cracks, and when the damage points to a bigger problem.
Grout is rigid, and houses move
The leading cause of cracked grout is movement. Houses shift in tiny steps all the time.
Foundations settle, wood framing swells and shrinks with humidity, and temperature swings make materials expand and contract. Grout cannot flex along with those shifts.
Benjamin Franklin Plumbing explains that cracks at joints usually trace back to movement between two surfaces. A bathtub can move one way while the tile wall beside it moves another way.
The grout between them takes the strain and splits. This is normal building behavior, not always a sign of bad work.
Floors add their own motion. A subfloor can flex slightly under foot traffic, especially near doorways or along long tile runs. TileBar lists structural movement and poor subfloor preparation among the main causes of cracked grout.
Large tiles on a bouncy floor stress the joints even more. The grout gives first because it is the most brittle part of the assembly.
Corners and edges need caulk, not grout
Many cracks appear exactly where grout should never have been used. The joint where tile meets a tub, a shower pan, a countertop, or another wall is a movement joint. Those two surfaces move independently, so the joint needs a flexible material.
Dream Clean Orlando advises treating tub, shower, and wall transitions as movement joints and using flexible, mildew resistant caulk there instead of standard grout. A grout line in a corner may look neat on day one.
It often splits within months as the two planes shift. Caulk stretches and absorbs that motion.
The same rule applies where tile meets a different material, such as a wood threshold or a metal trim strip. Any change of plane or material is a flex point.
If your cracks run in straight lines along corners and edges, the wrong material is the likely cause. Replacing grout with caulk in those spots fixes the repeat cracking.
Mixing and installation errors
Some grout fails because of how it was mixed or placed. Grout mixed with too much water leaves air pockets as it dries.
Those pockets make the finished grout weak, porous, and brittle. Benjamin Franklin Plumbing notes that excess water or additives can leave air pockets that weaken the grout and lead to cracks.
Too little adhesive under the tile causes a different failure. If a tile pulls away from the wall as the adhesive dries, the grout ends up carrying load it was never meant to hold.
The joint cracks under the strain. A tile that sounds hollow when tapped may have this problem.
Rushed work adds more risk. TileBar lists overly dry mixes, rushed application, and uneven curing as practices that cut durability.
Grout that dries too fast, gets wet before it cures, or gets packed too thinly will not reach full strength. A careful installer follows the mix ratio on the bag and gives the grout time to cure before the shower runs.
Moisture, heat, and harsh cleaners
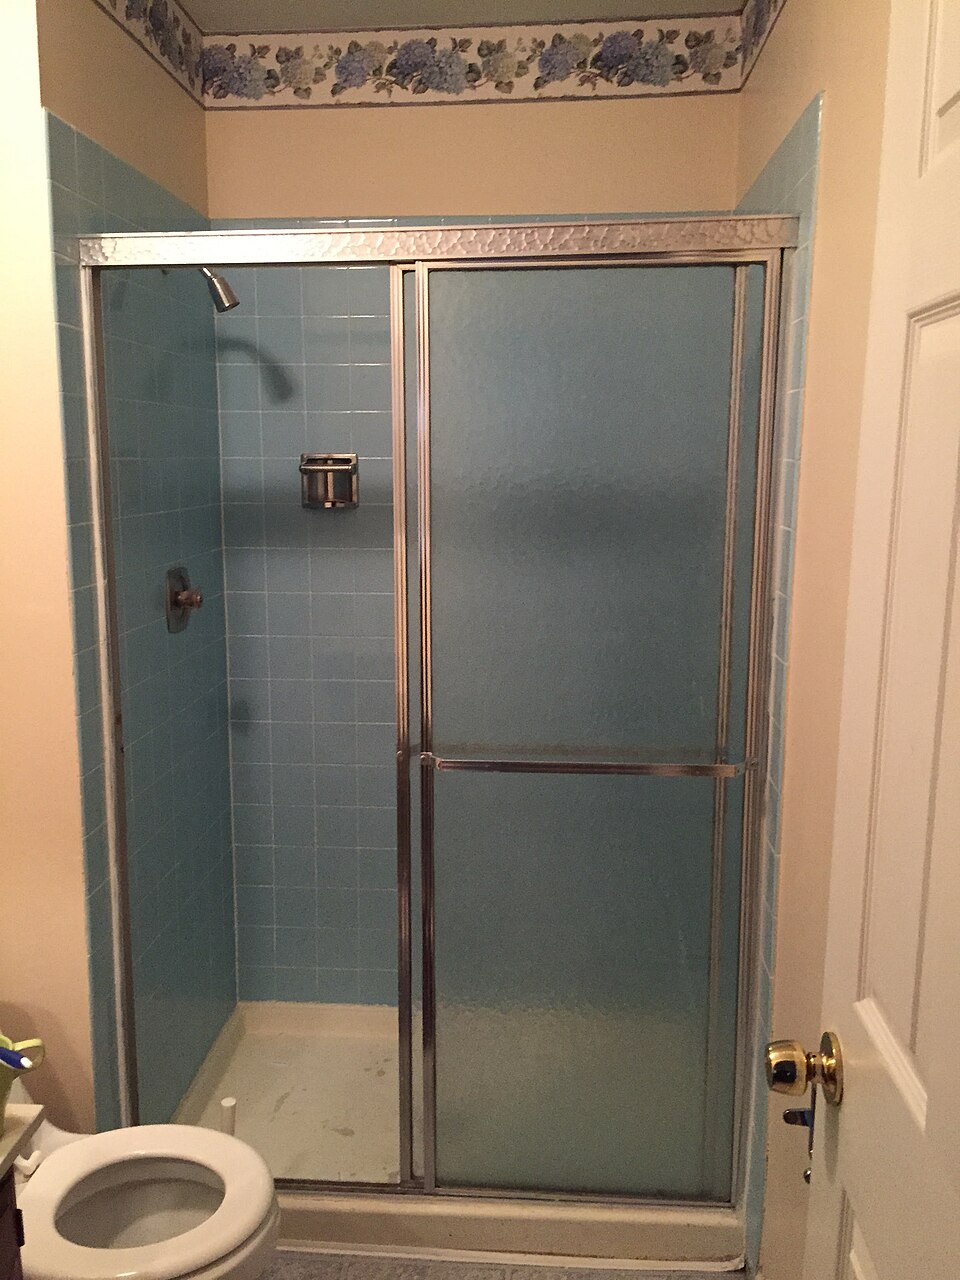
Bathrooms punish grout with daily wetting and drying. Water seeps into tiny pores in cement grout, then dries out.
Over many cycles, the grout weakens and can crumble at the edges. Heat from showers and sunlight speeds the same cycle.
Strong cleaners make it worse. Dream Clean Orlando warns that strong acidic products are risky for cement based grout and some natural stone. Acid eats at the cement binder and leaves joints porous and likely to crumble.
Bleach heavy products and abrasive scrubbing wear the surface down too. A neutral pH cleaner and a soft brush protect the joints.
Sealing helps with moisture and stains, but it is not a structural fix. TileBar states that sealing cement based grout guards against moisture, yet sealing alone will not stop cracking from movement or stress.
Sealer keeps water out of sound grout. It cannot glue failing grout back together or stop a flexing floor.
Reading the crack pattern
Where the crack sits tells you what caused it. Cracks along corners, tub edges, and wall to floor joints point to movement and the wrong joint material. Those spots need caulk, not more grout.
Cracks across the middle of a floor, spread over many joints, point to substrate trouble. A flexing subfloor, missing expansion joints, or tiles with poor adhesive coverage can all crack grout over a wide area. If tiles rock underfoot or sound hollow across a patch, the problem sits below the grout.
Hairline cracks in one or two joints are often age and wear. TileBar notes that properly installed grout can last decades, so cracking in the first few years usually signals an underlying issue rather than normal wear.
A single hairline crack in an older bathroom may just need a small repair. The same crack in a one year old shower deserves a closer look.
Watch for repeat cracking. A crack that returns in the same place after a repair means the cause is still active.
Movement, flex, or a missing expansion joint will break the new grout the same way it broke the old. Fix the cause first, then repair the joint.
How to repair small cracked grout
Small, stable cracks can be a do it yourself job. Start by removing the damaged grout. Use a grout saw or removal tool and clear the joint down to solid material.
TileBar warns against layering new grout over old grout, since it rarely bonds well and often cracks again. Vacuum the joint to remove dust.
Clean the joint and let it dry fully. Oils, soap residue, and hard water buildup block adhesion. In a shower, give the joint a full day to dry if you can.
Choose the right replacement for the spot. Stable floor and wall joints take fresh grout. Corners, tub edges, and changes of plane take color matched flexible caulk.
Pack the new material firmly into the joint and smooth it. For grout, follow the product instructions for curing before the area gets wet. For caulk, tool the bead smooth and let it cure fully.
Benjamin Franklin Plumbing suggests mildew proof caulk rated for wet areas in bathrooms. A neat bead that matches the grout color blends in well.
Do not rush the cure. Grout that gets soaked before it sets stays weak.
Keep the shower dry for the time the product label states, even if that means a day of sponge baths. Patience here is what separates a repair that lasts from one that cracks in a month.
When to call a professional
Some cracks call for expert help. Call a tile professional if cracks keep returning after repair, if tiles feel loose or rock underfoot, or if you see soft drywall, damp smells, or staining on the wall next to a shower. Those signs suggest water getting behind the tile or a substrate problem.
Dream Clean Orlando lists warning signs that deserve a closer look, including cracks that widen or multiply, grout that falls out when touched, tiles that sound hollow over a large area, and cracked tile beside cracked grout. A cracked tile beside cracked grout can point to impact damage, structural movement, or missing support below the tile. Filling grout alone will not fix those conditions.
Remember that grout and tile are not the waterproof layer of a shower. The layers behind the tile must direct water safely to the drain.
If water has been entering through cracked joints for months, the backup layers may need inspection too. A professional can judge whether the fix is regrouting or a deeper repair.
Preventing the next round of cracks
Good habits slow grout wear. Sweep grit off tile floors often, since sand and dirt grind at the joints underfoot. Mop with a neutral cleaner instead of reaching for acidic or bleach heavy products every week.
In showers, run the fan during and after bathing, and squeegee walls when you can. Less standing moisture means slower wear.
When you plan new tile work, insist on the right materials for each joint. Ask the installer about movement joints at corners and perimeters, the grout type for the joint width, and the cure time before use.
Those choices decide whether the grout lasts decades or cracks in a year. If a wall hole appears during the same bathroom refresh, see how to patch a small drywall hole step by step for the matching repair.
Frequently asked questions
Can I put new grout over old grout?
No. New grout needs a clean, stable surface to bond.
TileBar states that grouting over old grout rarely works and often leads to uneven color, weak adhesion, and repeat cracks. Remove the damaged grout first.
Why does my shower grout keep cracking in the same spot?
Repeat cracking in one spot points to movement, a flexing substrate, or a joint that needs caulk instead of grout. Regrouting alone will not hold until the cause is fixed.
Does sealing grout stop it from cracking?
No. Sealing protects against moisture and staining.
It does not stop cracking from movement or structural stress, according to TileBar. Treat sealing as maintenance, not as a repair.
Is cracked grout dangerous?
Cracked grout lets water under the tile, which can lead to loose tiles, mold, or damage to the layers behind the tile. Small cracks in dry areas can wait for a planned repair. Cracks in a shower deserve faster attention.
The bottom line
Grout cracks because it is rigid and the house around it is not. Movement, mixing errors, weak substrates, moisture, and harsh cleaners each play a part.
Match the fix to the cause, use caulk at corners and edges, and bring in a professional when cracks repeat or tiles move. Early repairs cost far less than the water damage that follows ignored cracks.
Tags: grout, bathroom, tile, home repair
Latest in Home
- How to Find a Wall Stud Without a Stud Finder
- How to Patch a Small Drywall Hole Step by Step
- How to Sharpen Lawn Mower Blades Safely at Home
- Why Do LED Bulbs Flicker in Some Fixtures but Not Others
Subscribe for one practical home repair guide each week.
Related stories
Why Your Faucet Keeps Dripping After You Turn It Off
A dripping faucet is usually a worn washer, O-ring, or cartridge that can no longer seal. One drip per second wastes over 3,000 gallons
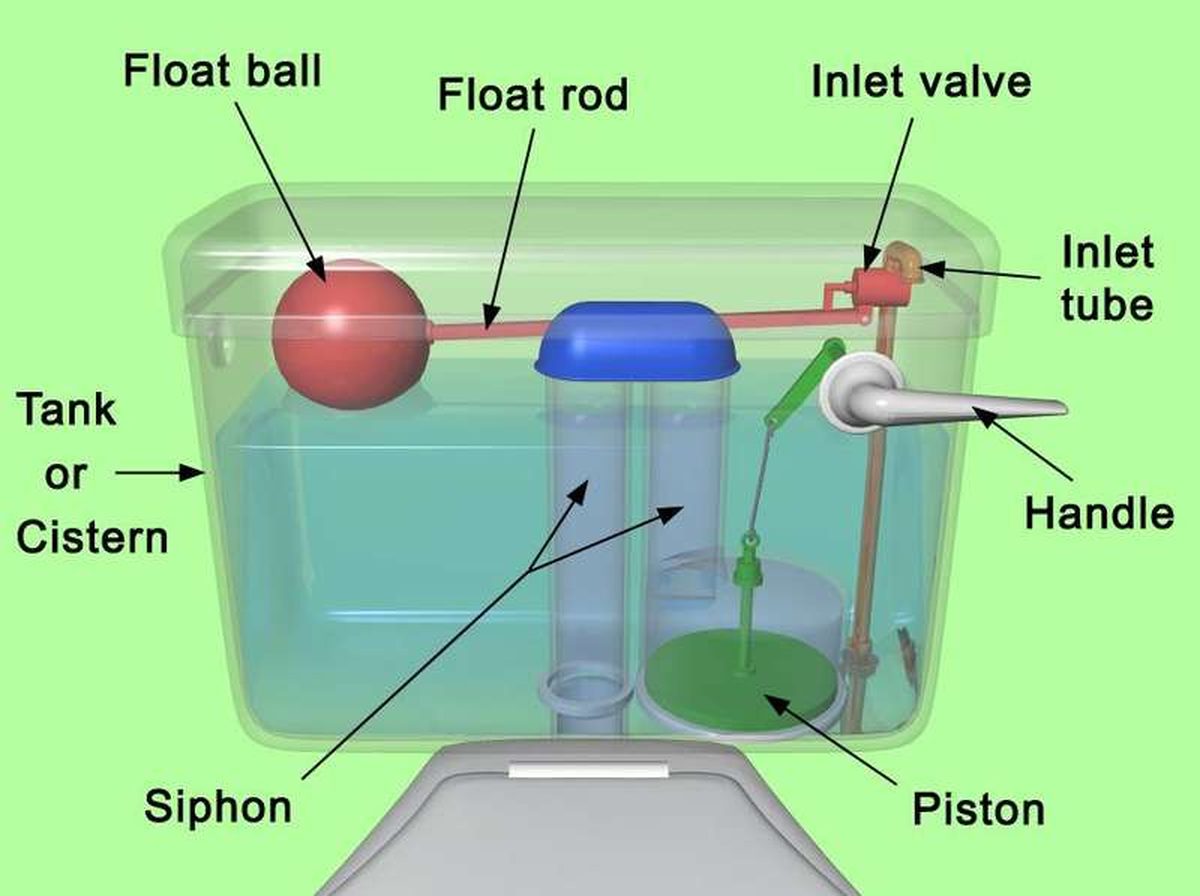
How to fix a running toilet without a plumber in 30 minutes
A running toilet can waste 200 gallons of water a day. Diagnose the flapper, float, or fill valve in two minutes, then fix it yourself

How to hang heavy shelves on drywall safely
Studs first, toggle bolts second, plastic anchors never for heavy loads. Weight ratings, installation steps, and mistakes that bring