
Why does paint peel off in the bathroom?
By Rive News / Research desk | Rive News / Published October 21, 2026 at 9:00 AM PKT
Key takeaways
- Peeling bathroom paint is an adhesion failure: moisture behind the film, paint that cannot handle humidity, or a new coat that never bonded.
- The back of a flake diagnoses it: glossy old paint underneath means a bond failure; bare or damp drywall means a moisture problem.
- The lasting fix pairs ventilation with a bonding primer and a satin or semi-gloss paint made for wet rooms.
Bathroom paint fails more than any other paint in the house. Ask any decorator which job they get called back to most, and the answer is the bathroom that shed its coat within a year. The homeowner blames the paint, but the truth usually sits in the walls, the air, or the preparation, not in the tin.
This article explains the four reasons bathroom paint peels, how to read the failure like a diagnostic, and the repair sequence that keeps the new coat on the wall.
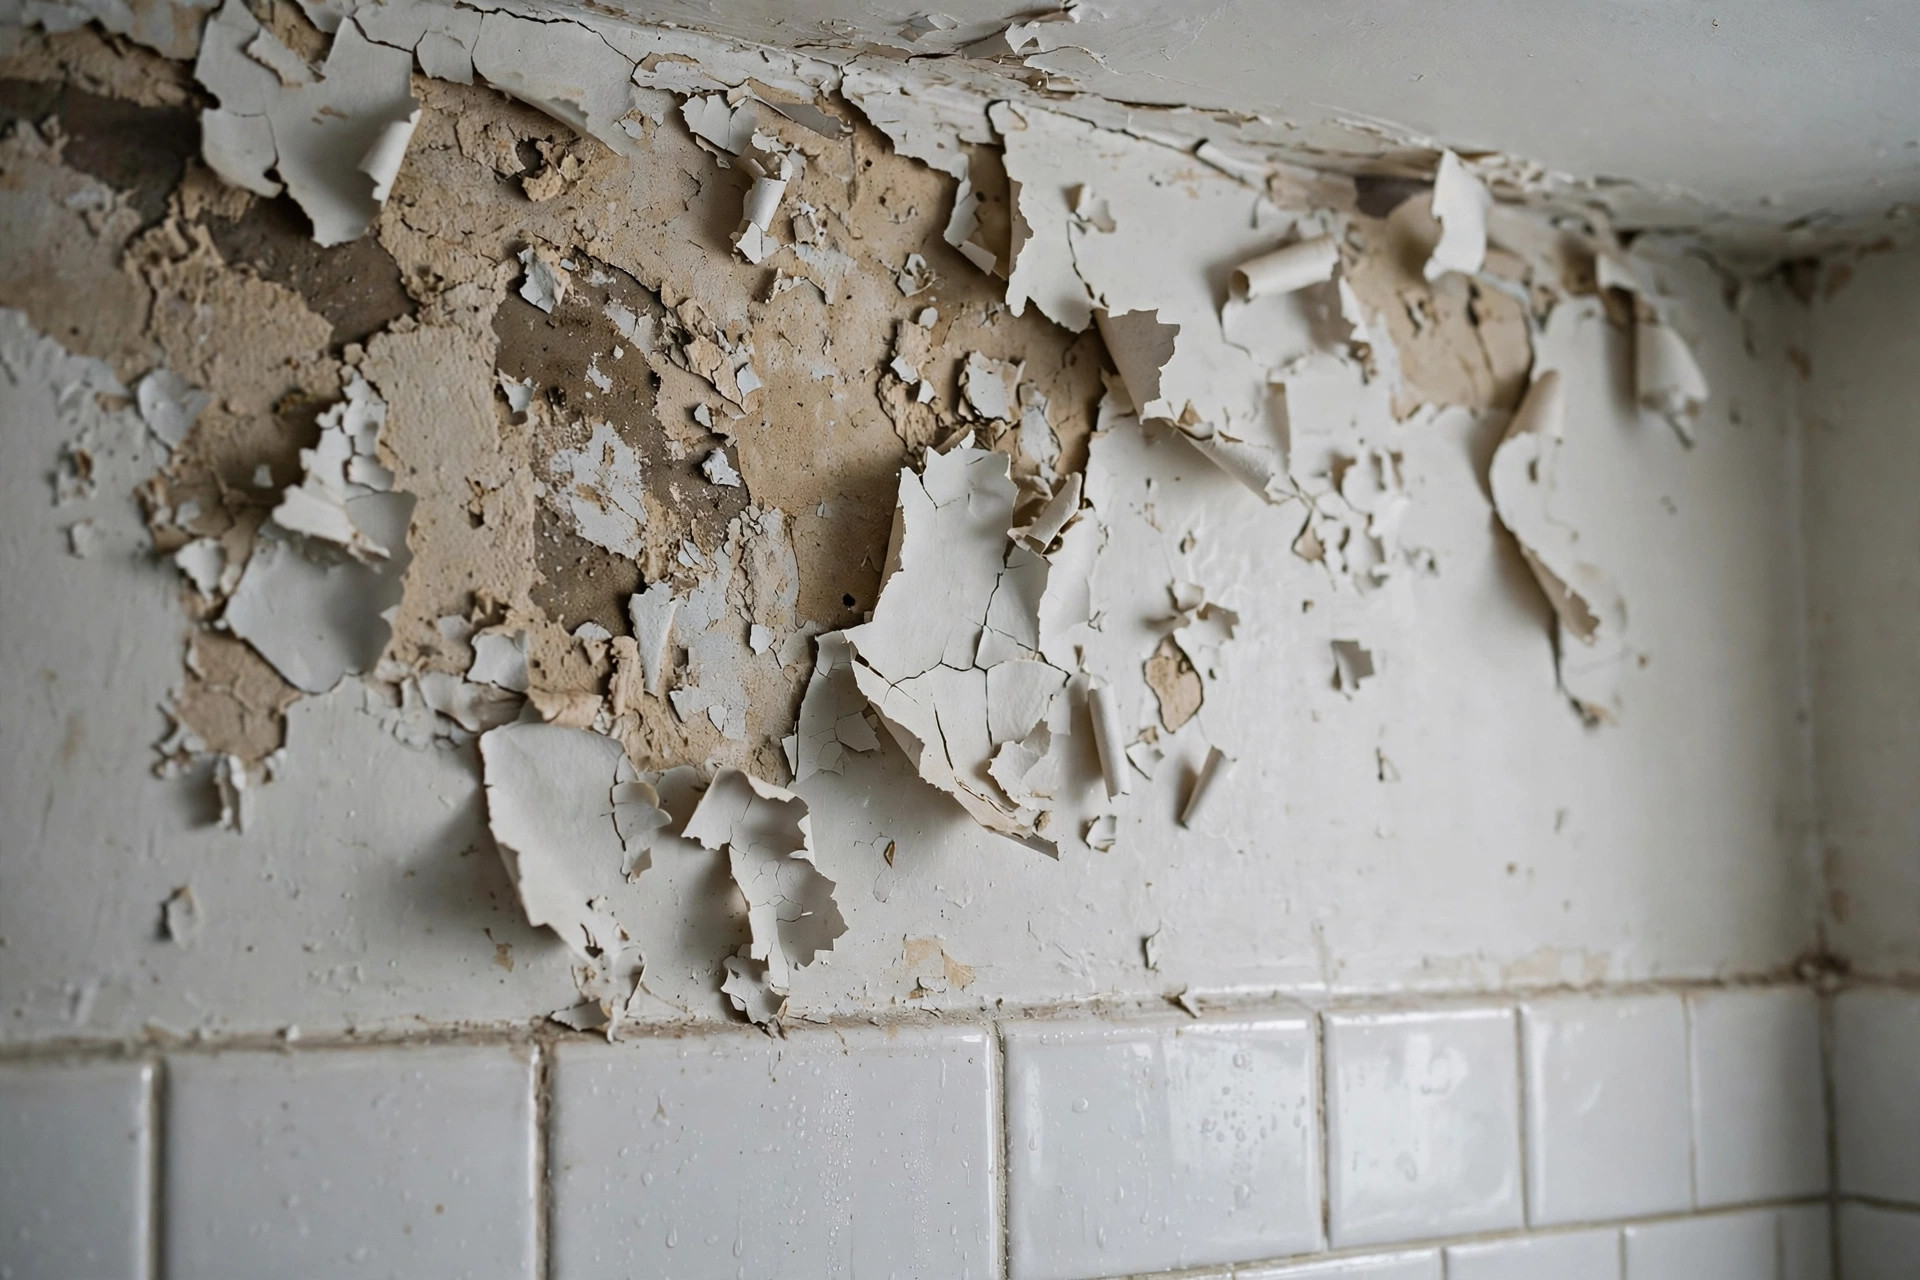
Paint peeling from a bathroom wall near the ceiling, where steam collects after showers. Illustration: AI-generated for Rive News.
Image Credits: AI-generated (Rive News)
What the flake itself tells you
Before you buy a single tin of paint, peel off one loose flake and look at its back. Toronto painting contractor FAIME teaches this as the first diagnostic step, and it cleanly separates the two families of failure.
If the underside of the flake shows glossy old paint, you have a bond problem. The new coat never gripped the slick surface beneath it and is letting go in long smooth sheets. The wall itself may be perfectly dry; the paint simply never stuck.
If the underside shows bare drywall paper, or the surface underneath is damp or crumbly, you have a moisture problem. Water is getting into the wall itself, and no repaint will hold until that is handled. This distinction matters because the two failures demand completely different fixes.
Primer fixes a bond failure. A fan fixes a moisture failure. Guessing wrong means doing the job twice.
Moisture with nowhere to go
The biggest cause is steam with no exit. A hot shower pumps an enormous amount of water into the air. Without an exhaust fan that vents outside, and runs for a good while after the shower, that vapor condenses on the ceiling and upper walls and works its way behind the paint film.
The physics is straightforward. Warm humid air meets a cooler wall, and the vapor turns back into liquid water at the dew point. Exposed Magazine, reporting on this in August 2026, notes that a north-facing bathroom wall with no insulation behind the plaster can sit 3 to 6 degrees Celsius cooler than the rest of the room in winter, more than enough to hit the dew point of a steamy bathroom.
That film of liquid water then does its slow damage. It seeps through the microscopic pores of the paint film and accumulates between the coating and the wall. Trapped water exerts vapor pressure as it tries to evaporate, physically pushing the paint film away from the surface.
The bond breaks, blisters form, the blisters rupture, and peeling follows. Ceilings over the shower peel first, and corners run a close second, because warm moist air collects exactly there.
The fan is the difference between a paint job that lasts and one that does not. Engineer Fix recommends running the exhaust fan for the entire shower and for at least 10 to 15 minutes afterward, long enough to fully evacuate the humid air. Many fans are undersized or switched off the moment the shower ends, which guarantees the moisture lingers and the saturation continues.
If your bathroom has no fan at all, that is the repair to make before the repaint. Our guide to preventing bathroom mold without an exhaust fan covers the stopgaps that help in the meantime.
The wrong paint for a wet room
Paint is not paint. Flat wall paint and standard ceiling paint are porous; they absorb moisture and are difficult to clean. In a bathroom, that porosity becomes a wick that carries water straight to the substrate.
Bathrooms need a paint formulated for humid rooms, in a satin, eggshell, or semi-gloss sheen, with mildew resistance built in. Higher-sheen paints carry dense resin binders that form a tighter film, resisting the constant wet-dry cycling that destroys flat finishes. The sheen is doing structural work here, not just cosmetic work.
There is a second, sneakier version of this mistake. Interior walls coated with low-quality or non-breathable exterior paint can trap moisture vapor behind a less permeable layer, and the vapor pressure builds until the film lets go in blisters.
Paint matched to the environment beats paint matched to the leftover tin in the garage. And if you do buy more than the job needs, our guide to how to store paint so it stays usable for years keeps the leftover tin fresh.
A new coat that never bonded
The third classic failure is latex paint applied over old oil-based or high-gloss paint without sanding and without a bonding primer. The new coat has nothing to grip. It sits on a slick surface, cures into a film with no mechanical key, and eventually releases in long clean sheets, the glossy-back flakes from the diagnostic above.
This failure is entirely about preparation. Old gloss must be scuff-sanded to give the new coat something to hold, and a bonding primer bridges the chemistry gap between the old surface and the new latex. Skip either step and the paint is essentially shrink-wrap: it looks finished until the first good steaming loosens it.
Painting over grime, not over wall
Bathroom walls are filthy in ways you cannot see. Soap film, hairspray, body oils, and mildew coat every surface, and paint applied over them bonds to the residue instead of the wall. The residue then fails, and it takes your new paint with it.
This is the failure people find most insulting, because they did everything else right (good paint, right sheen, careful rolling) over a surface that was never clean. Degreasing the walls with a proper cleaner, rinsing, and letting the surface dry completely before priming is not optional prep. It is the bond itself.
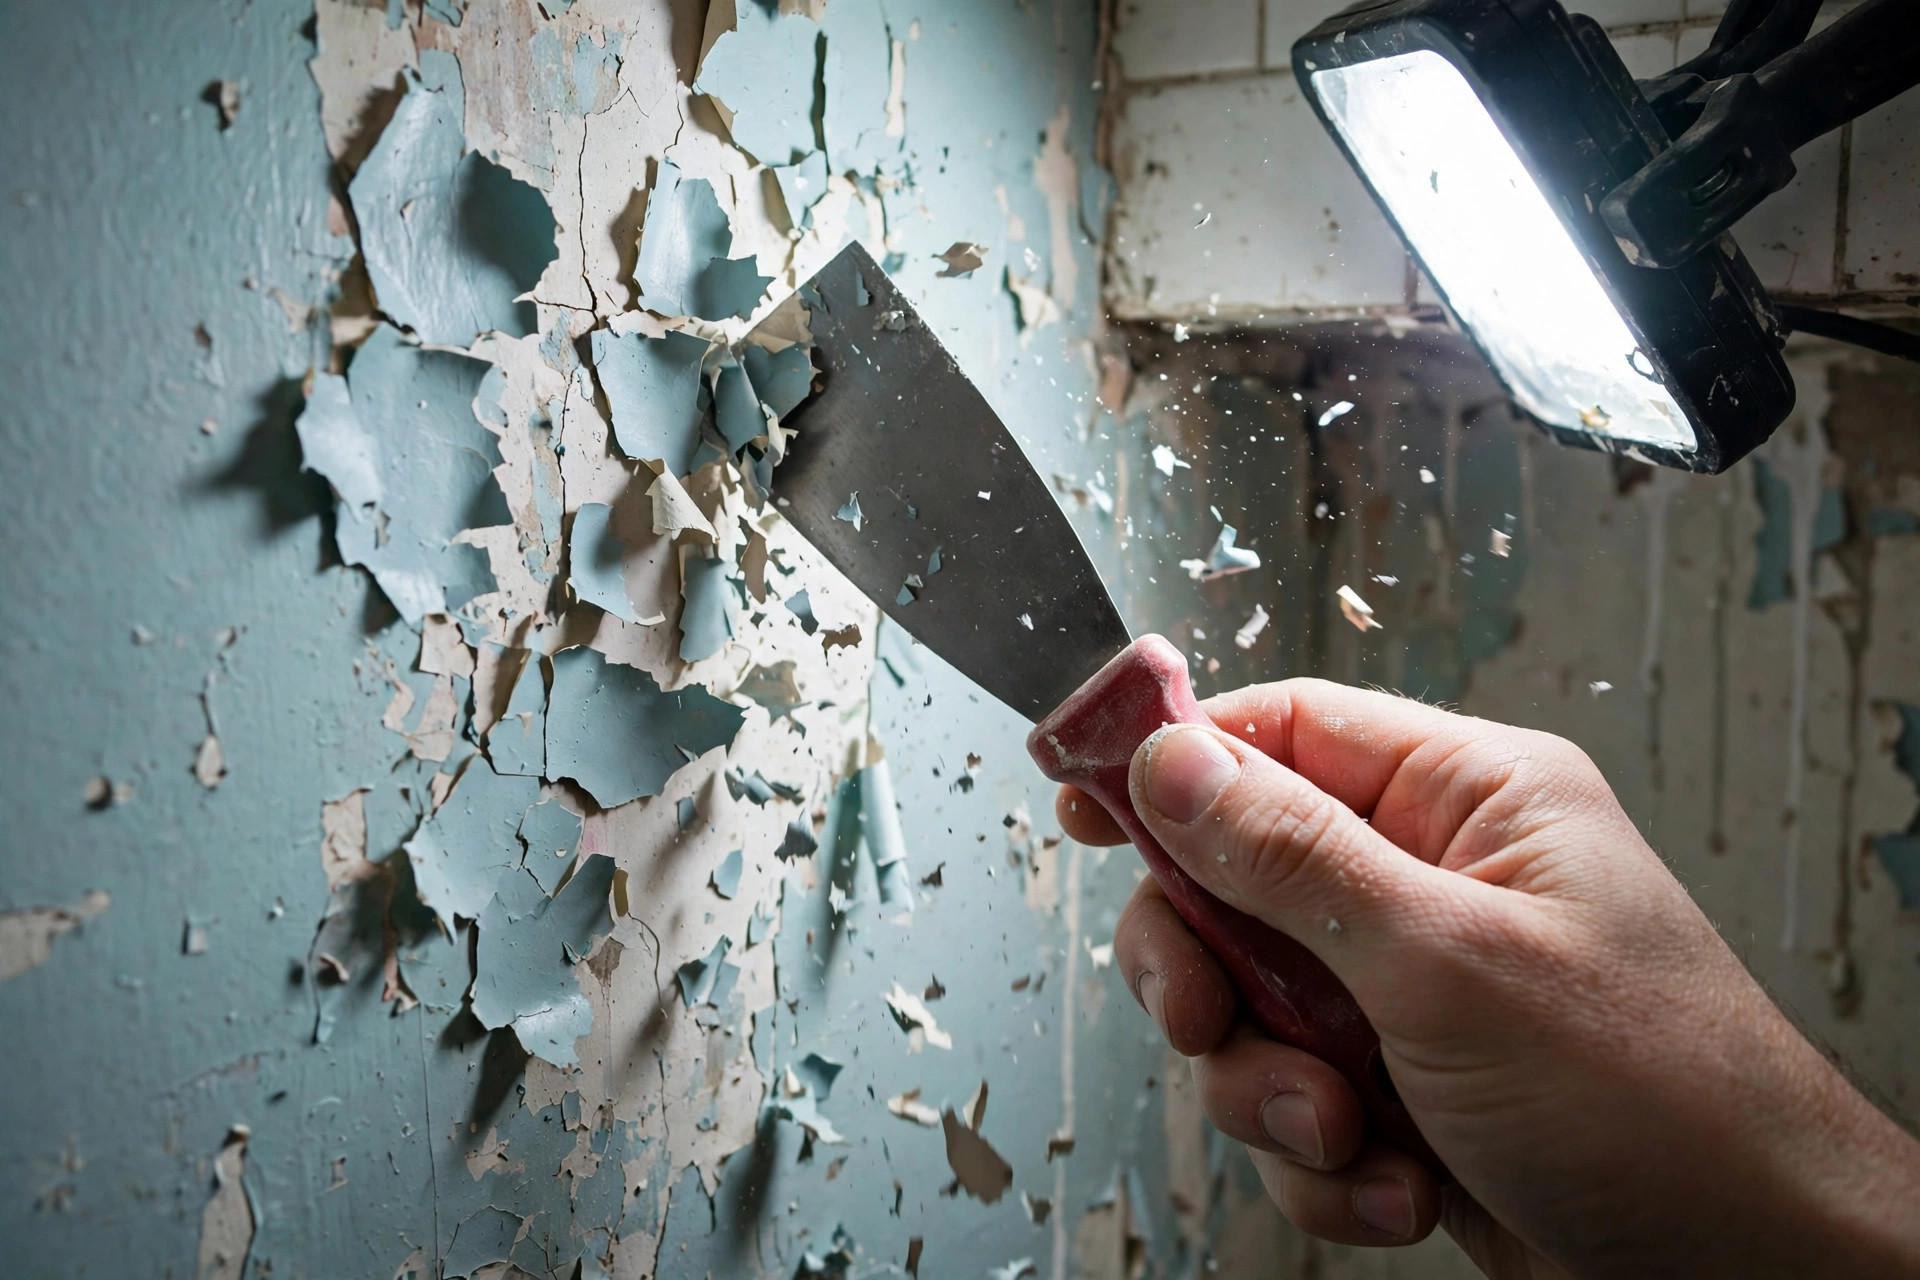
Scraping back every loose flake before repriming and repainting. Illustration: AI-generated for Rive News.
Image Credits: AI-generated (Rive News)
Fixing it so it stays fixed
The repair sequence matters. Scrape off every bit of loose and peeling paint first, because painting over failed paint is the most common cause of repeat failure. Any lifted, blistered, or flaking section has to come off.
Sand the edges of the remaining sound paint smooth so the repair does not telegraph through. Fill any cracks before priming; see how to fill cracks in plaster walls before painting.
Wash the bare areas and the surrounding wall to remove soap film and residue, then let everything dry thoroughly. Prime the bare spots with a high-adhesion primer suited to damp rooms: a bonding primer over any remaining gloss. Then apply two coats of a quality acrylic latex in satin or semi-gloss, formulated for bathrooms.
Then protect the investment. Run the fan during every shower and for 10 to 15 minutes after. Wipe down the ceiling and upper walls if they run with condensation.
If the wall behind the paint is damp or crumbling, fix the leak or the cold bridge before the cosmetic work. Cladding or fresh paint over an active moisture source seals the problem in and makes it worse. For surrounding bathroom moisture damage, our guide to getting rid of mould on bathroom walls pairs well with this repair.
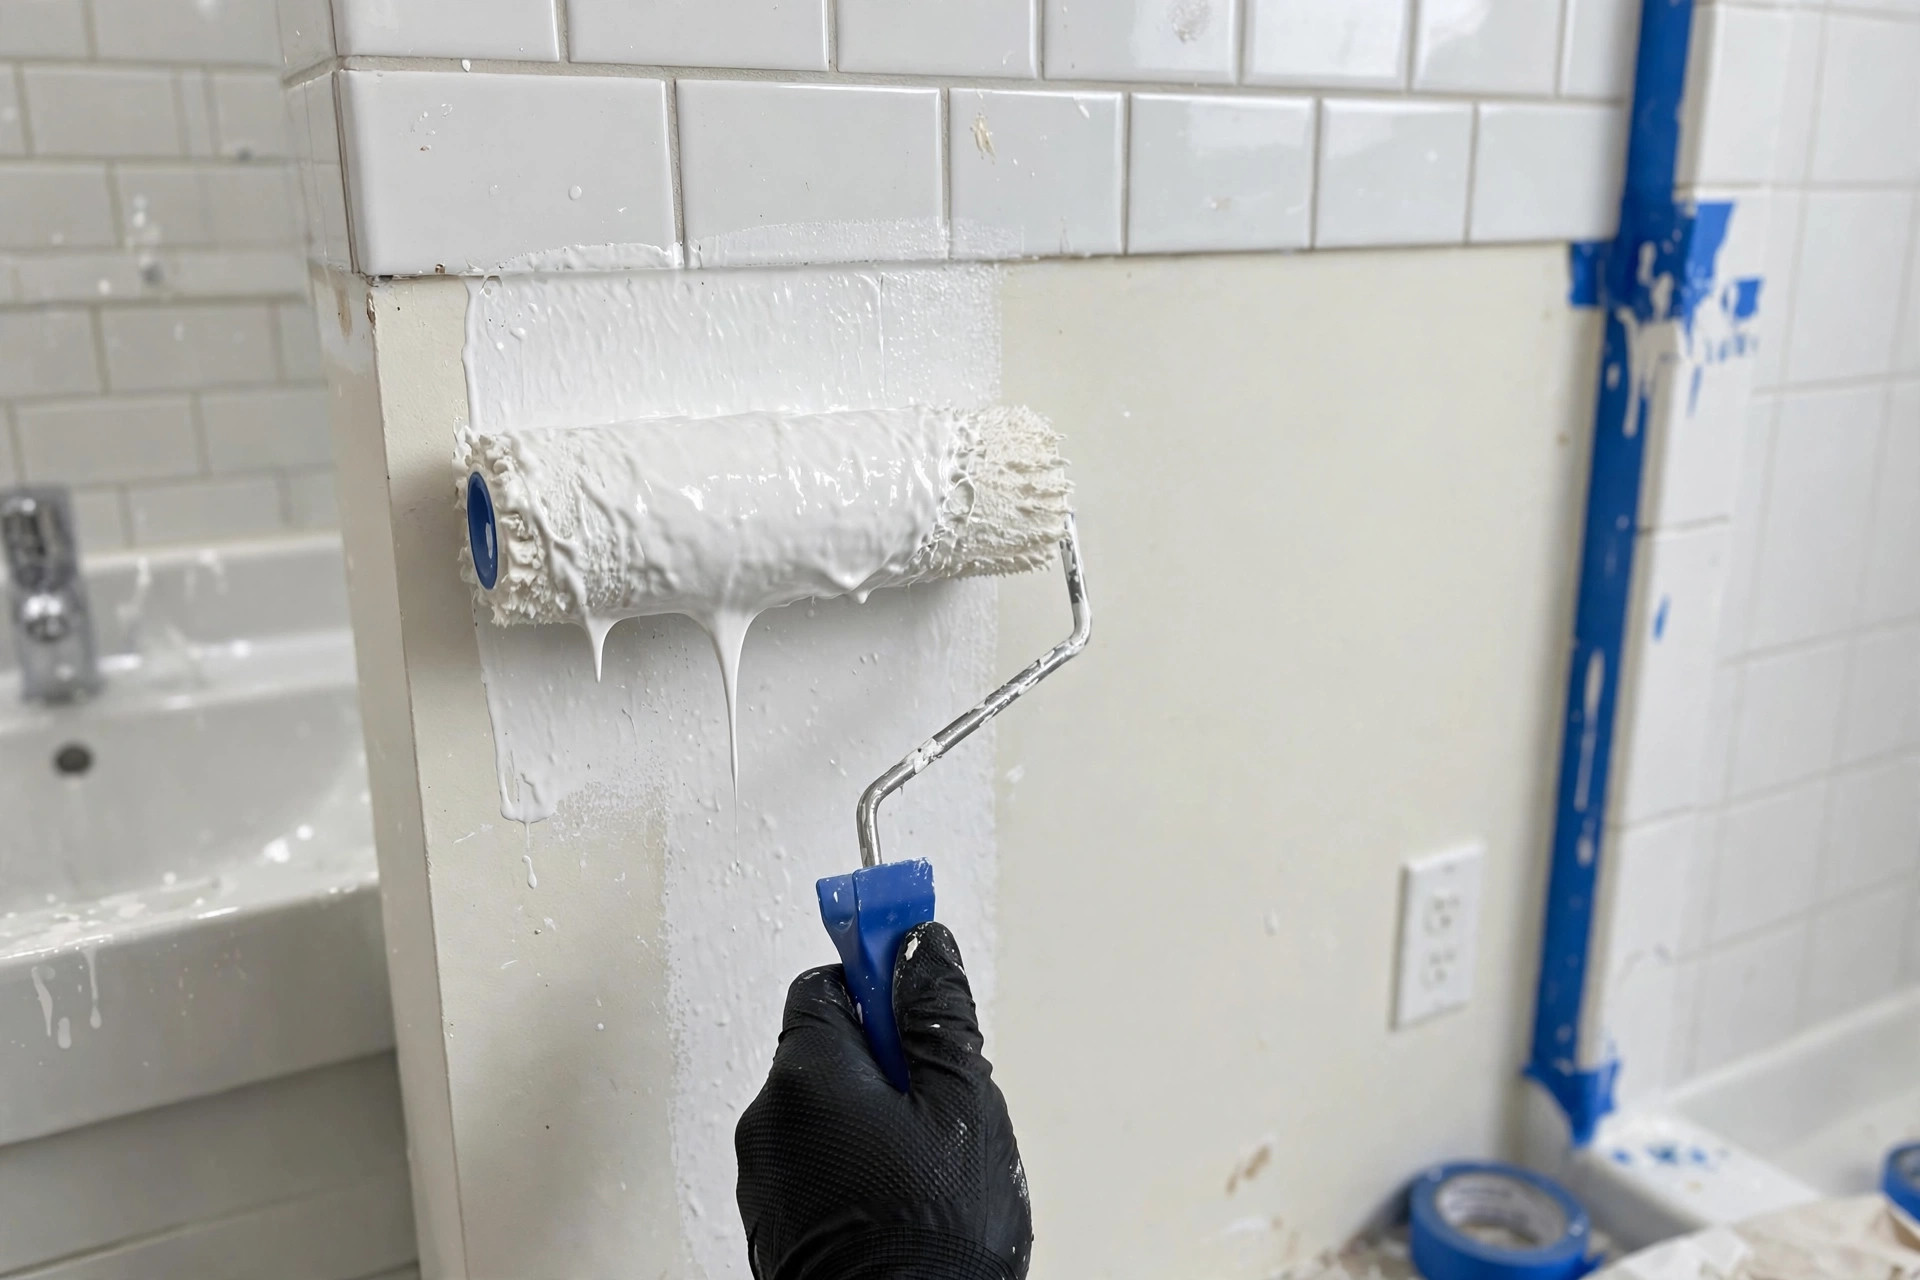
Rolling on a bathroom-grade satin finish after priming the bare areas. Illustration: AI-generated for Rive News.
Image Credits: AI-generated (Rive News)
Frequently asked questions
Why does bathroom paint peel mostly on the ceiling?
Warm moist air rises, so the ceiling over the shower sees the heaviest condensation. It is also the surface furthest from air movement, which keeps the moisture sitting there longest after the shower ends.
Can I just paint over peeling bathroom paint?
No. Every loose flake must be scraped back to sound paint, the edges sanded, and bare areas primed. New paint bonds to whatever is underneath it, and if that is failing paint, the new coat fails with it.
What sheen is best for bathroom paint?
Satin, eggshell, or semi-gloss. These sheens use dense resin binders that resist moisture far better than flat paint, and they clean without scrubbing the finish off. Flat paint belongs in bedrooms, not bathrooms.
How long should the exhaust fan run after a shower?
At least 10 to 15 minutes after the water stops, on top of running it during the entire shower. The goal is full air exchange. Visibly clear air is not enough, because the walls are still loaded with moisture.
When is repainting not worth it anymore?
When the same wall fails yearly despite proper prep and paint. Shower surrounds, the wall behind the basin, and walls around the bath take soaking that paint was never built for. Fix the moisture source first, then consider whether a non-painted surface suits those zones better.
The bottom line
Bathroom paint peels when moisture, the wrong paint, a failed bond, or a dirty surface breaks the film's grip. Read the flake, fix the air, prime the surface, and finish in a bathroom-grade satin. Do those four things and the paint stays where you put it.
Scrape one loose flake this weekend and look at its back. That thirty-second check tells you whether you need a fan or a primer. It is the difference between a repaint that lasts a decade and one that lasts a season.
Rive News is a research desk that checks painting advice against contractor practice and manufacturer data sheets before writing about it.
Related
- How to Fill Cracks in Plaster Walls Before Painting
- How to store paint so it stays usable for years
- How to Get Rid of Mould on Bathroom Walls Safely
- How to prevent bathroom mold without an exhaust fan as a renter
Subscribe to the Rive News newsletter for one practical home fix every week.
Published by Rive News. Information is for general purposes only.
Related stories
Why Your Faucet Keeps Dripping After You Turn It Off
A dripping faucet is usually a worn washer, O-ring, or cartridge that can no longer seal. One drip per second wastes over 3,000 gallons
How to fix a running toilet without a plumber in 30 minutes
A running toilet can waste 200 gallons of water a day. Diagnose the flapper, float, or fill valve in two minutes, then fix it yourself
How to hang heavy shelves on drywall safely
Studs first, toggle bolts second, plastic anchors never for heavy loads. Weight ratings, installation steps, and mistakes that bring