
How to Read a River Current Before Swimming or Kayaking
By Rive News
Research desk | Rive News
Key takeaways
- The surface of a river is a map. V shapes mark rocks, smooth glassy tongues mark clear channels, and horizontal lines mark drops you must scout on foot.
- Strainers (fallen trees in the current) and low-head dams are the two features that kill the most people. Both are identifiable before you launch.
- Eddies are calm rest spots behind rocks and inside bends where the current reverses. Learn to spot them and you always have an escape.
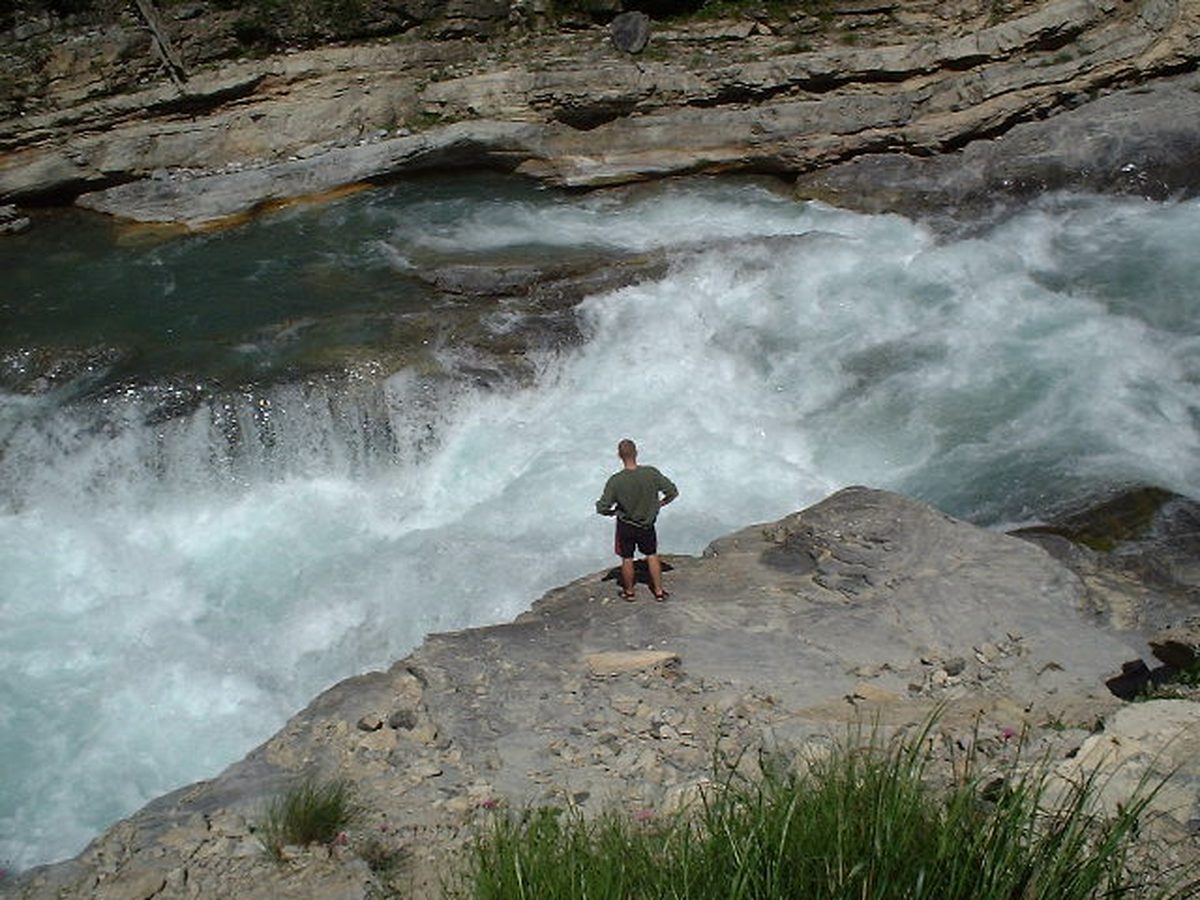
A river's surface tells you what is happening underneath, if you know the vocabulary. Rocks, drops, deep channels, and deadly traps all announce themselves in the shapes the water makes. Learning to read those shapes is the single most useful safety skill for anyone who swims, tubes, or paddles in moving water.
This guide covers the features to recognize, the rapid-classification scale that tells you what you are looking at, and a short scouting routine to run before you ever get in.
Why reading the water matters
Still water is honest: what you see is what you get. Moving water hides its hazards below a busy surface, and current adds force.
Waist-deep water moving at a brisk walking pace can knock an adult off their feet. Flood-stage rivers multiply that force many times over.
The good news is that the same physics that creates danger also creates readable patterns. Water always takes the path of least resistance. The shapes it forms around obstacles are consistent from a backyard creek to a big western river.
The feature decoder
Upstream V: rock ahead, go around
When water flows over a submerged rock, it piles up and splits around it. It forms a V with the tip pointing upstream, toward you. The Missouri Department of Conservation's river-reading guide puts it plainly: if you see an upstream V, paddle around it.
The tip of the V marks the obstacle. Hitting a rock sideways can pin a boat or flip it. Give these a wide berth or pick a line well clear of the point.
Downstream V: the safe channel, aim for it
When water funnels between two rocks, it forms a V with the tip pointing downstream, away from you. This is the tongue. It is usually the deepest, clearest path through a rapid. The DC Rescue hydrology notes describe it as the line you want to aim for.
Look for dark green water in the tongue. Dark means deep. Pale, churning water means shallow. Shallow is slower but can leave you scraping bottom.
Eddies: your rest stops and escapes
Behind every boulder, bridge piling, and inside river bend, the main current leaves a pocket of calm. It often flows gently back upstream. These are eddies, and they are the friendliest feature on the river.
Eddies are where you rest, regroup, bail out water, and plan the next move. On any river with current, you should always know where the next eddy is. The line where the eddy's upstream flow meets the main current is the eddy line. It can feel grabby as you cross it. Cross it with a little speed and lean and it behaves fine.
Strainers: the feature that kills
Fallen trees and brush piles in the current act like giant spaghetti strainers. Water pours through, but solid objects, including people, do not. A swimmer pinned against a strainer by current can be trapped underwater with enormous force. Strainers kill more recreational river users than any rapid feature.
Identify them from the bank before launching. Anywhere the river bends hard against the outside bank, look for downed trees with branches in the water. Give strainers the widest possible berth. Never try to climb over one from upstream.
Horizon lines: get out and look
A flat, horizontal line across the water's surface means the river drops suddenly just beyond it. That drop could be a playful three-foot ledge or a lethal waterfall or low-head dam. From upstream you cannot tell which.
The only safe response is the one the Missouri conservation guide prescribes. Beach your boat or get out of the water, walk downstream, and look at it before you commit. "When in doubt, scout" is not a slogan. It is the rule that separates experienced paddlers from lucky ones.
Washboard ripples: shallow, not dangerous
Small, closely spaced ripples mean the water is thin over gravel or rock. They will not flip you, but they will slow you down. They may force you to get out and drag your boat. Annoying, not alarming.
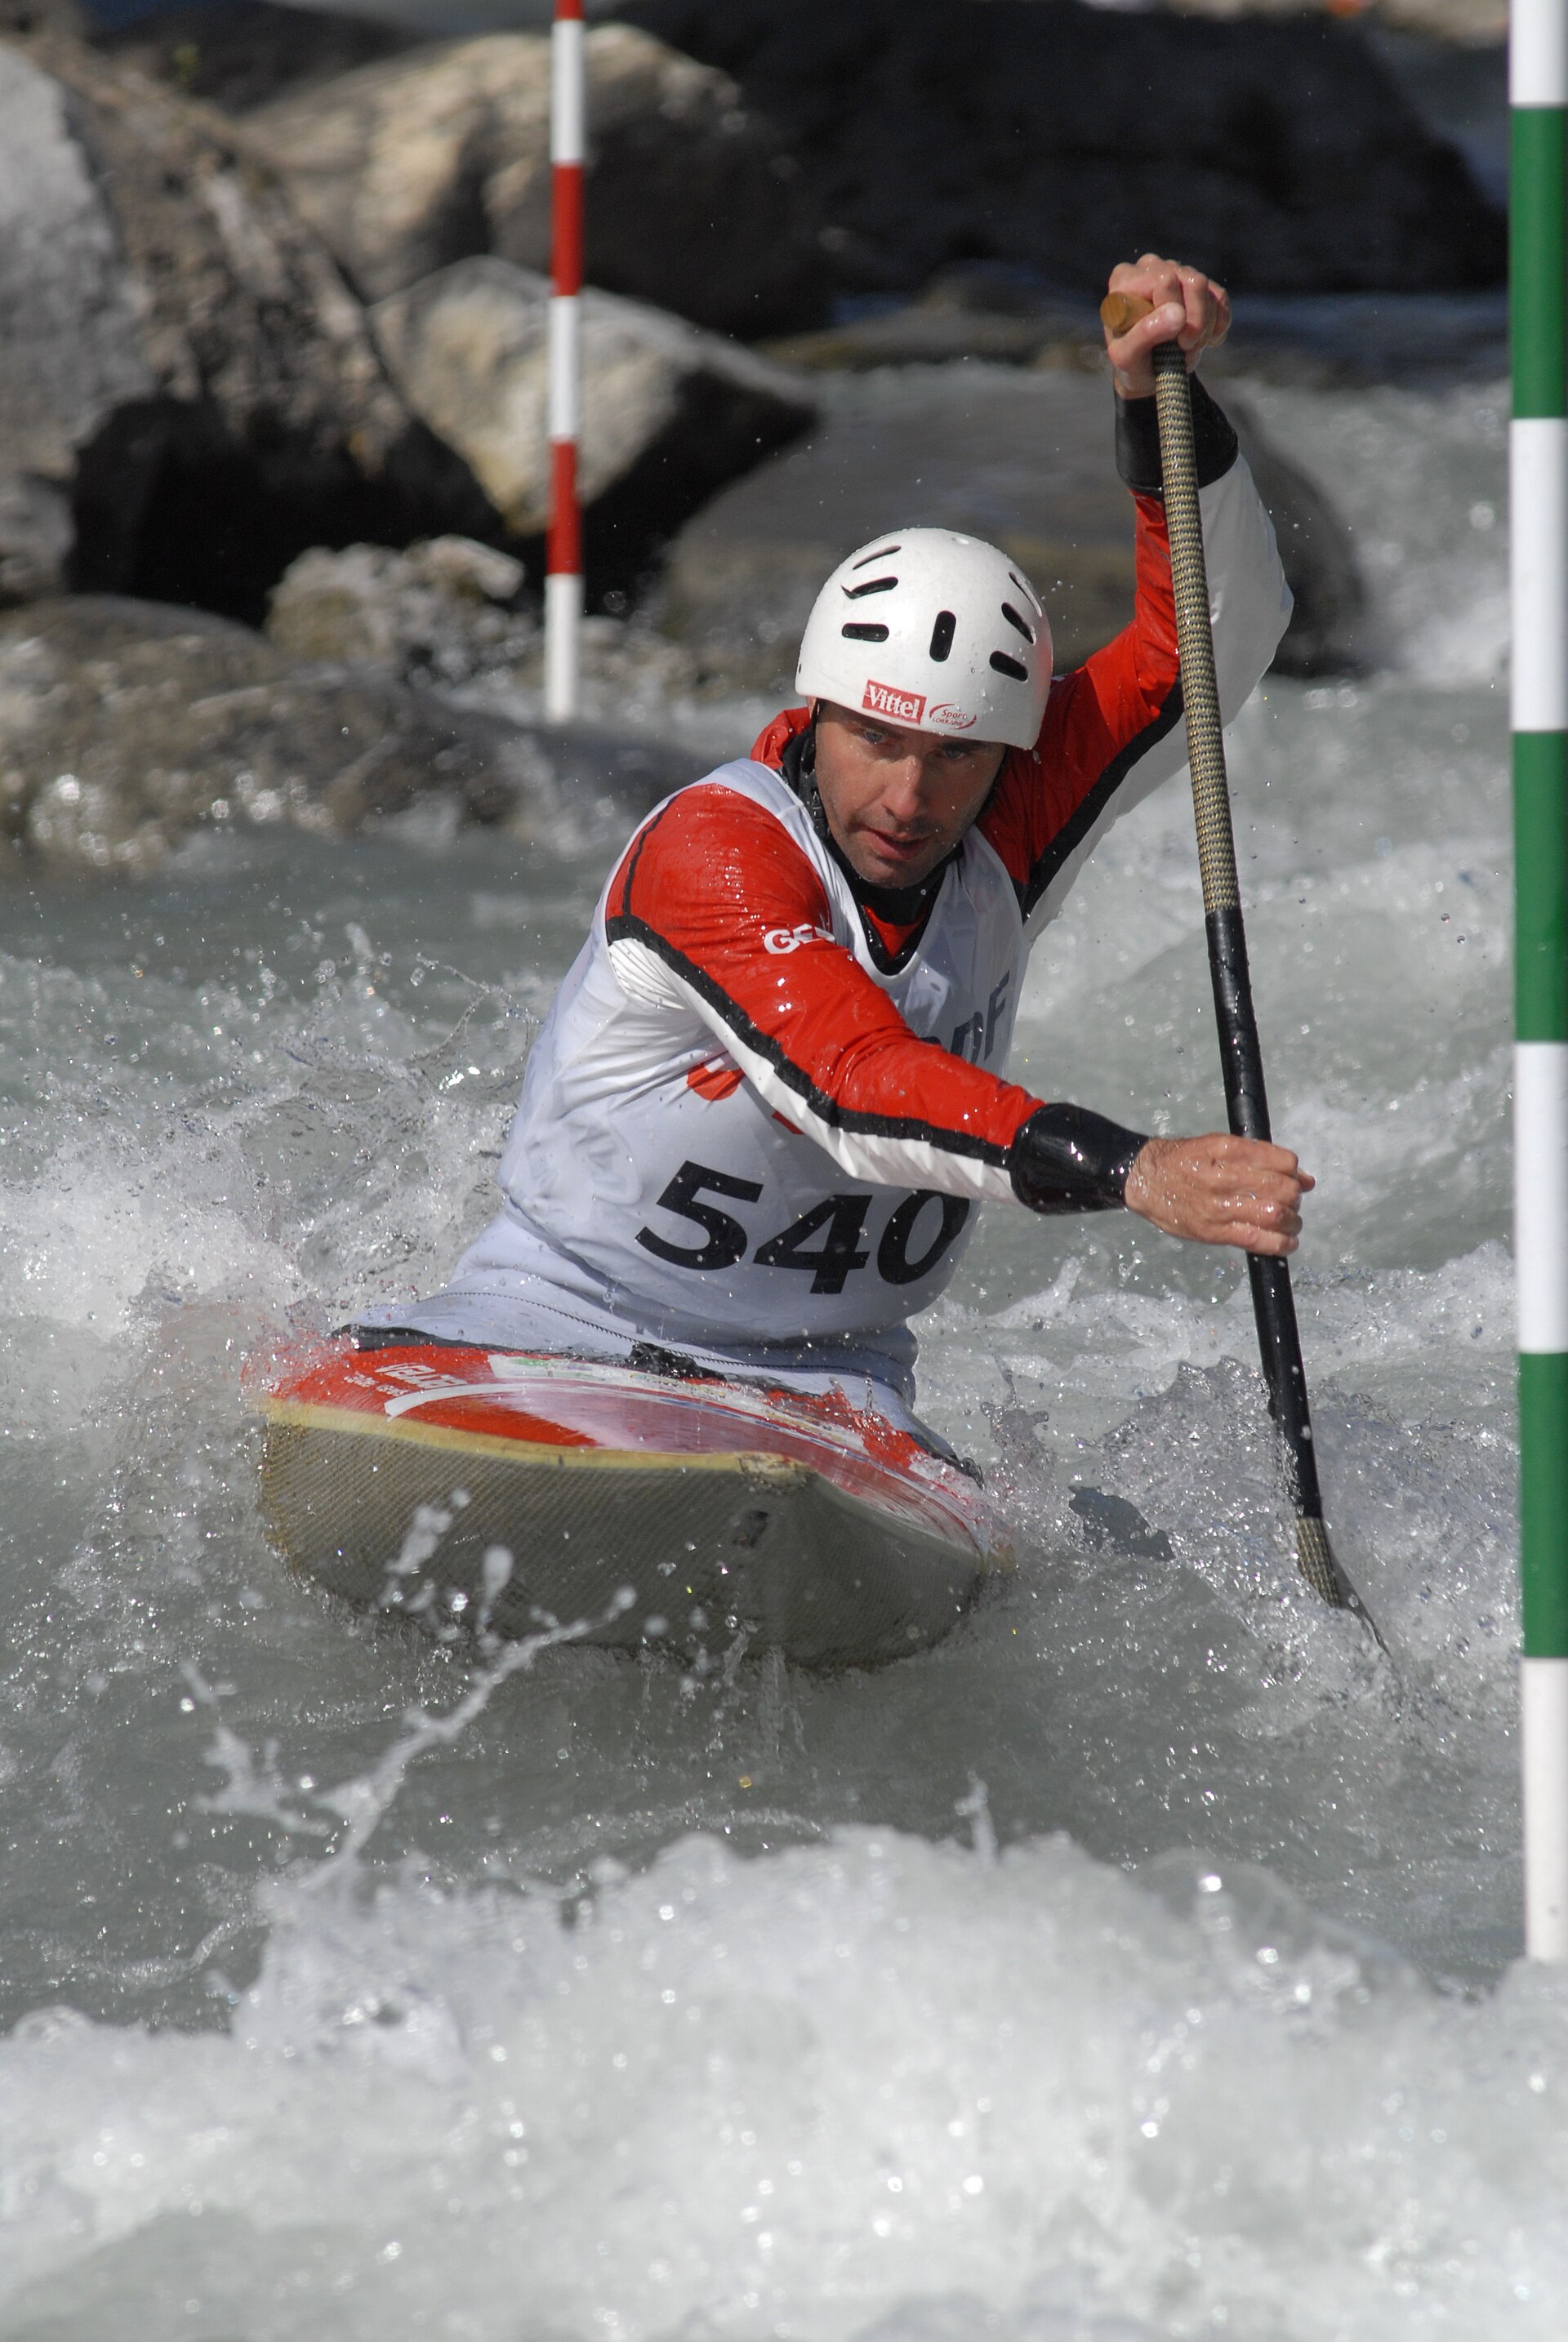
The rapid scale: Class I to VI
Rivers and river sections are graded on the international scale of river difficulty. Public Lands' kayaking guide summarizes it well:
- Class I: slow-moving flatwater with tiny riffles. Suitable for beginners and swimmers in calm stretches.
- Class II: straightforward rapids with wide, clear channels. Occasional maneuvering needed.
- Class III: moderate rapids with irregular waves. Requires real boat control and rescue skills.
- Class IV: intense, powerful rapids needing precise handling.
- Class V: long, violent rapids with serious hazard. Expert only.
- Class VI: considered unrunnable, or at the absolute edge of possibility.
A practical rule: until you can roll your kayak or reliably self-rescue, stay on Class I and easy Class II water. For swimmers, anything above Class I deserves serious caution. Flood-stage rivers are dangerous at every class because the ratings assume normal flows.
The five-minute pre-launch routine
Do this from the bank before you get in, whether you are swimming, tubing, or kayaking:
- Walk the section. Look downstream for horizon lines, strainers, and bridges. Bridge pilings create eddies and sometimes debris. Identify your takeout point and how you will recognize it from the water.
- Check the level. Rivers change character with flow. Recent rain, dam releases, or snowmelt can turn a familiar Class II into something much pushier. When in doubt, ask a local outfitter.
- Toss a stick. Throw a floating stick or leaf in upstream and watch it. Its speed and path show you the current's strength and direction better than any guess. If you would struggle to swim against it, respect it.
- Find your eddies. From the bank, pick out the calm spots behind rocks and on inside bends. Those are your rest stops and your plan B.
- Dress for the water, not the air. Cold water changes everything about a swim or a capsize. Read why you need a wetsuit in water that feels fine and what to wear kayaking in cold water before shoulder-season trips.
Swimming in current: the defensive position
If you end up swimming unexpectedly, the standard defensive position is this. Lie on your back, feet pointed downstream and up near the surface, toes out of the water. Feet-first protects your head. It lets your feet fend off rocks instead of your skull. Never stand up in fast, knee-deep water. A foot trapped between rocks with current pushing is how drownings happen in shallow rapids.
Swim aggressively toward an eddy or the bank. Do not fight the main current head-on. Angle across it.
Frequently asked questions
How can you tell how deep a river is by looking?
Dark green or black water usually means deep. Light brown, pale, or white churning water means shallow. Glassy smooth patches in a rapid (pillows) form where water piles against a submerged rock.
What does it mean when the river looks oily or glassy?
A smooth, glassy patch on an otherwise textured surface often marks a "pillow." That is water piling up against a submerged obstacle, or a deep, slow pool. Context decides whether it is friendly or a warning.
Are rivers more dangerous after rain?
Almost always. Higher water means faster current, stronger hydraulics at drops, more debris, and submerged strainers that were visible at low water. Treat every river as a new river after a storm.
Can you swim in a river with a visible current?
In slow Class I water, yes, with a buddy, a known entry and exit, and no strainers or dams nearby. In anything faster, swimming is for people with swiftwater training, not casual dips.
The bottom line
Reading a river is a learnable skill, not a talent. Upstream Vs mean rock, downstream Vs mean channel, eddies mean rest, strainers mean stay away, and horizon lines mean get out and look.
Run the five-minute bank scout every time. Dress for the water temperature. Paddle or swim only water that matches your skills. If you are new to paddling itself, start with how to choose a kayak for beginners and why kayaks tip and how to avoid it.
---
Rive News is the research desk behind this publication, covering science, health, and the outdoors with evidence-first explainers.
Related stories
- Why Kayaks Tip and How to Avoid It
- How to Choose a Kayak for Beginners: A Simple Buying Guide
- Why You Need a Wetsuit in Water That Feels Fine
Enjoying these explainers? Subscribe to the weekly newsletter for one evidence-backed story every morning.
Rive News follows a corrections policy: factual errors are corrected promptly with a visible update note. Standards: no invented quotes, no fabricated data, every statistic cited.
Related stories

Why Is Altitude Sickness Worse for Some People?
Altitude sickness hits some people harder because of genetics, ascent speed, and prior history, not fitness level. Here is what raises risk
Why Do You Get Blisters When Hiking and How to Prevent Them
Friction plus moisture plus heat equals a blister. Learn why hiking breeds all three, and the boots, socks, and tape system that keeps hiker
How to choose hiking boots for beginners: fit, features, and break-in
Beginners should buy for fit first: snug everywhere, tight nowhere, with a thumb's width at the toes. Here is how to size, test, and break i